Designing a 3D product starts initially by establishing the exact measurements of the final product. This information may come from evaluating the original prototype blueprints or measuring reference models and parts with a micrometer. We then translate those measurements into O Scale.
Using the FreeCAD program (Computer Aided Design) we finalize the part. We then import that design into the PrusaSlicer which converts the STL file into gCode. The gCode is the language that tells the Prusa 3D printer what to print. Depending on the details in the part, we have the option to ask the printer to add support material (aka, build). The purpose of the build is to provide support to ensure we get the best replica of the part that is in development.
Part of the fun of modeling is learning different skills. We could take off the build prior to sale; however, we believe it a unique part of the challenge to let the modeler remove at least some of the build and clean up.
This brief tutorial can be generalized to any product, and we provide several examples here on how to remove the build. If at anytime you question what is build or not, just give us a call or refer to the photos or videos on our website.
Goal: To break off support material revealing your gem, clean up edges and fine hairs.
Recommended items:
- Safety goggles are recommended (small pieces can break off)
- Caution with sharp tools
- Protective gloves as required
- Time – patience – slow
- Good Music
Tools that may be helpful:
- Fingers and hands – can often be all you need
- Needle-nose pliers
- Tweezers
- X-Acto or craft knife (scrape, cut, clean up lines)
- Cutters (clip material away)
- Sandpaper (& wet sanding)
- Tweezers
- Dremel can be helpful
- Fine tip scissors
- File
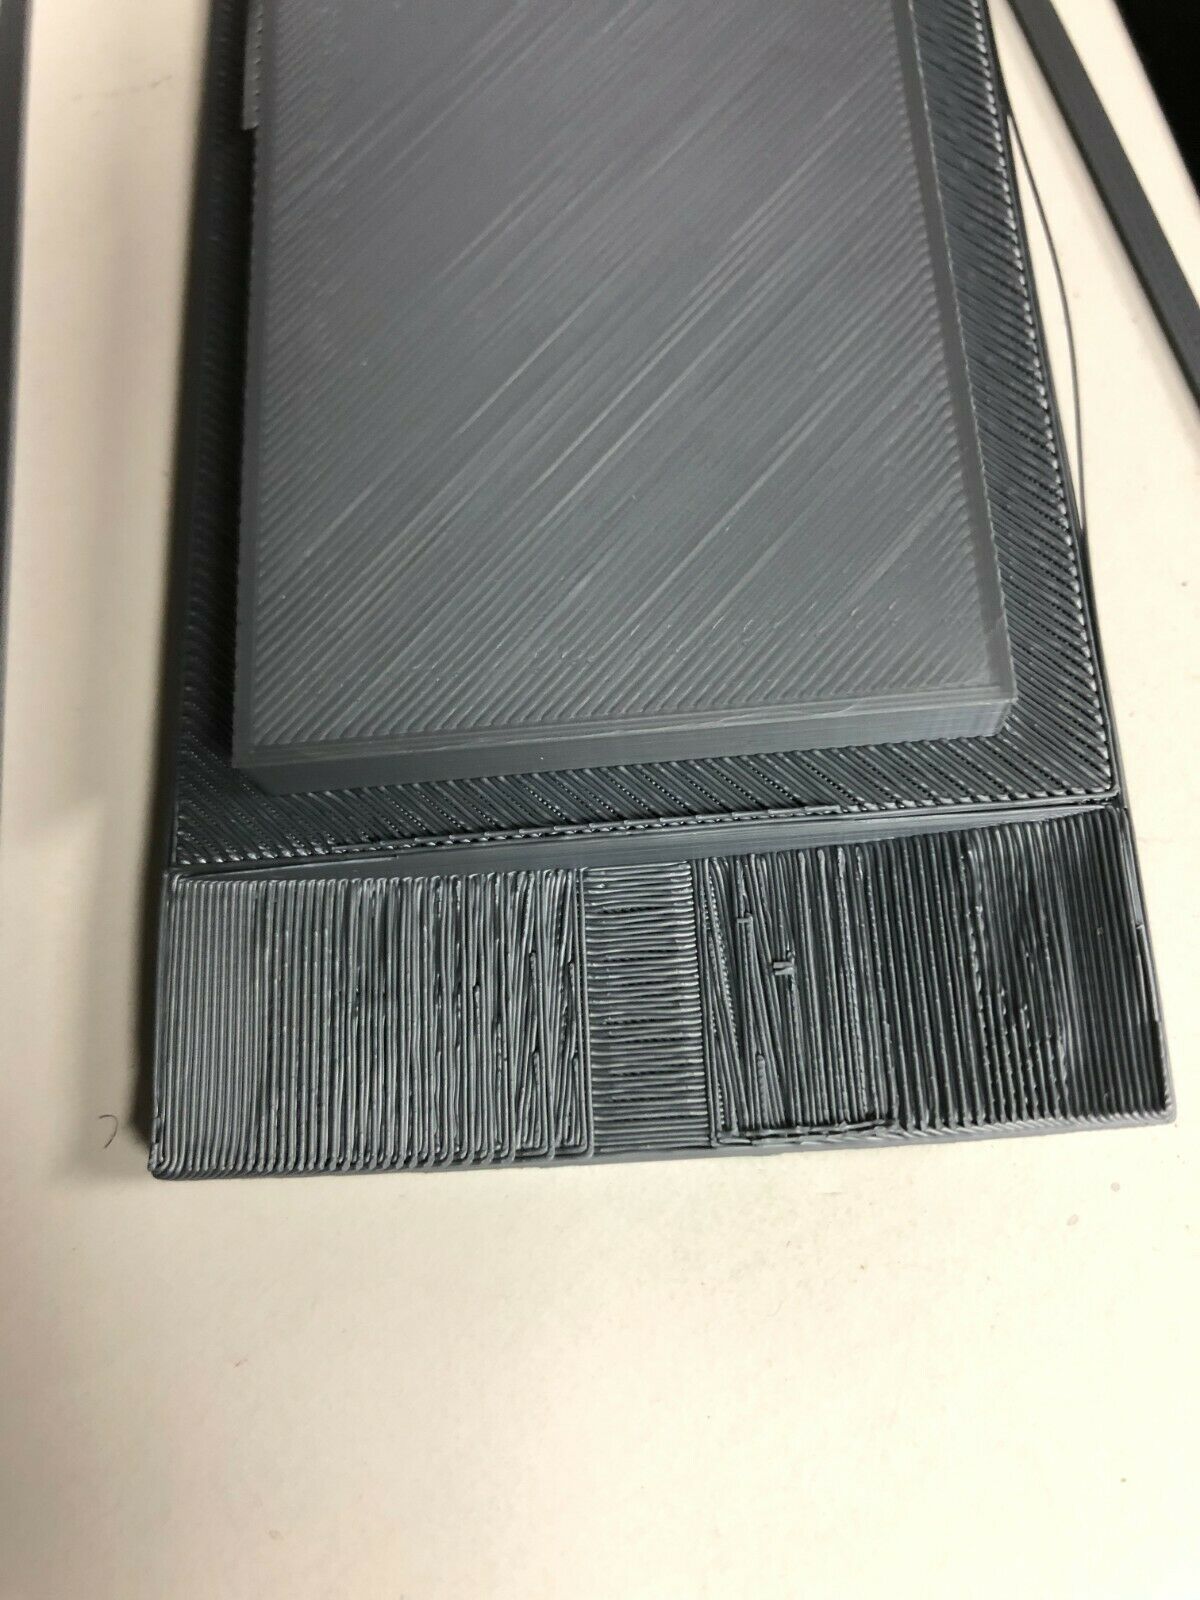
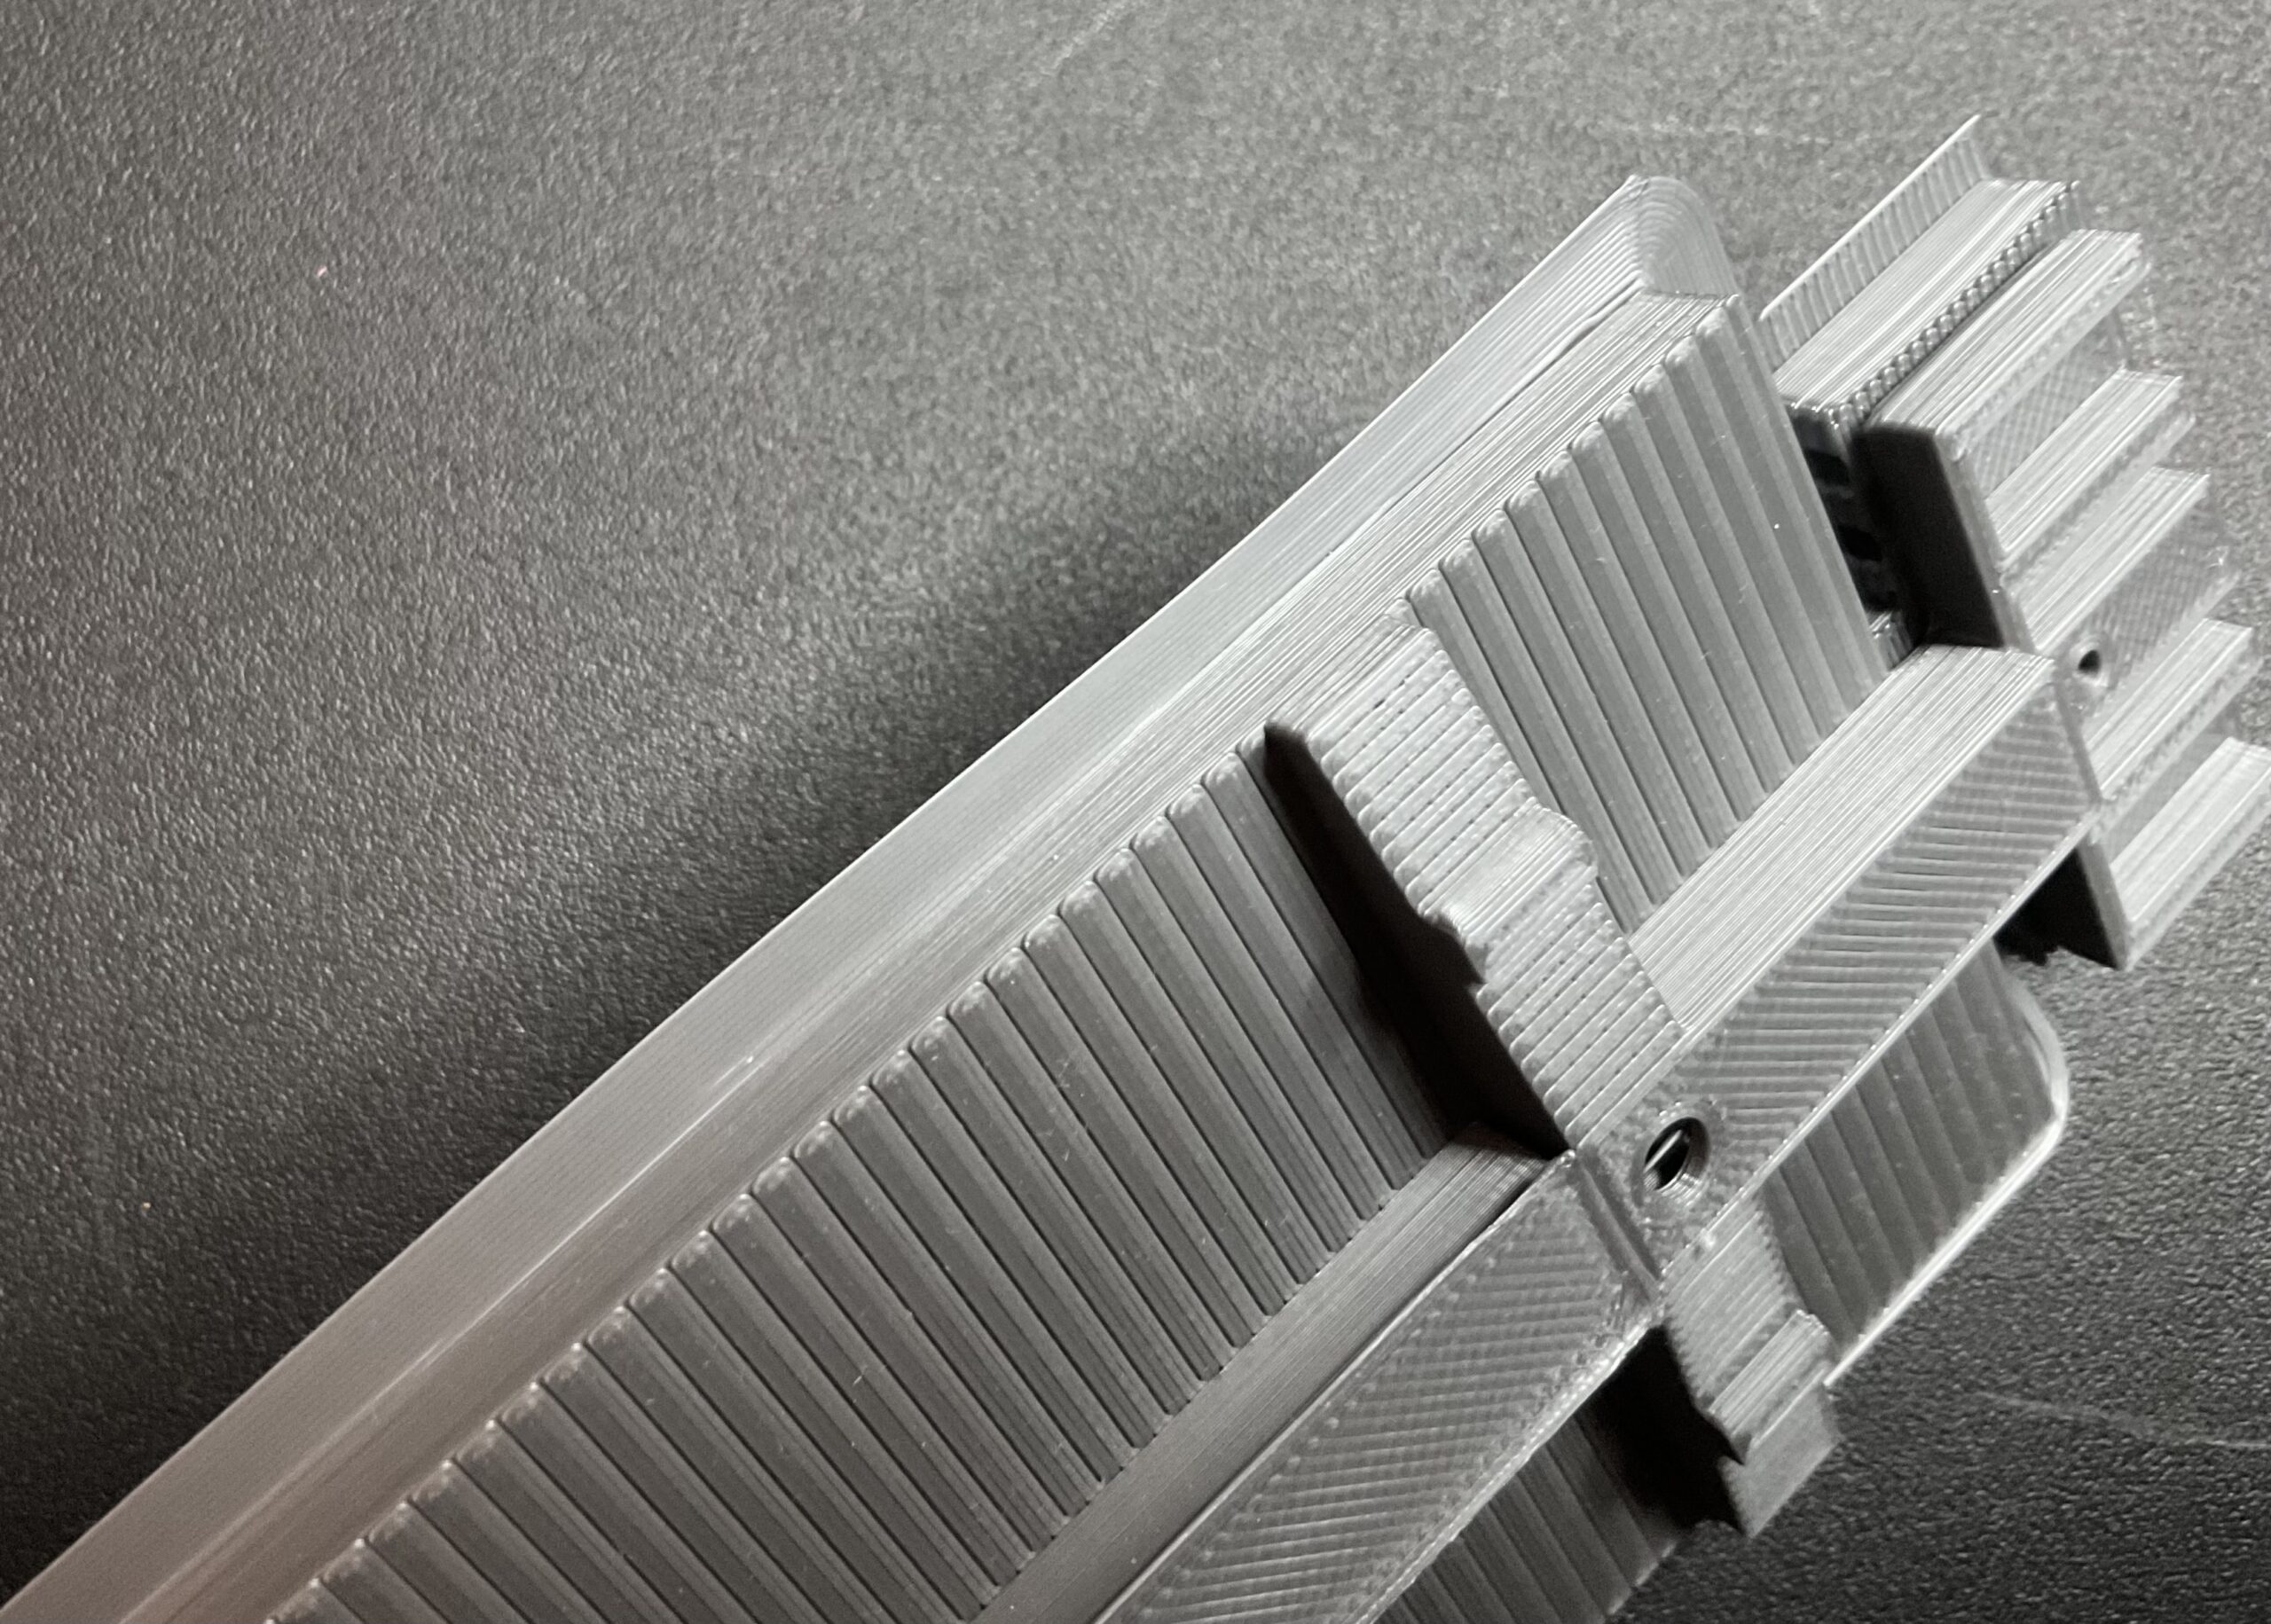
Examine the item to determine what is support and what is the final product.
This picture is a typical caboose roof straight off the 3D-printer build plate.
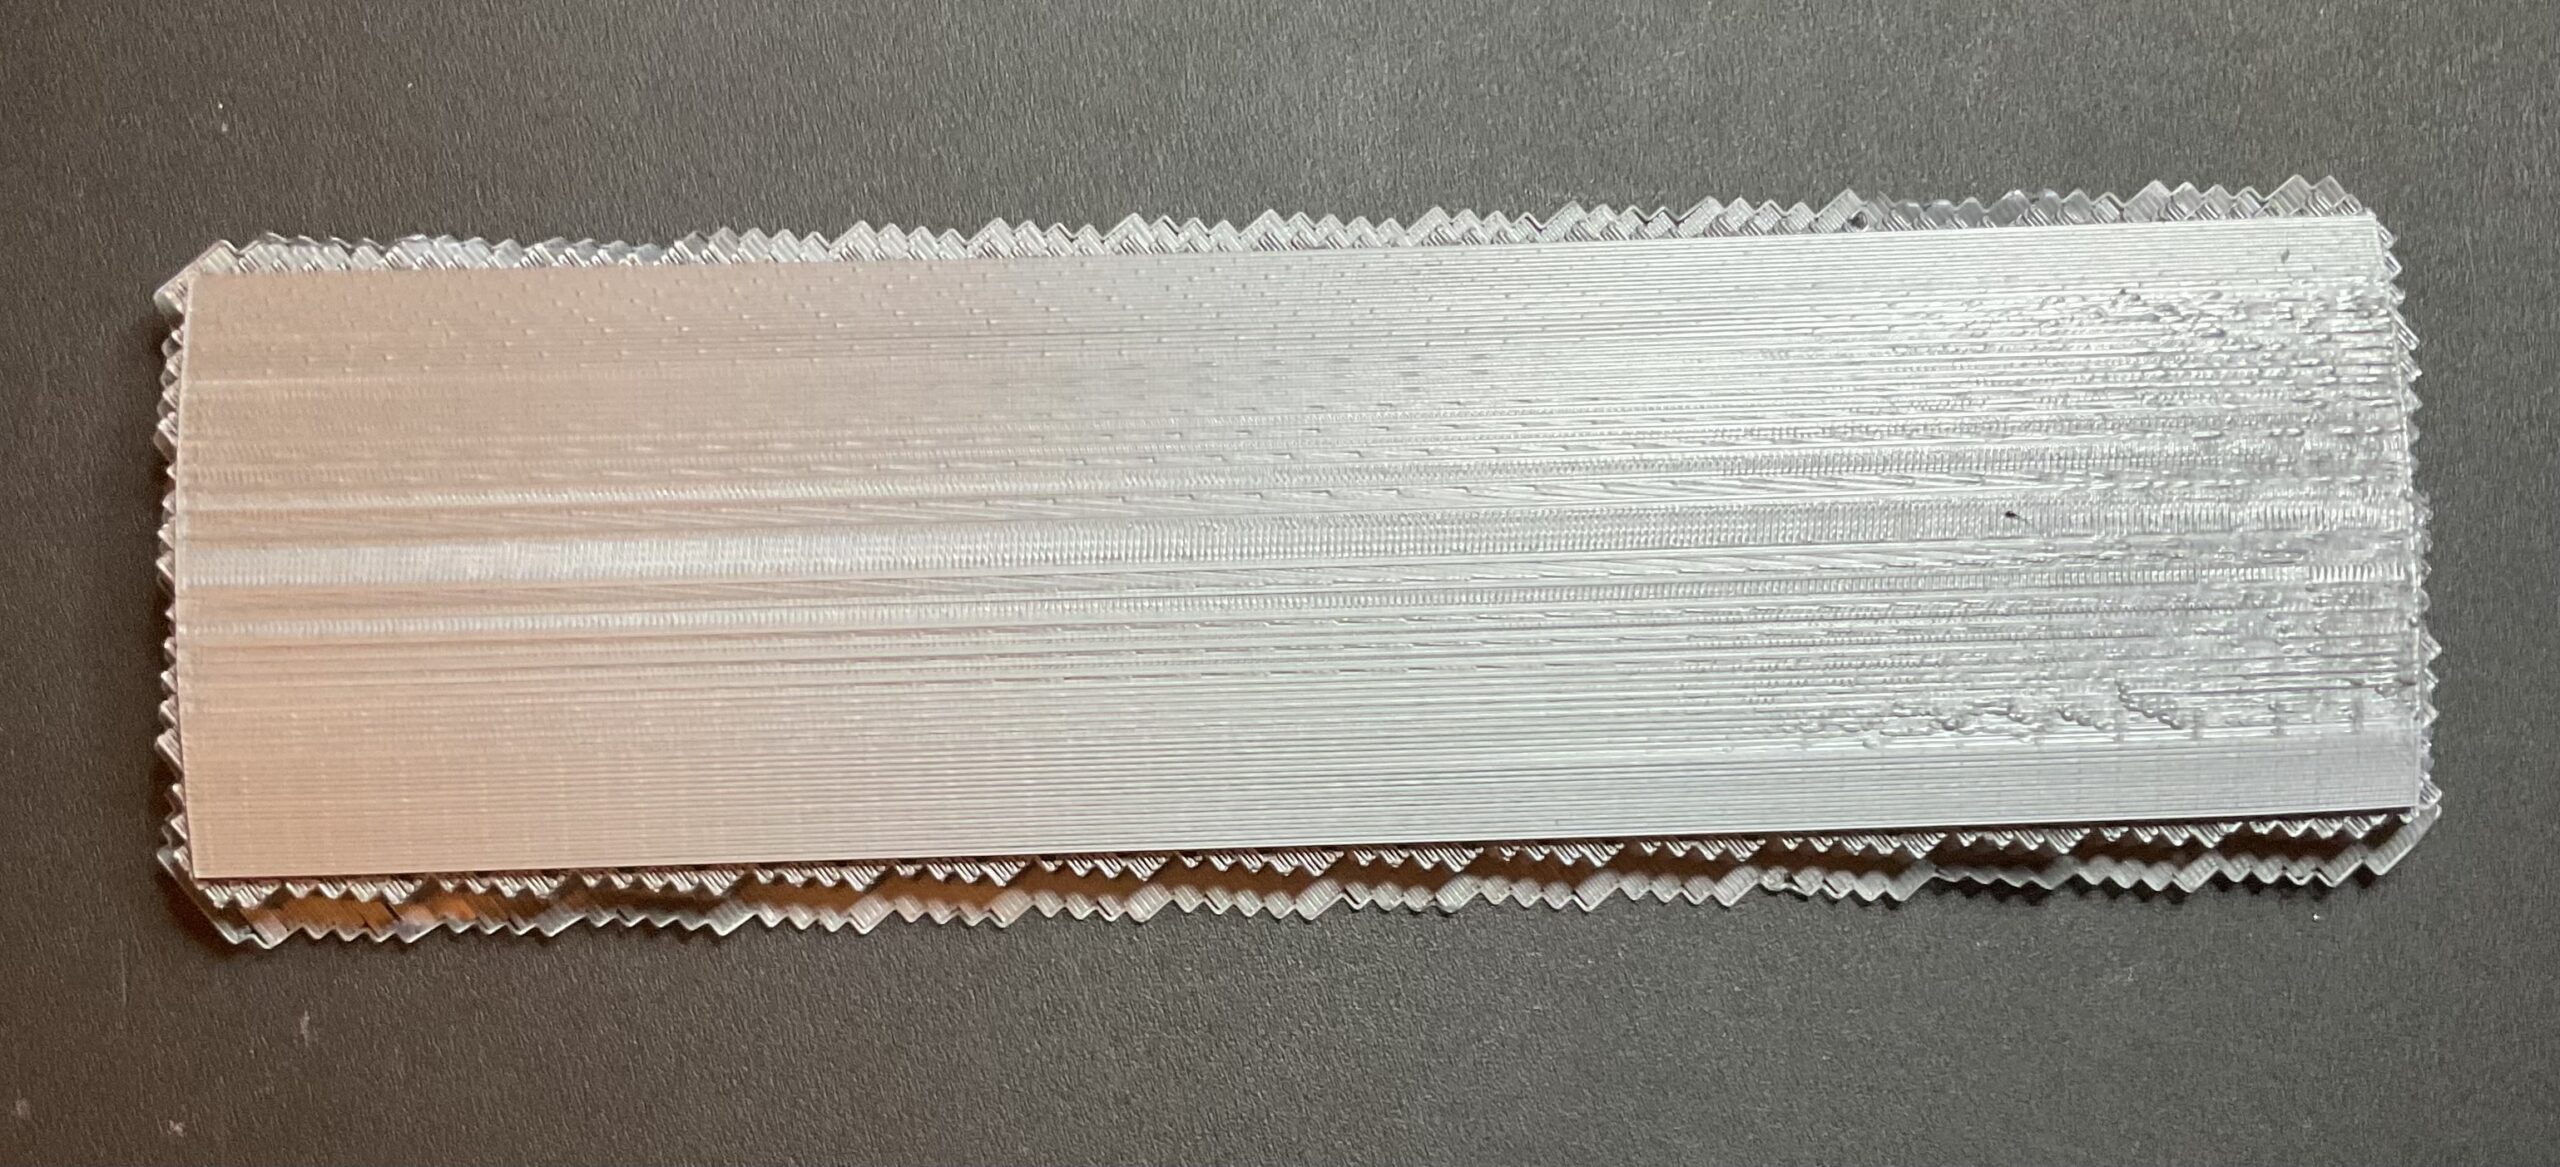
Here you see support material protecting the roof.
Hold the piece in one hand and your tool (pliers) in the other. Gently grasp the material on the edge and carefully pull AWAY from the object, separating the build from the object. Wiggle, turn or twist works most of the time (DO NOT TWIST on small delicate objects). Continue this process until all the support material is removed.
Sometimes build will come off by just using your fingers.

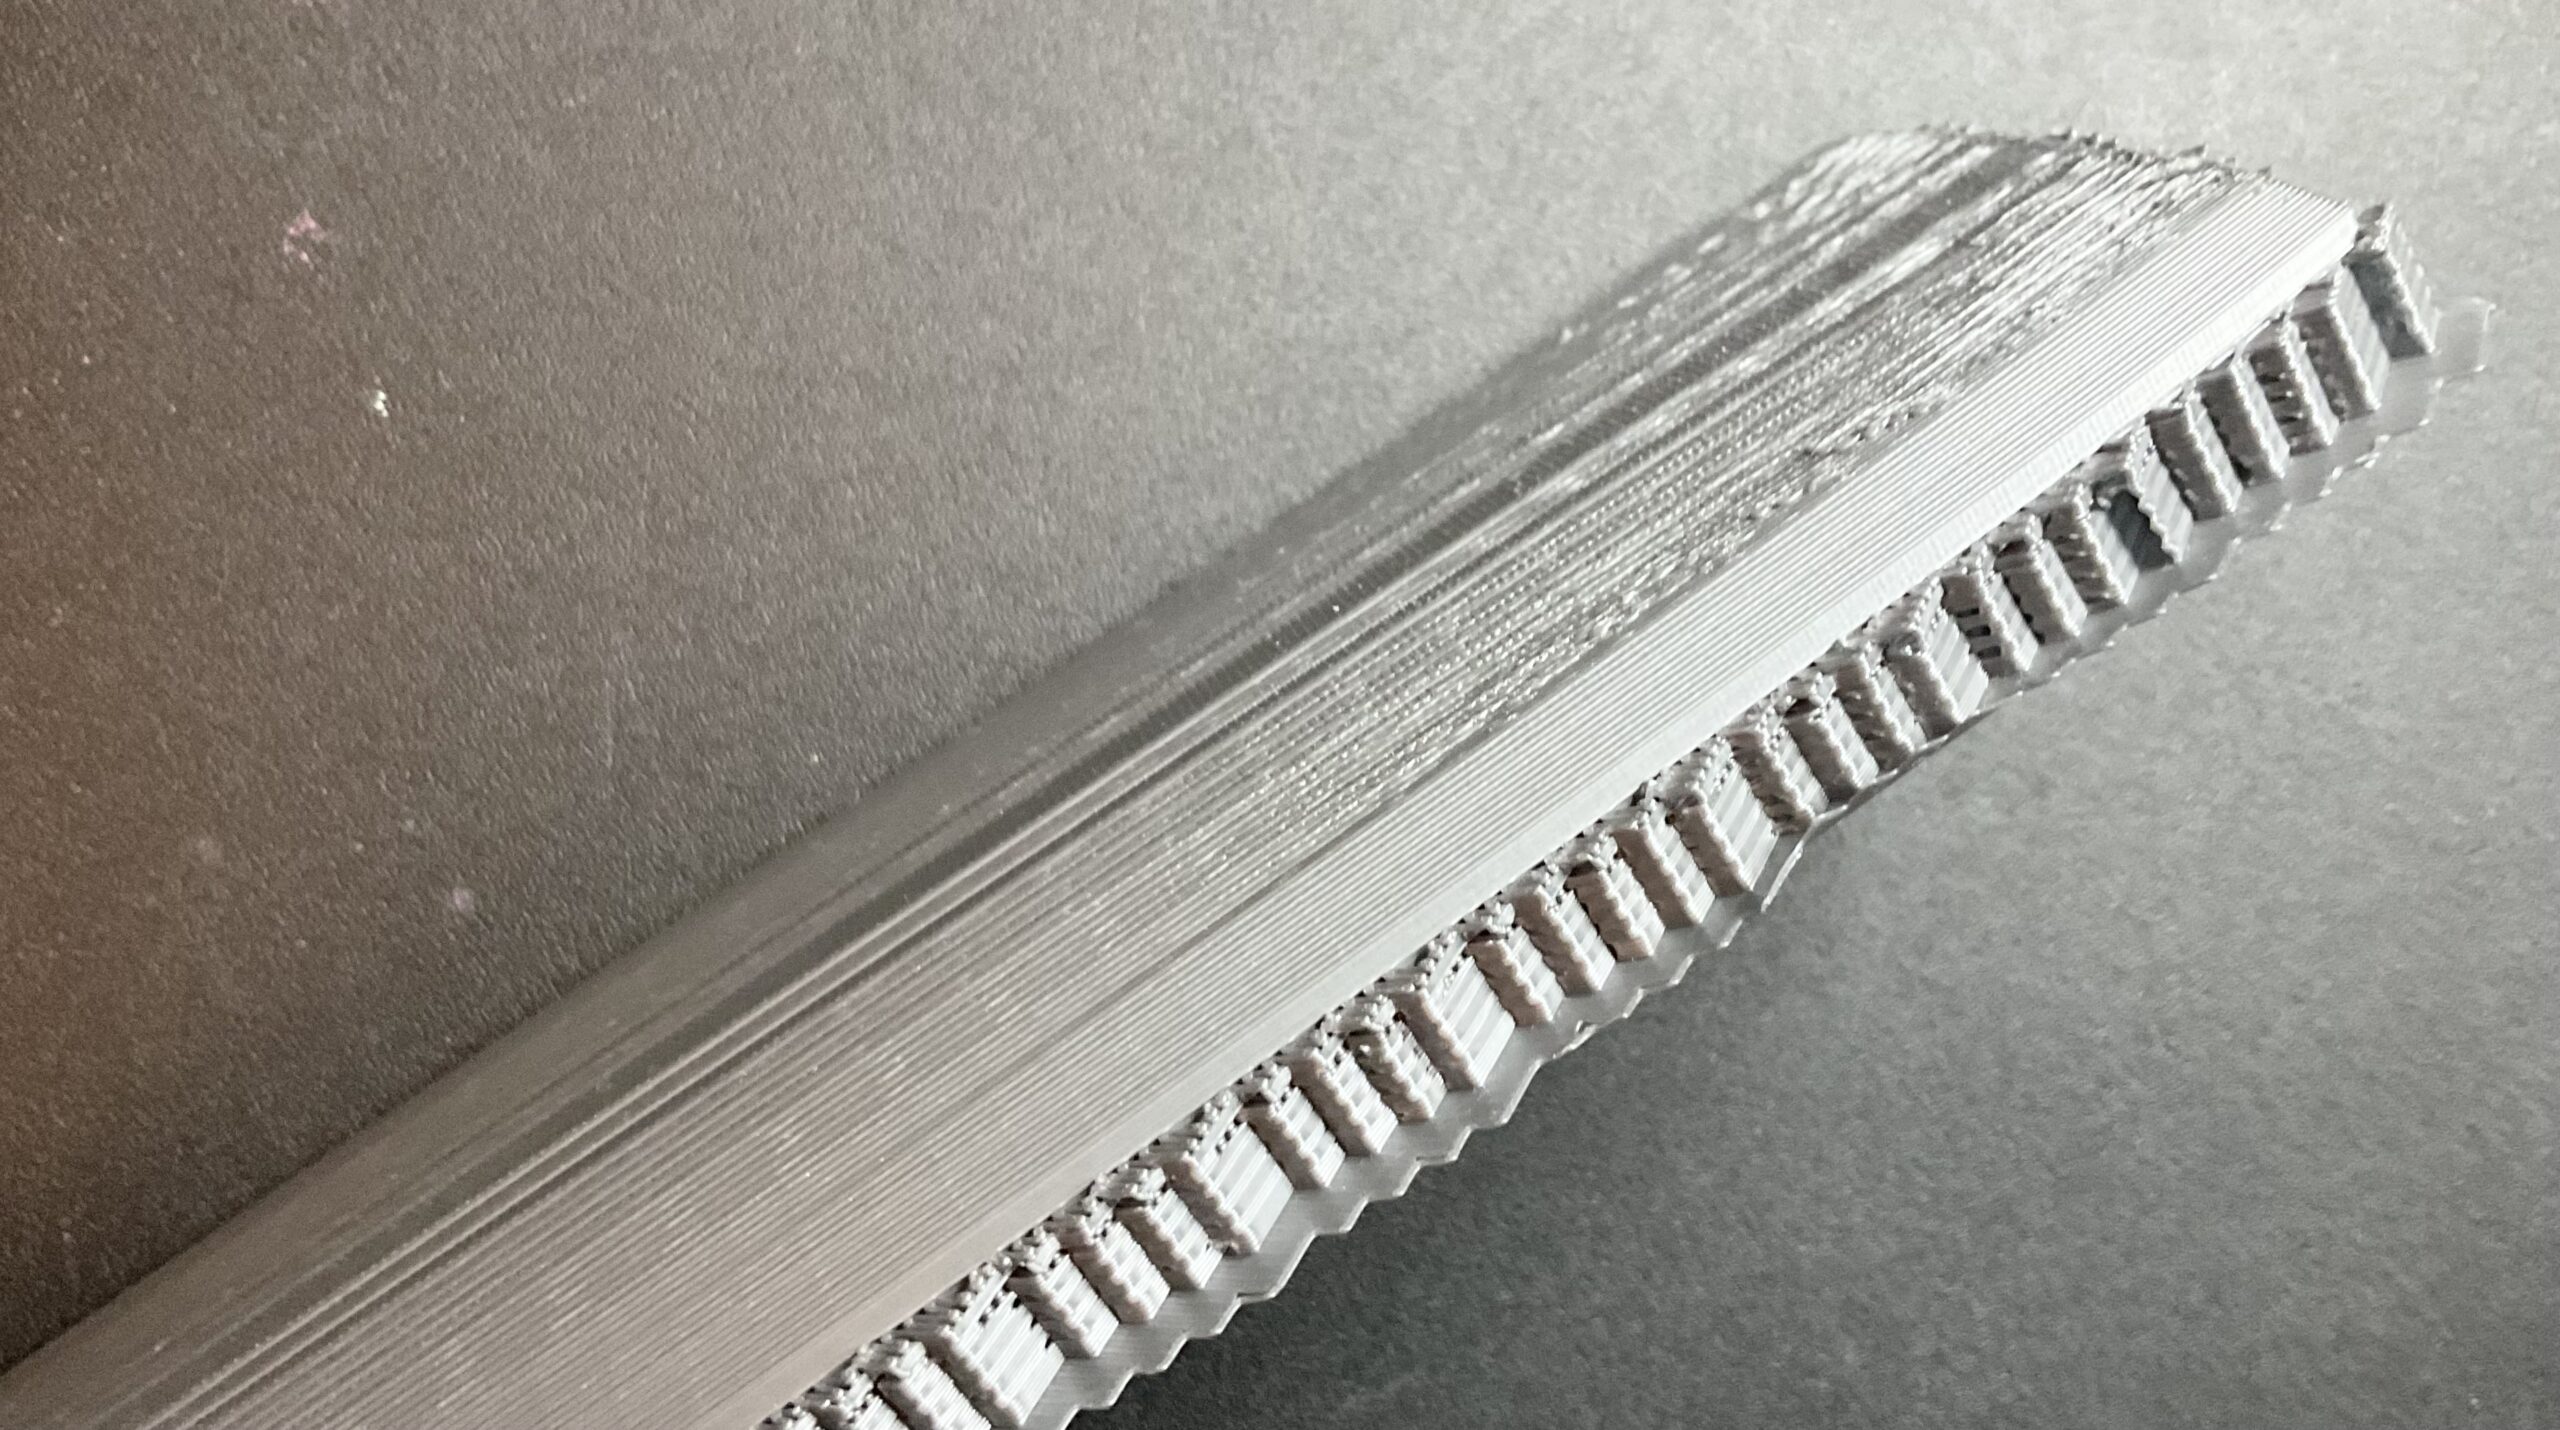
Here you can see the roof with the build removed.
Another example:
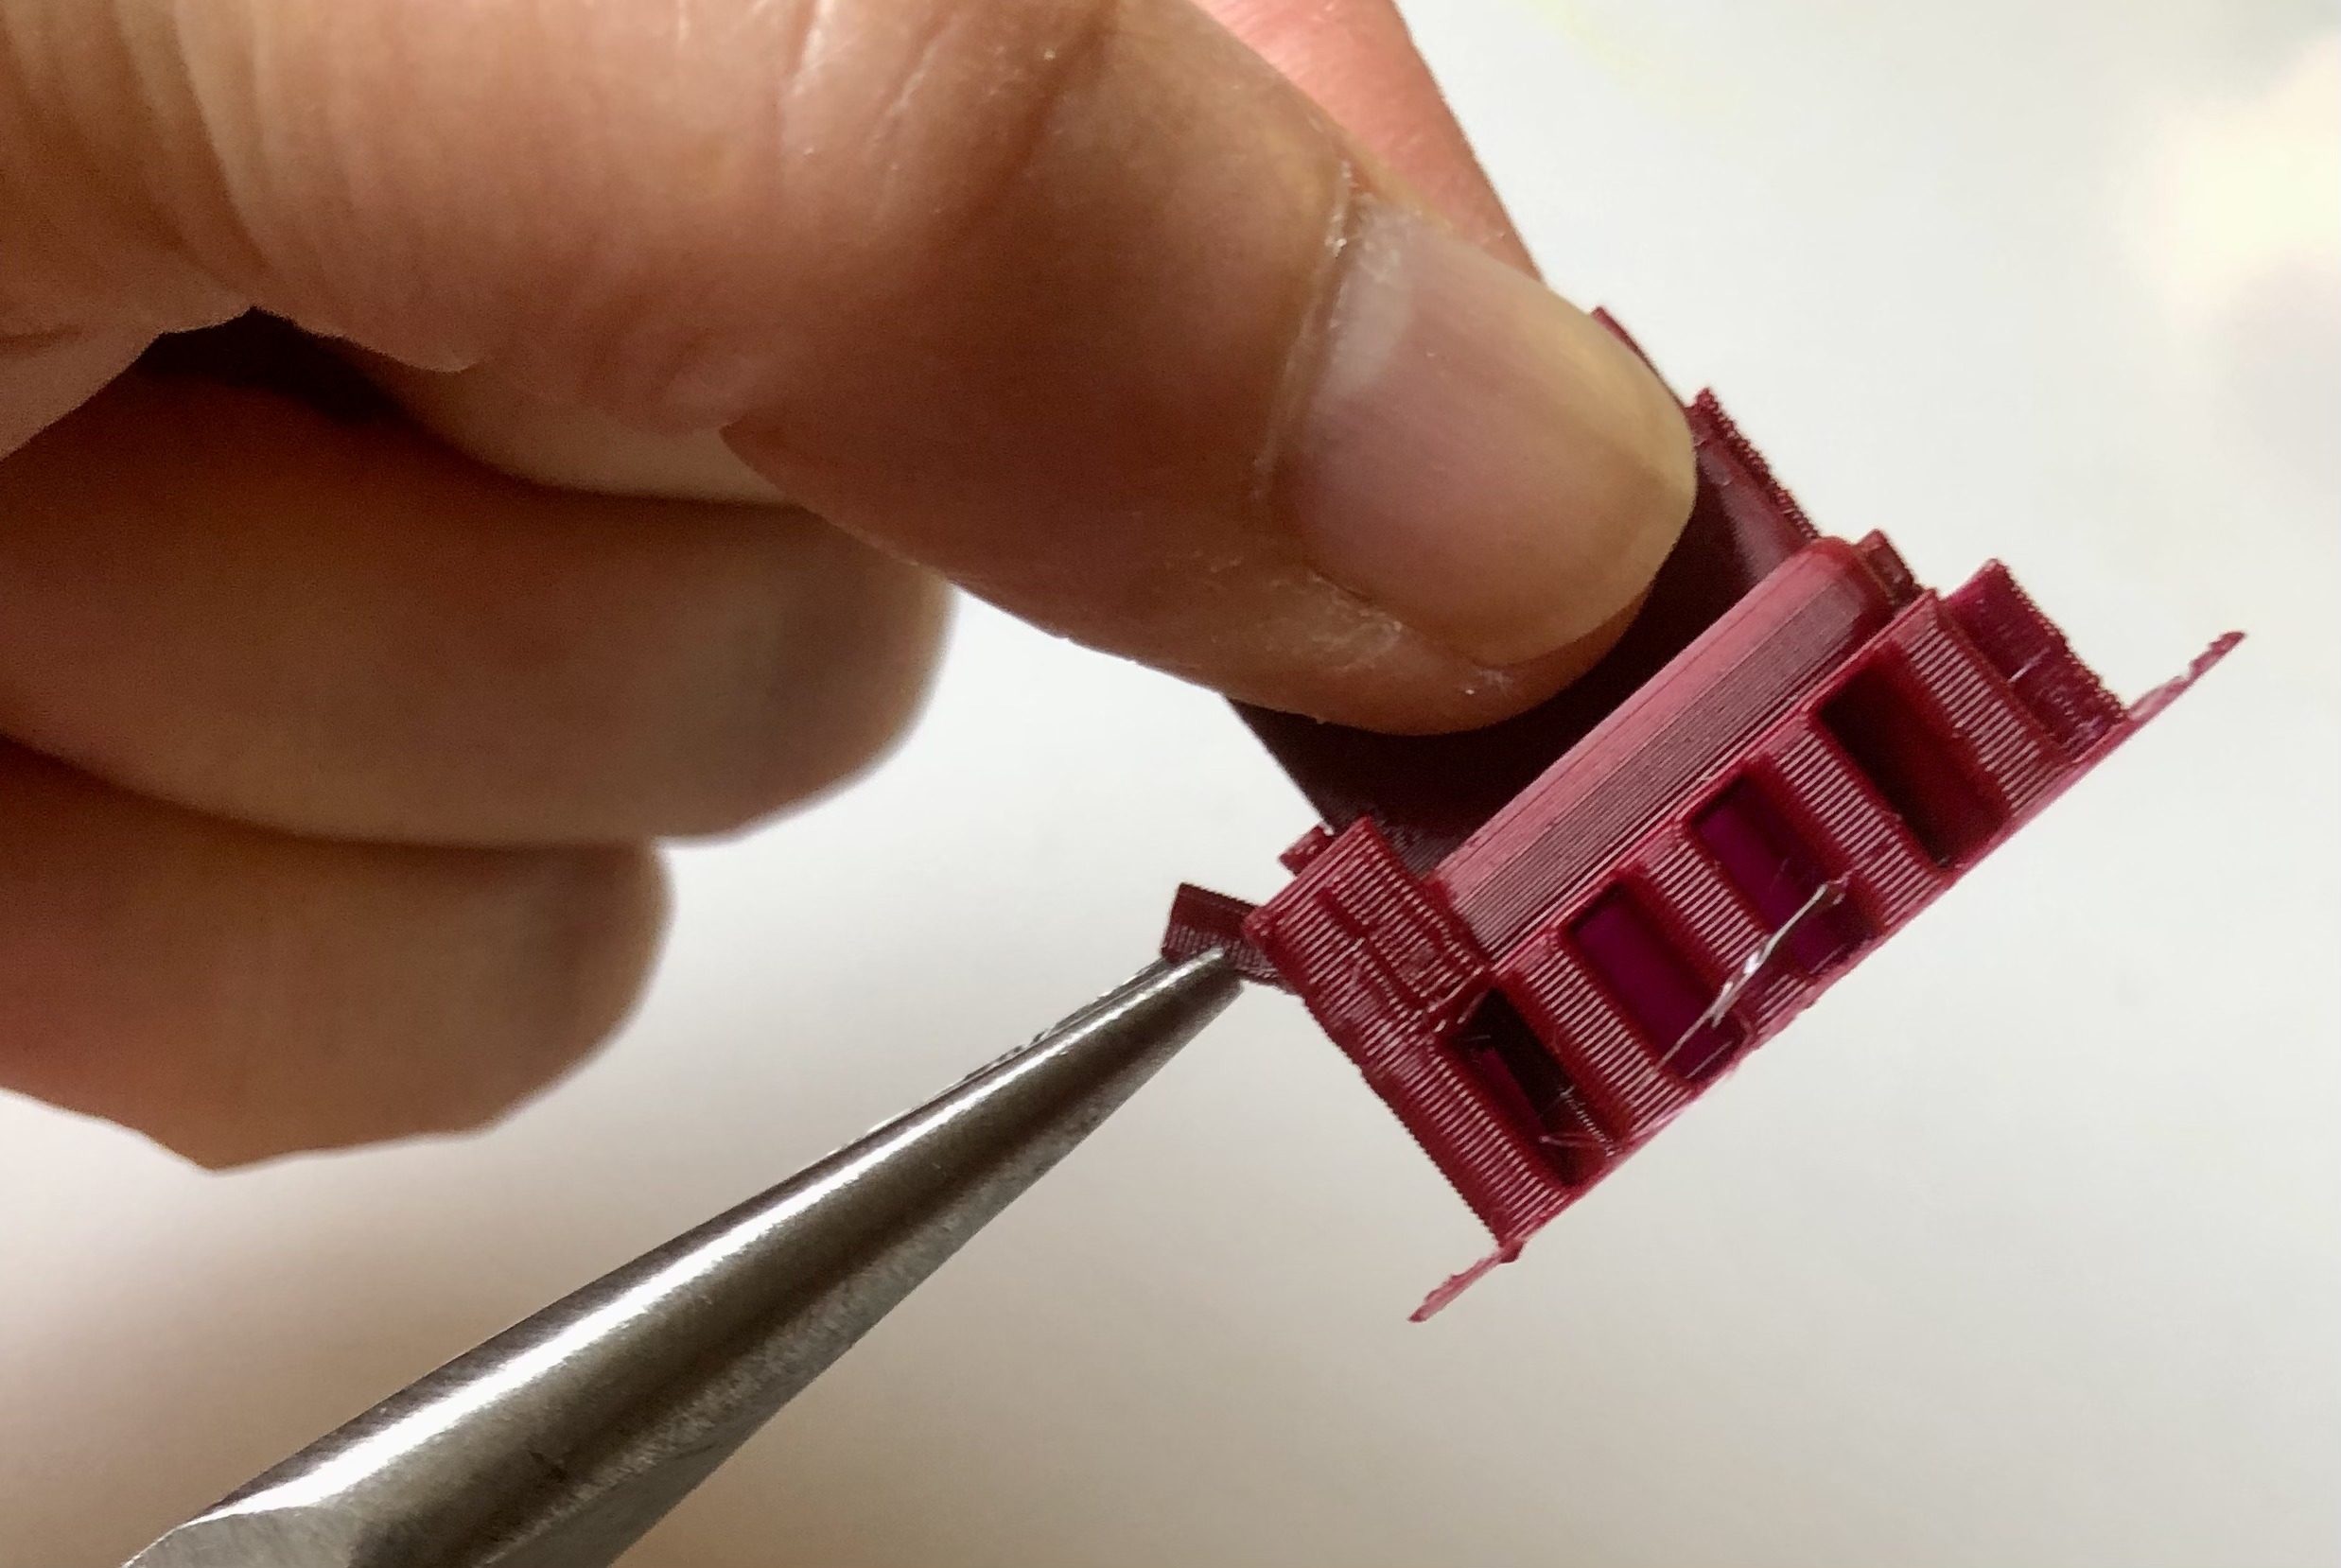
The floor of many of our 3D printed caboose only have an outer edge of support build material that peels off. It is easily cleaned up with a small file if there are small pieces left.
Helpful Hints:
- Do not twist or apply downward force on thin or fragile parts.
- The closer to the base of the model you can grip the cleaner pieces will break off.
- Sand paper and wet sanding removes support material and helps to polish the model.
- After you are done, inspect the piece. You can sand to smooth out the surface, apply filler or putty to gaps/blemishes. Finish and paint.
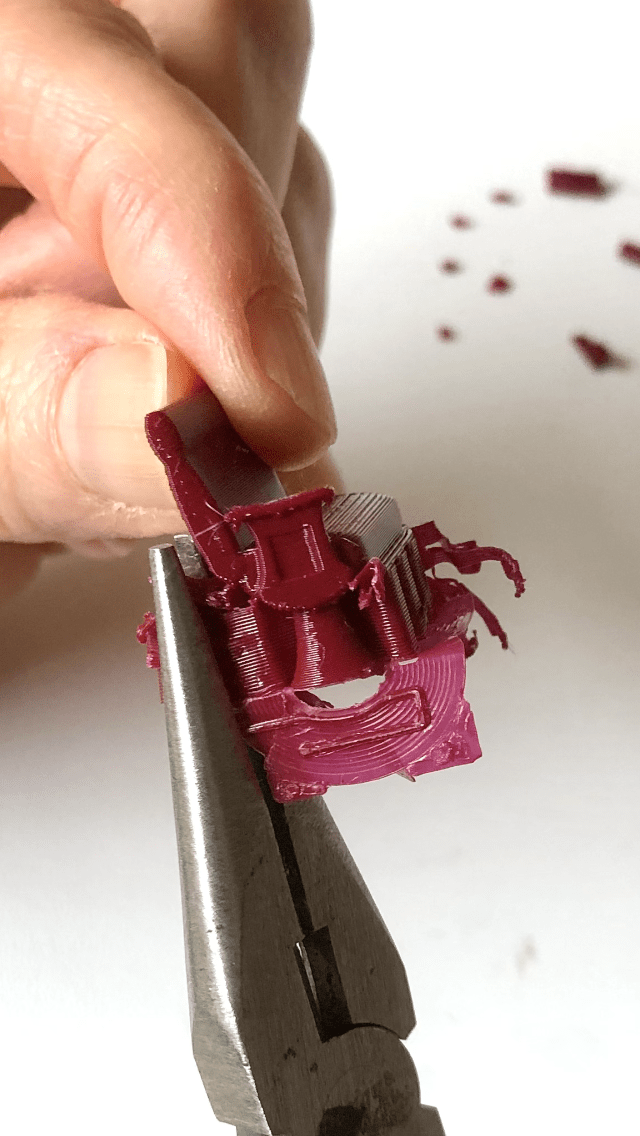
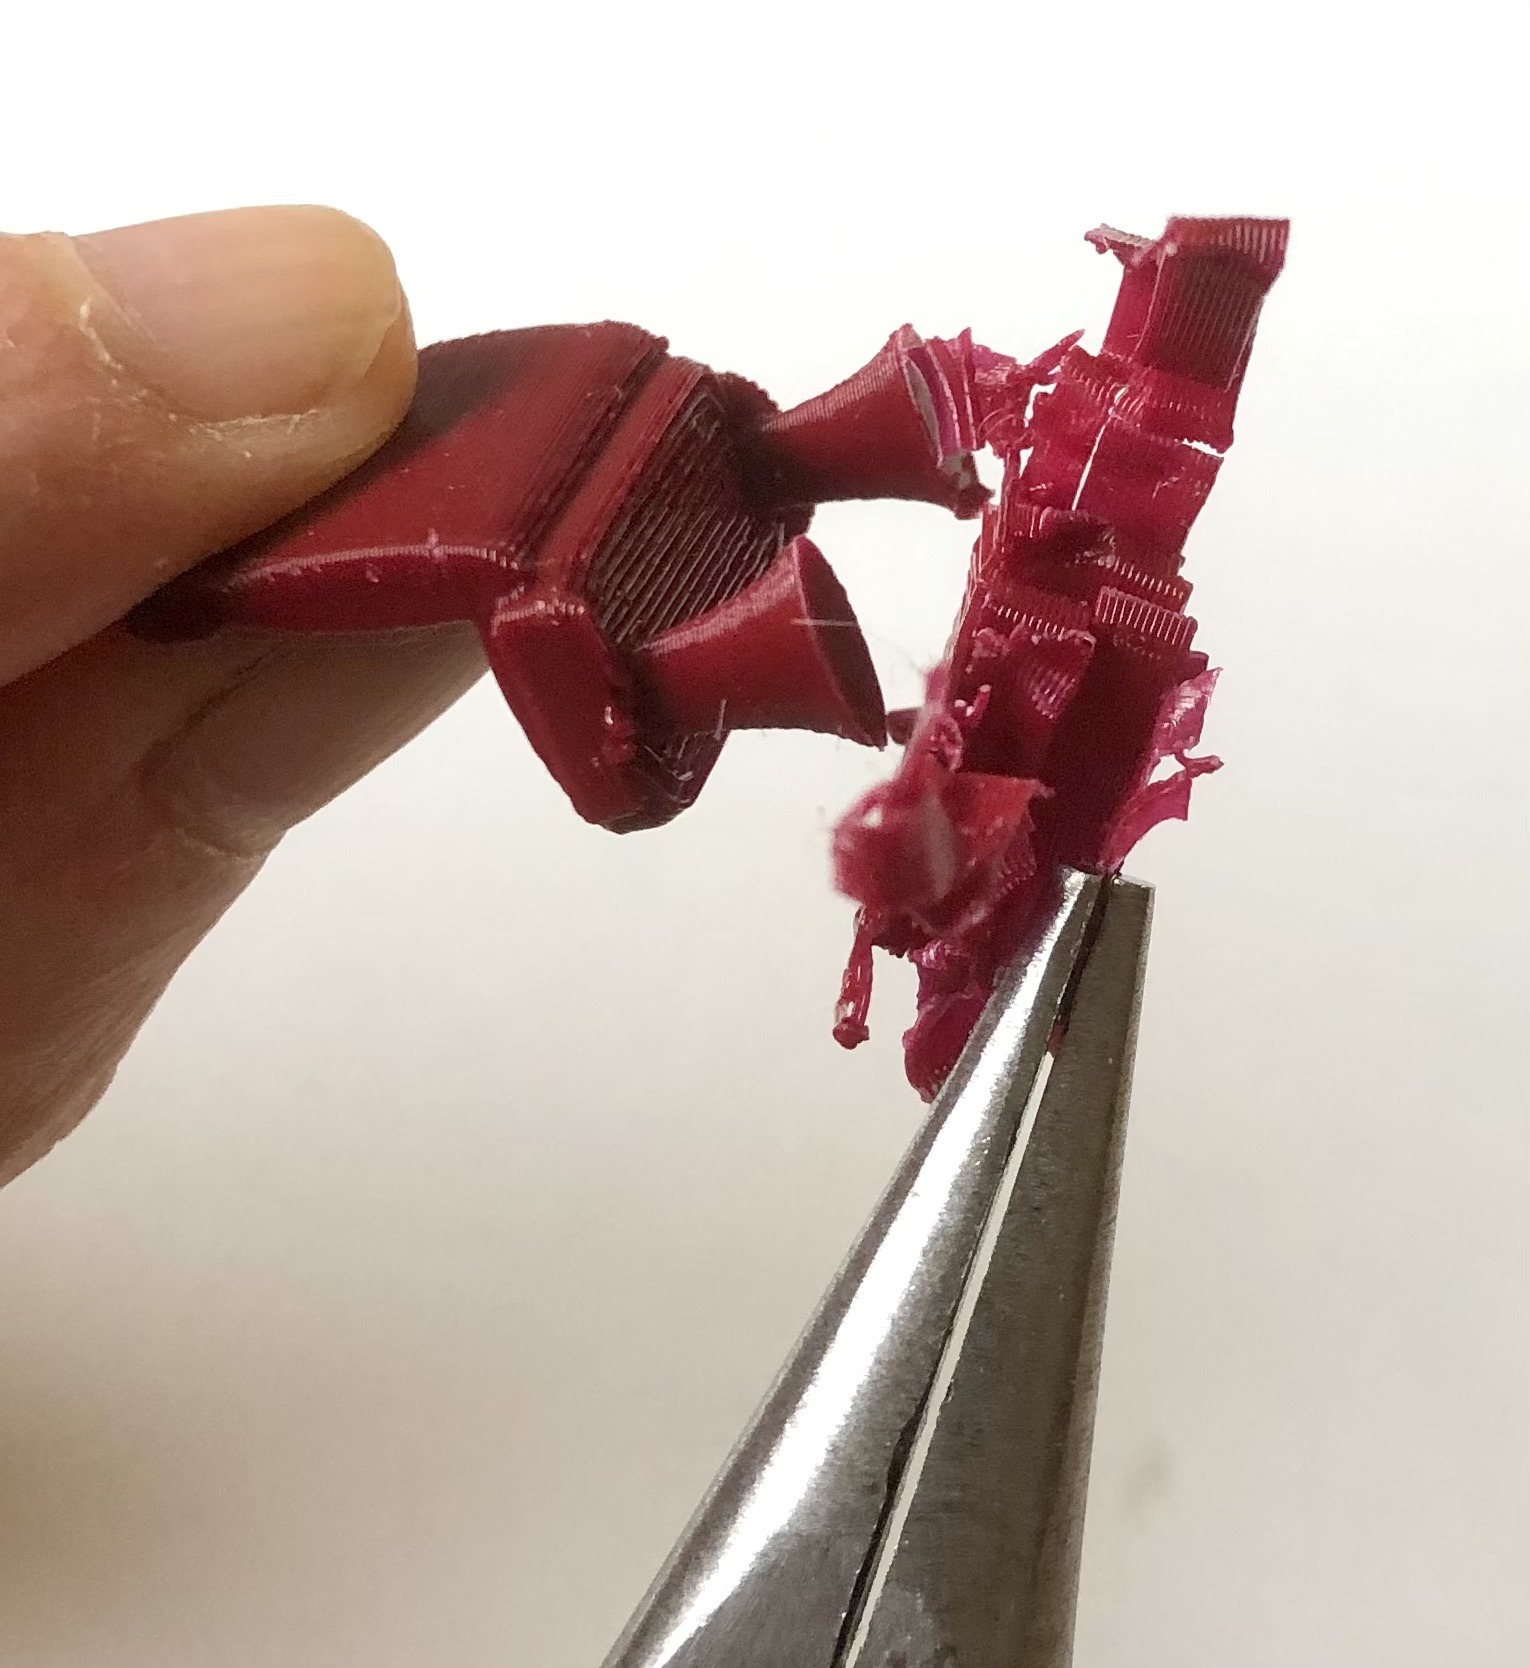
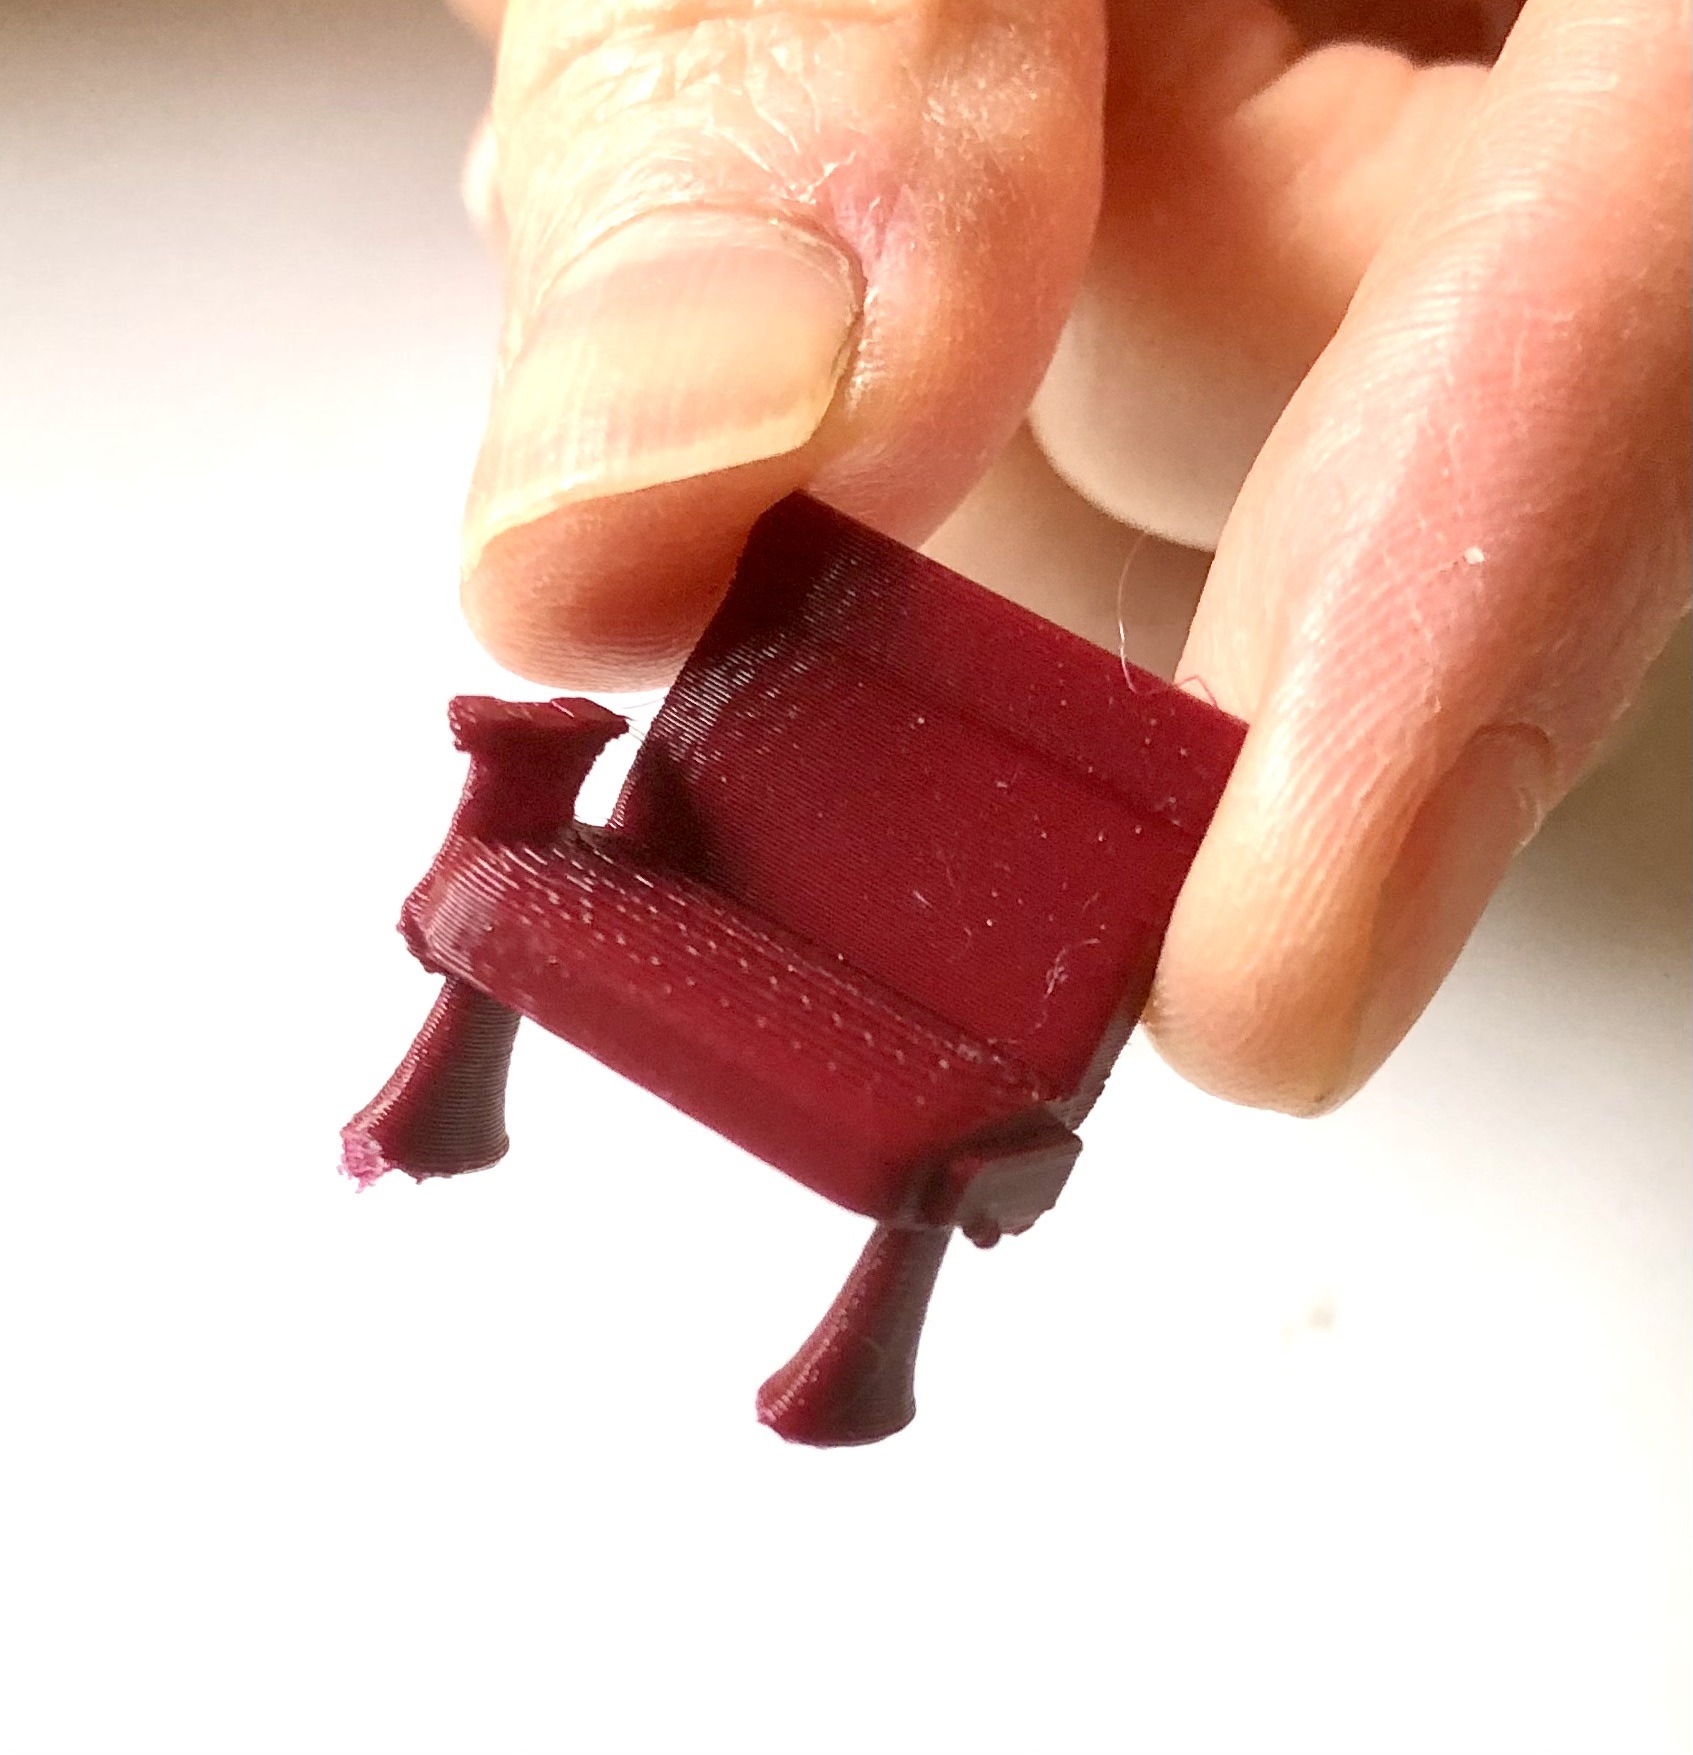
REMOVAL OF BUILD FROM DELICATE/FRAGILE 3D OBJECTS
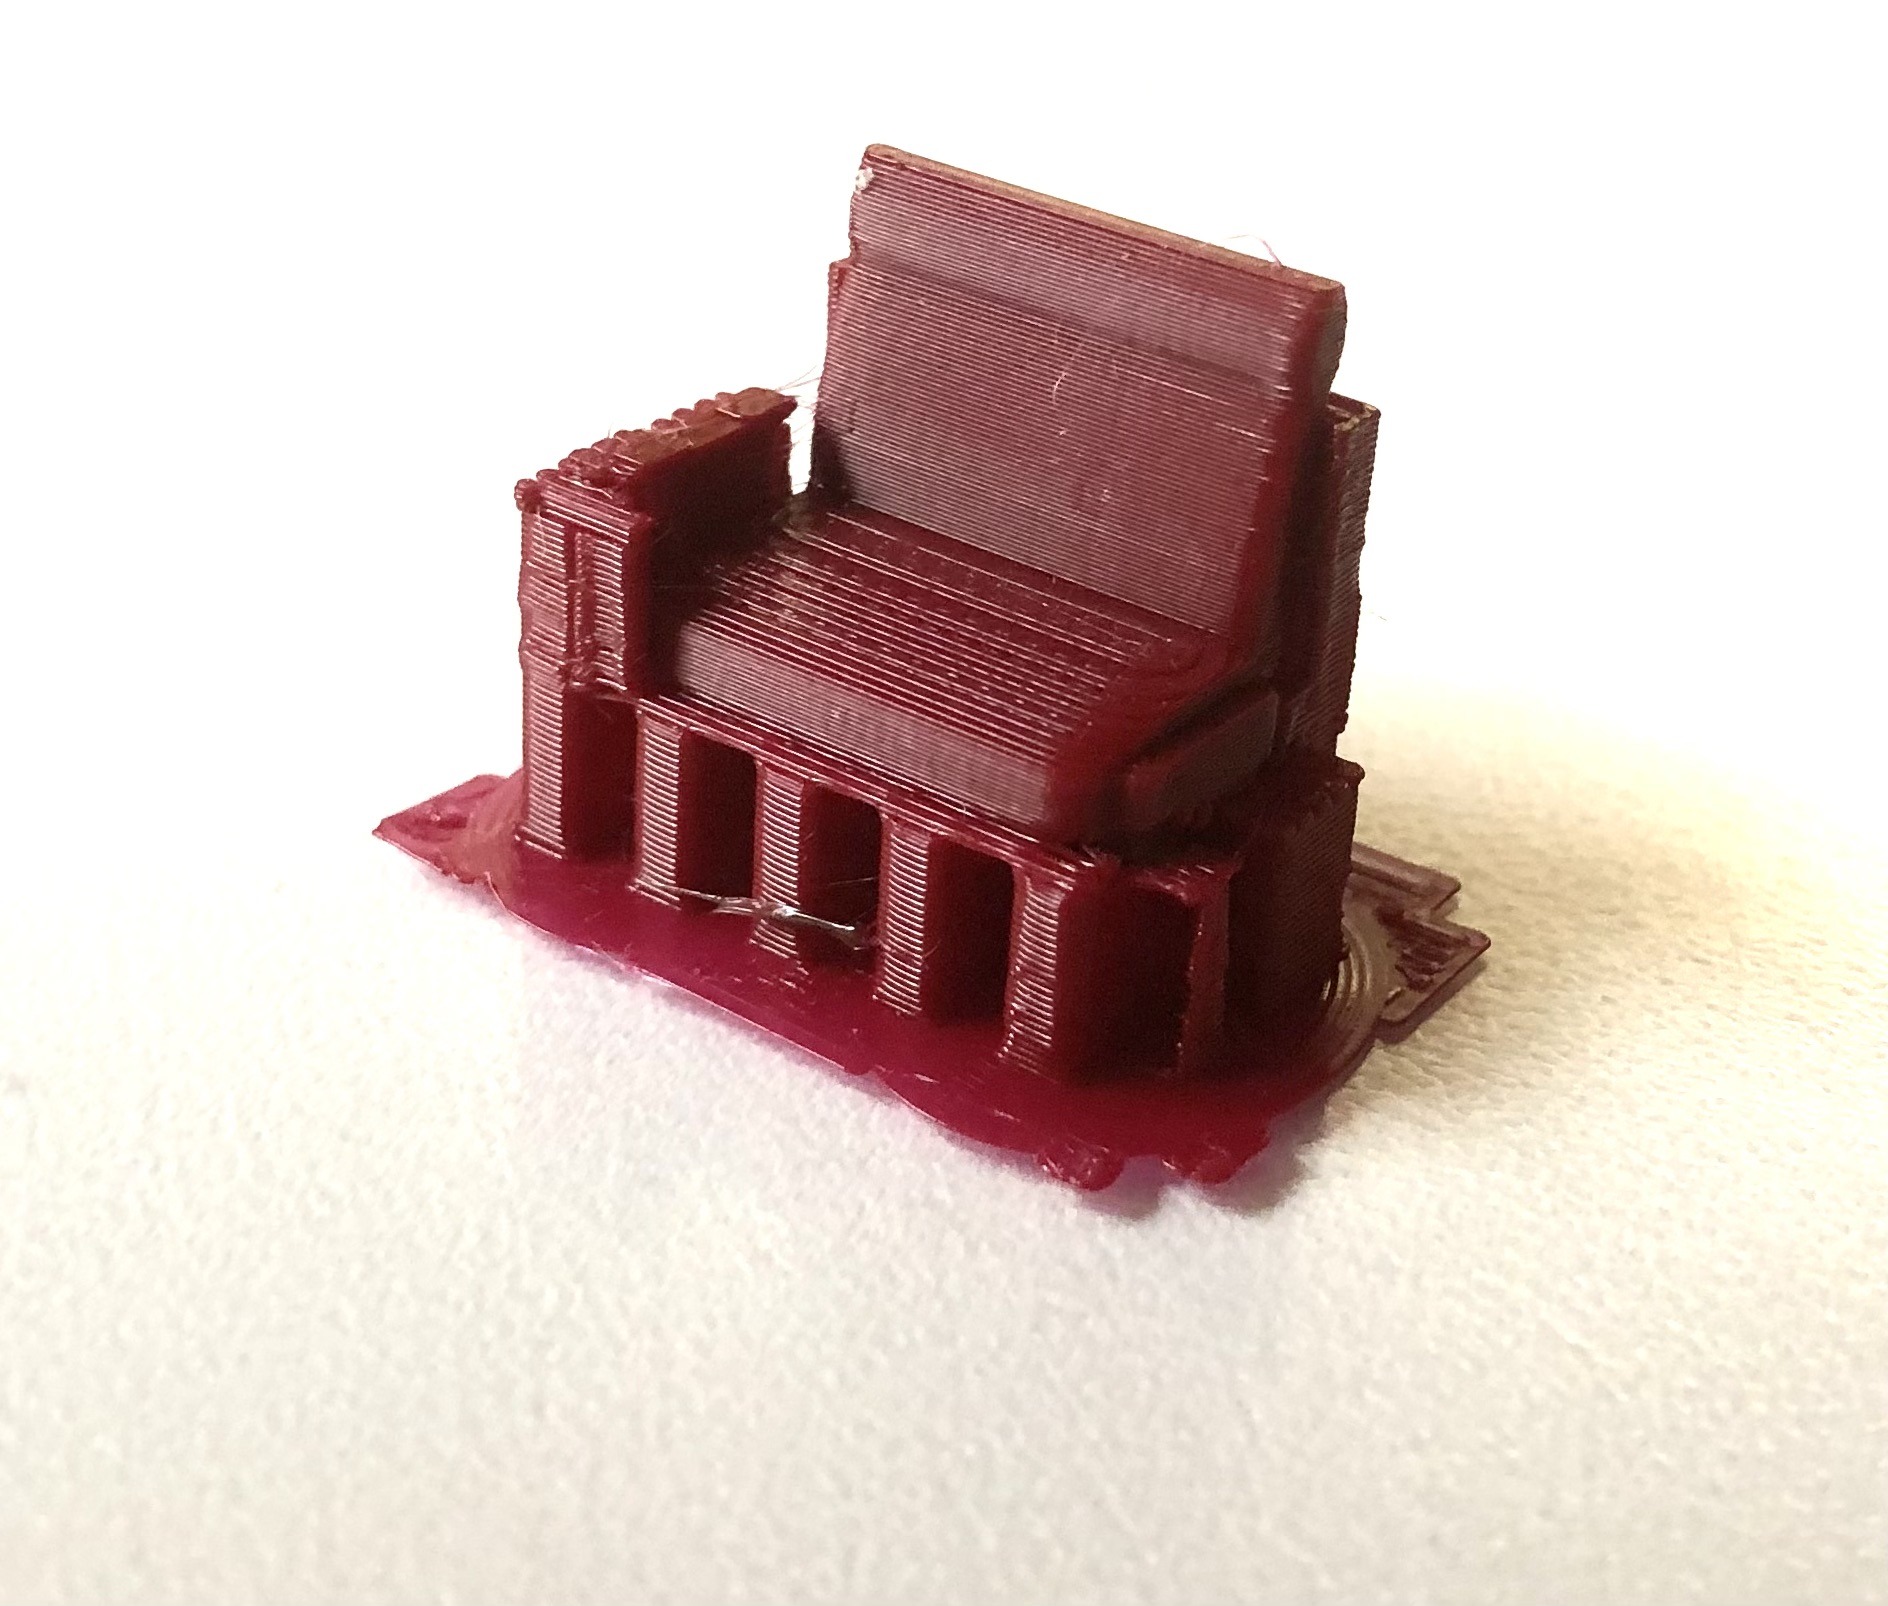
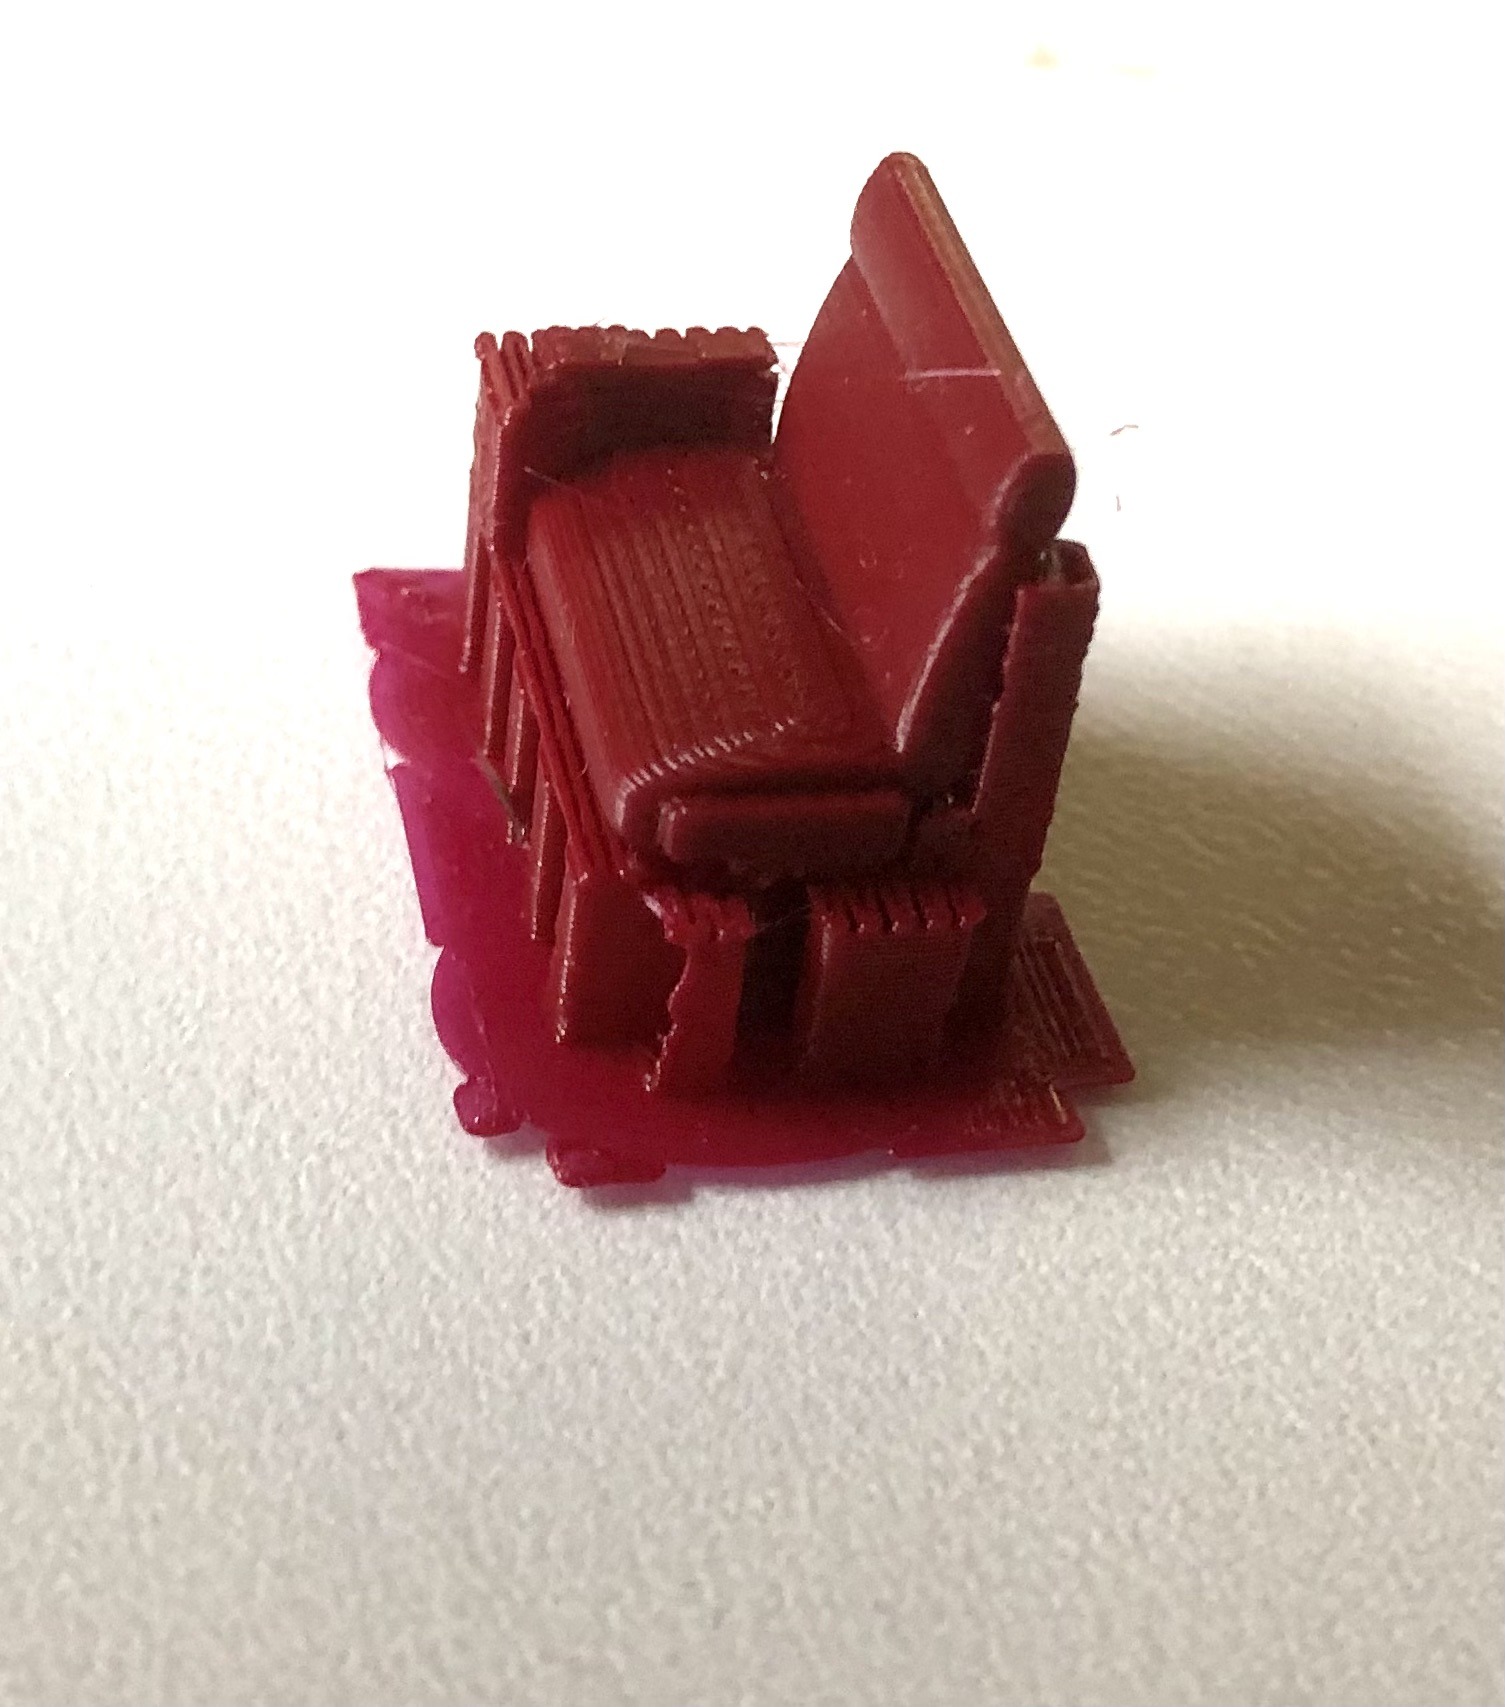
Example: Windsplitter Chair
Problem: Delicate arm rest, delicate legs
Hold it by the chair back. Gently grab and pull AWAY from the object. Twisting tends to break fragile pieces. Continue to pull back the support material revealing the arm rest and leg. The build will eventually weaken and come off, revealing your chair. Patience and slow progress wins the race.
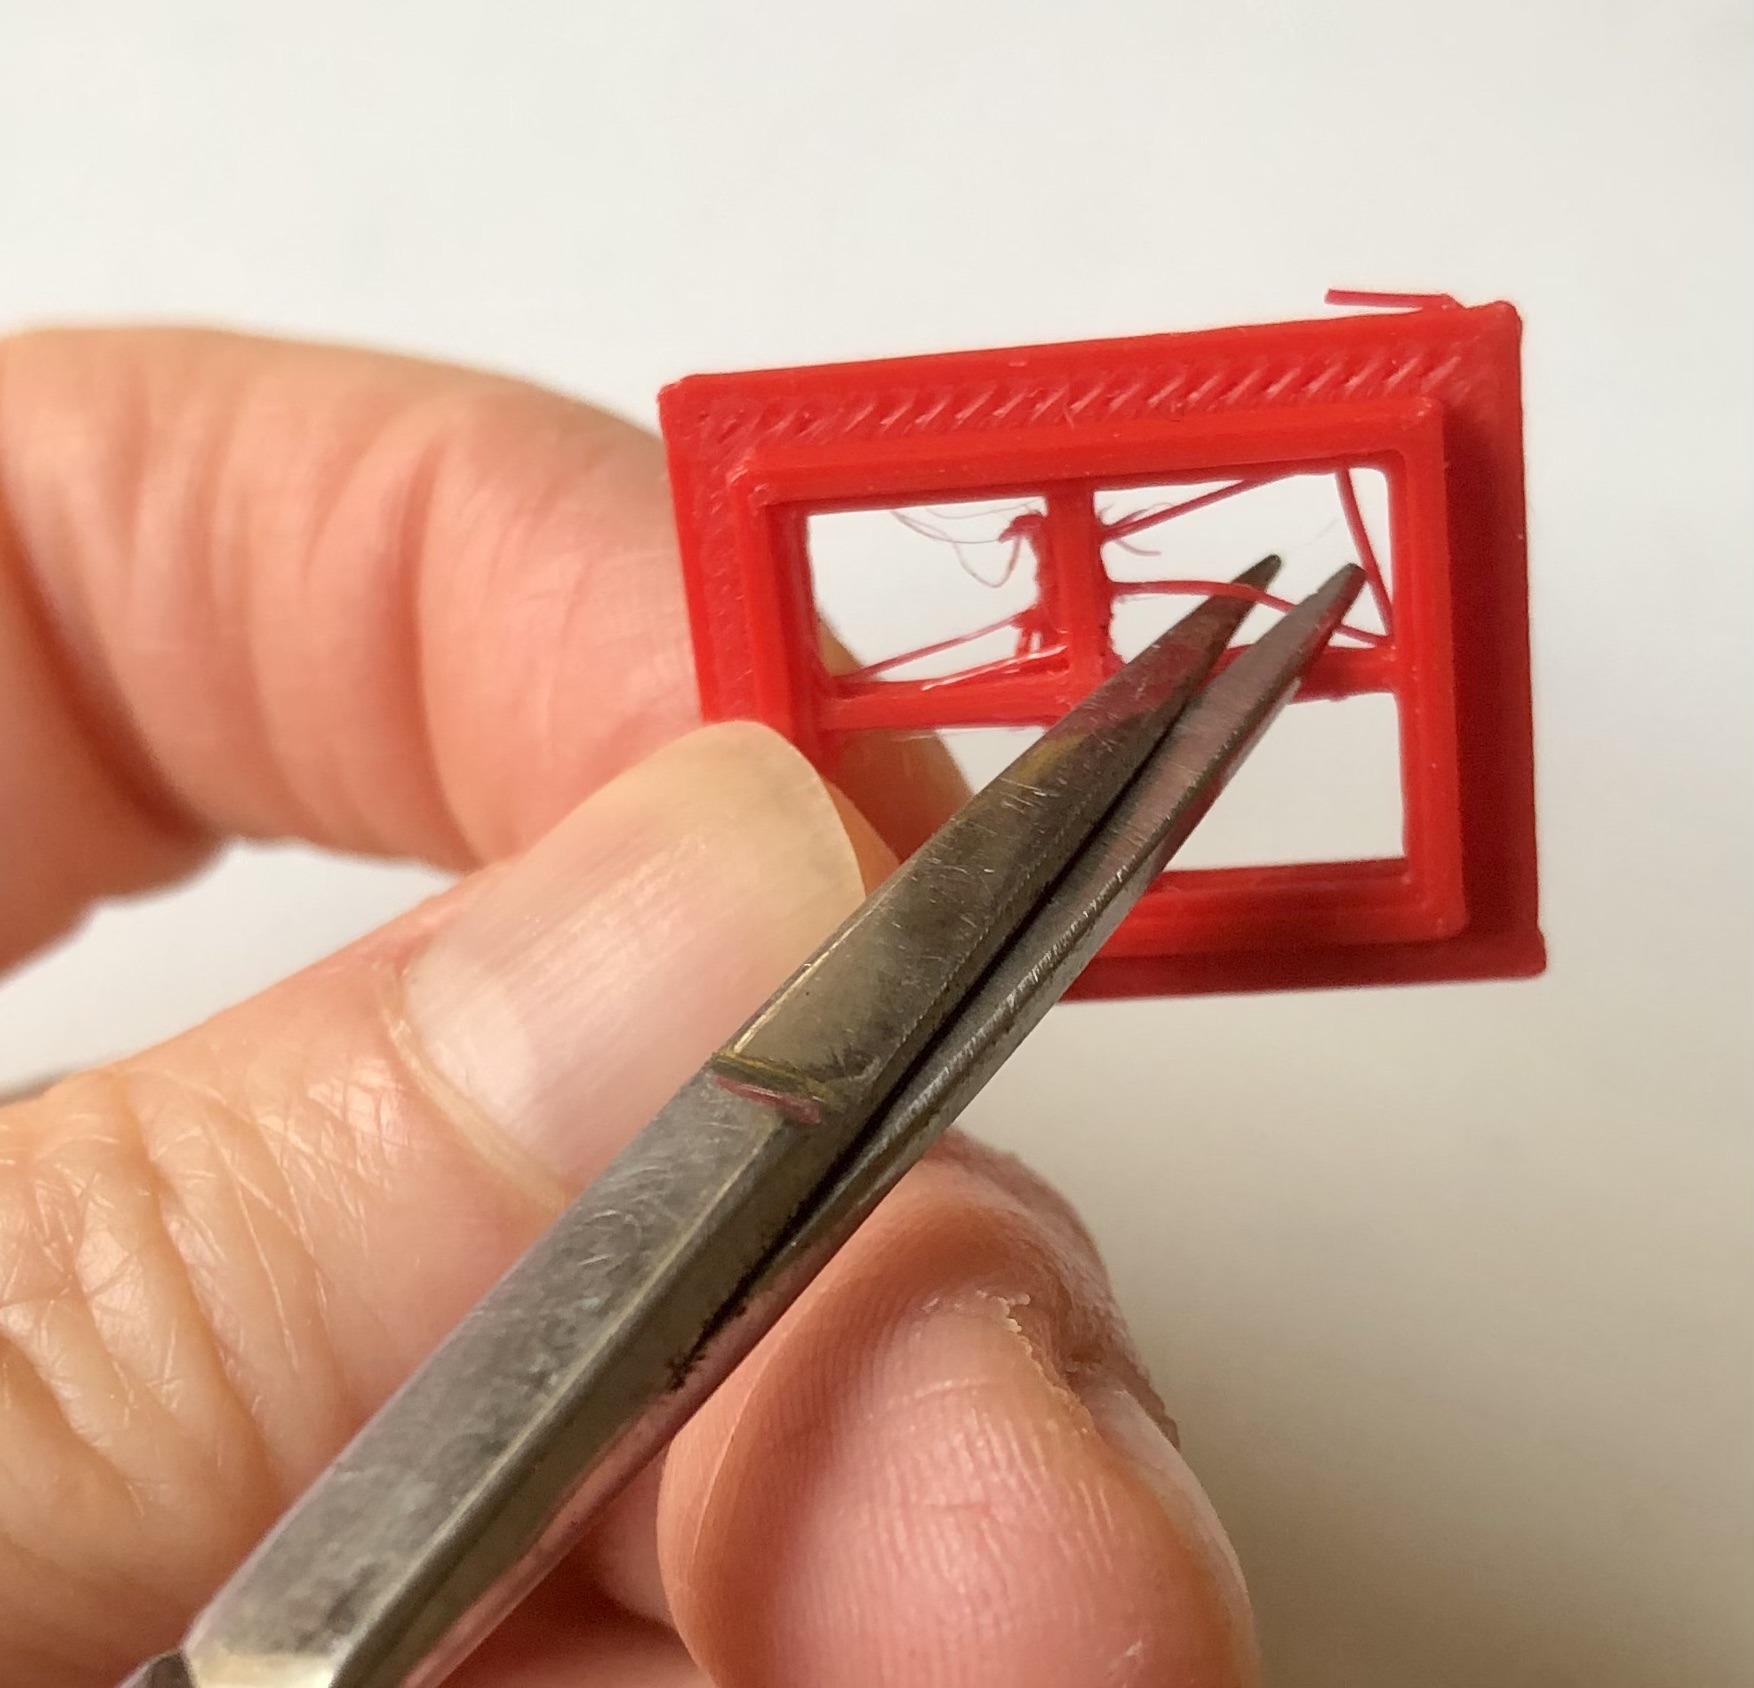
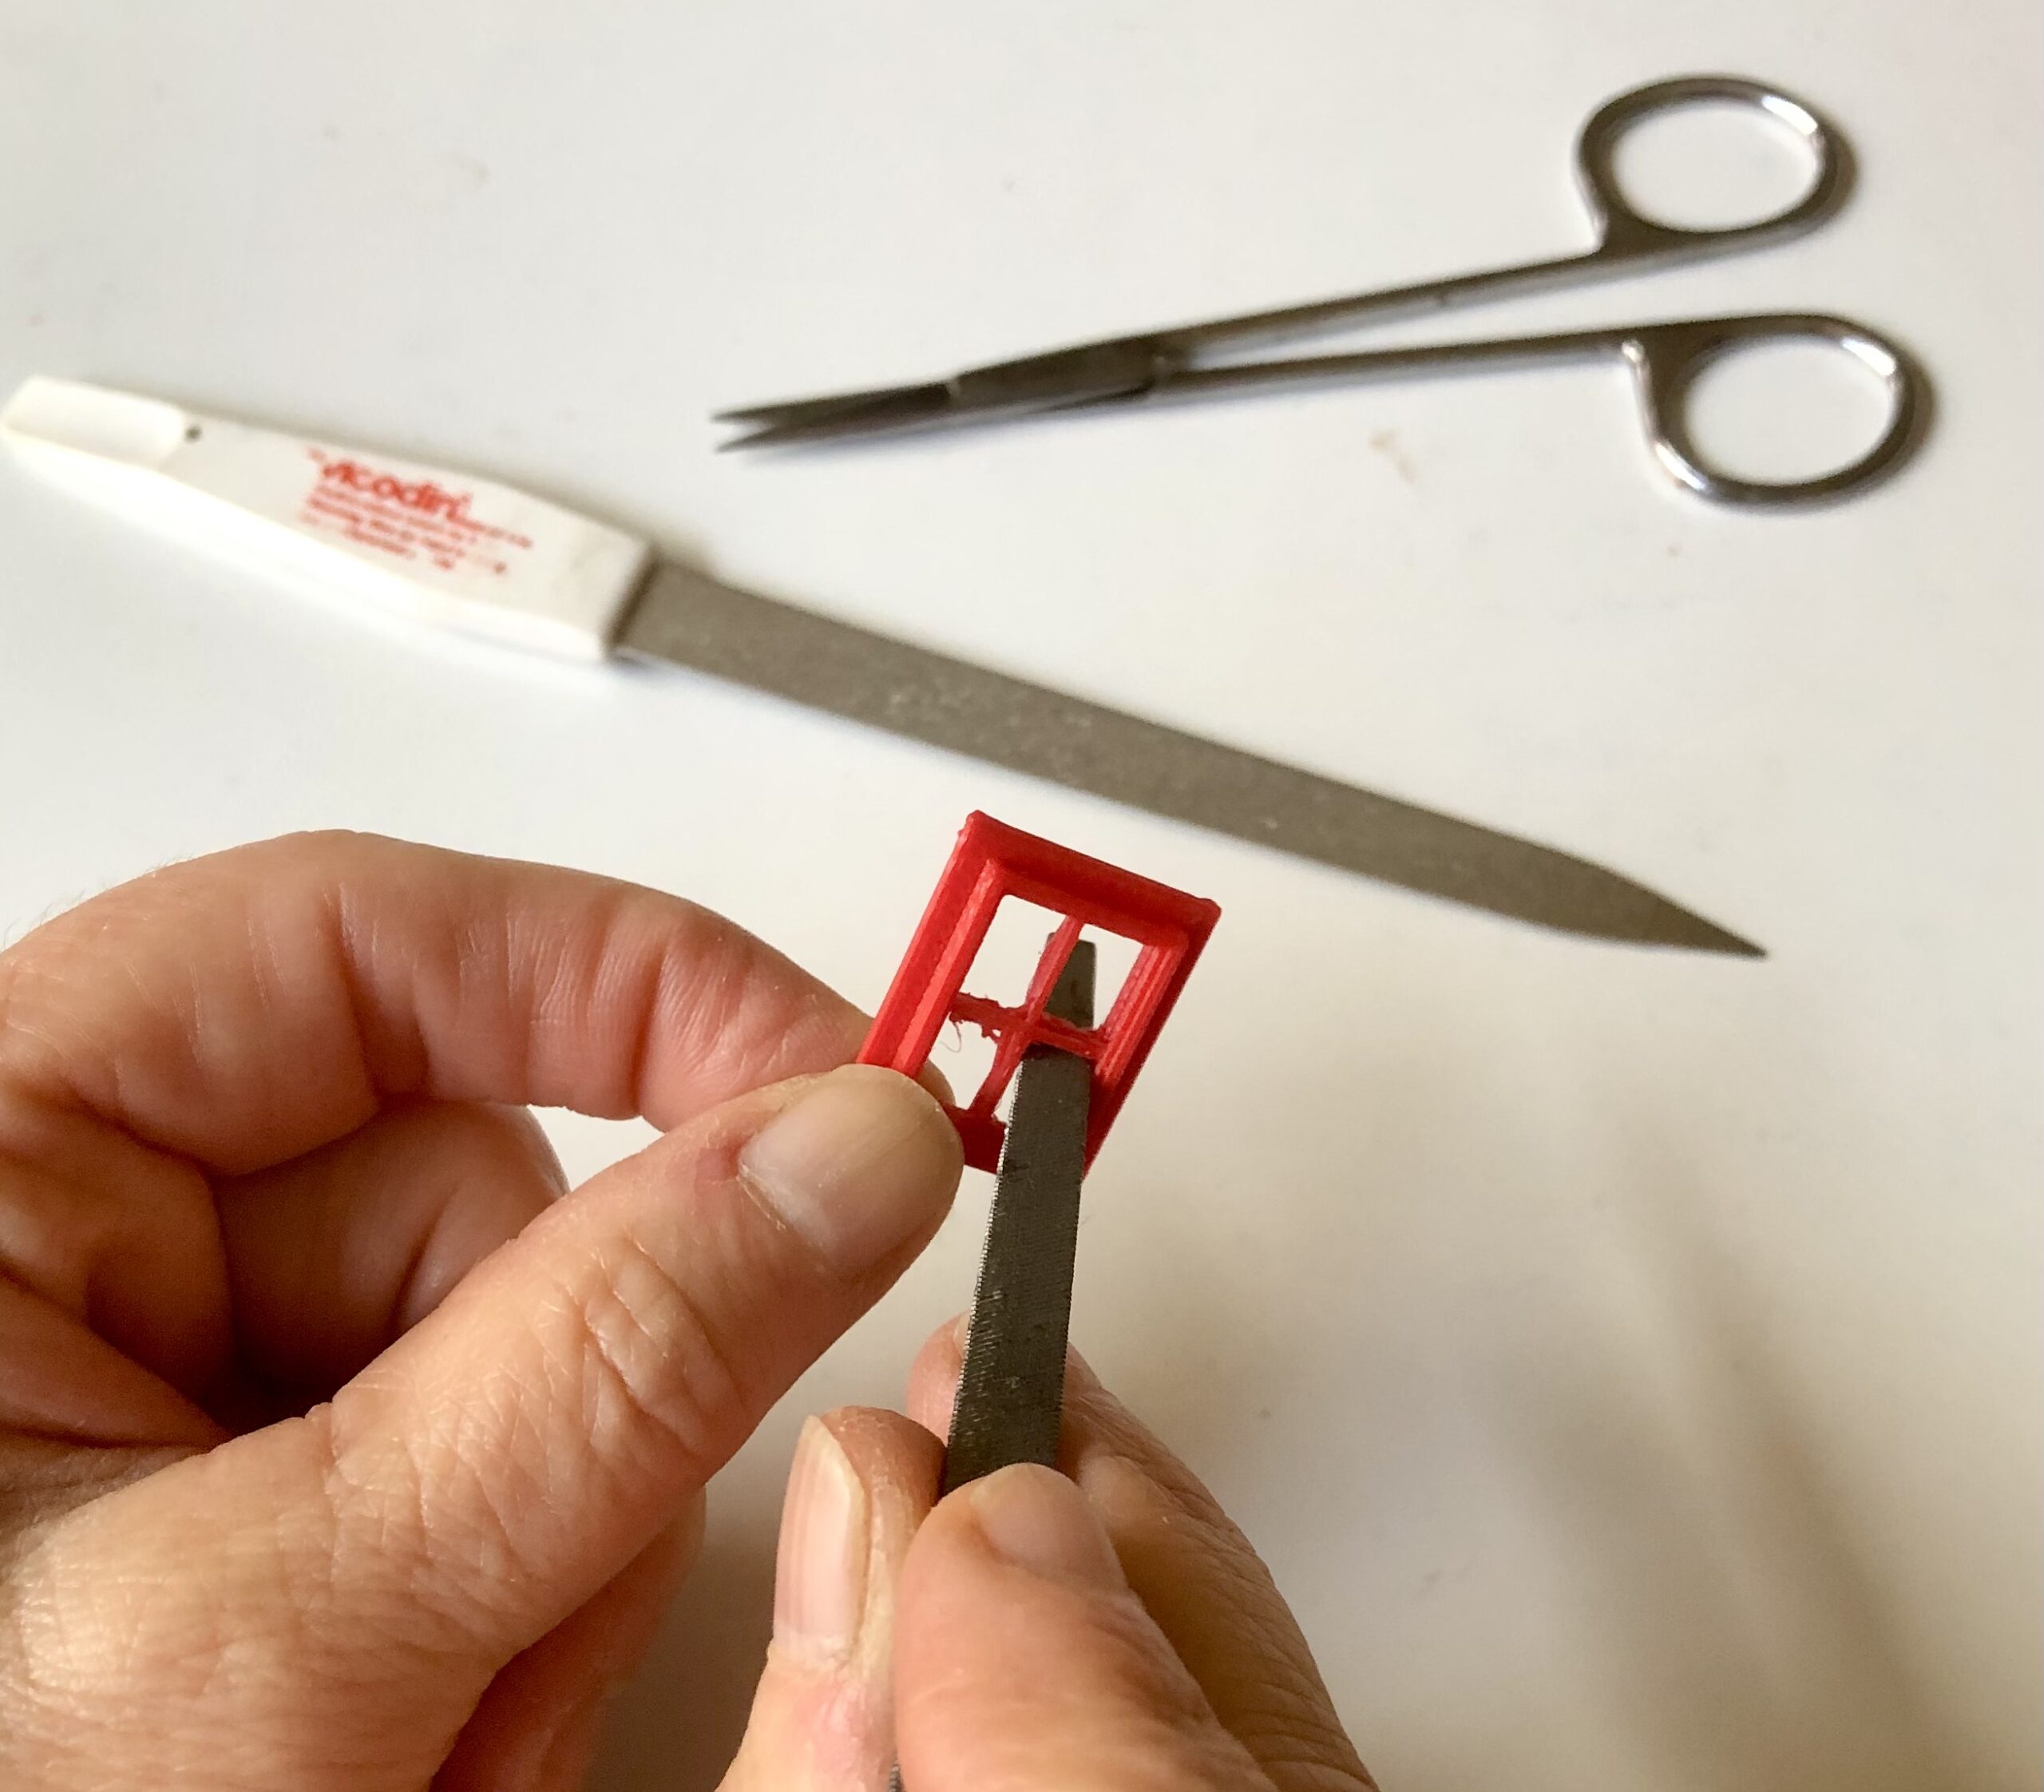
Here’s how easy it is to clean up threads and fine hairs left from 3D printing:
Example: Window
Just clip with scissors or use a file to clean up the threads.
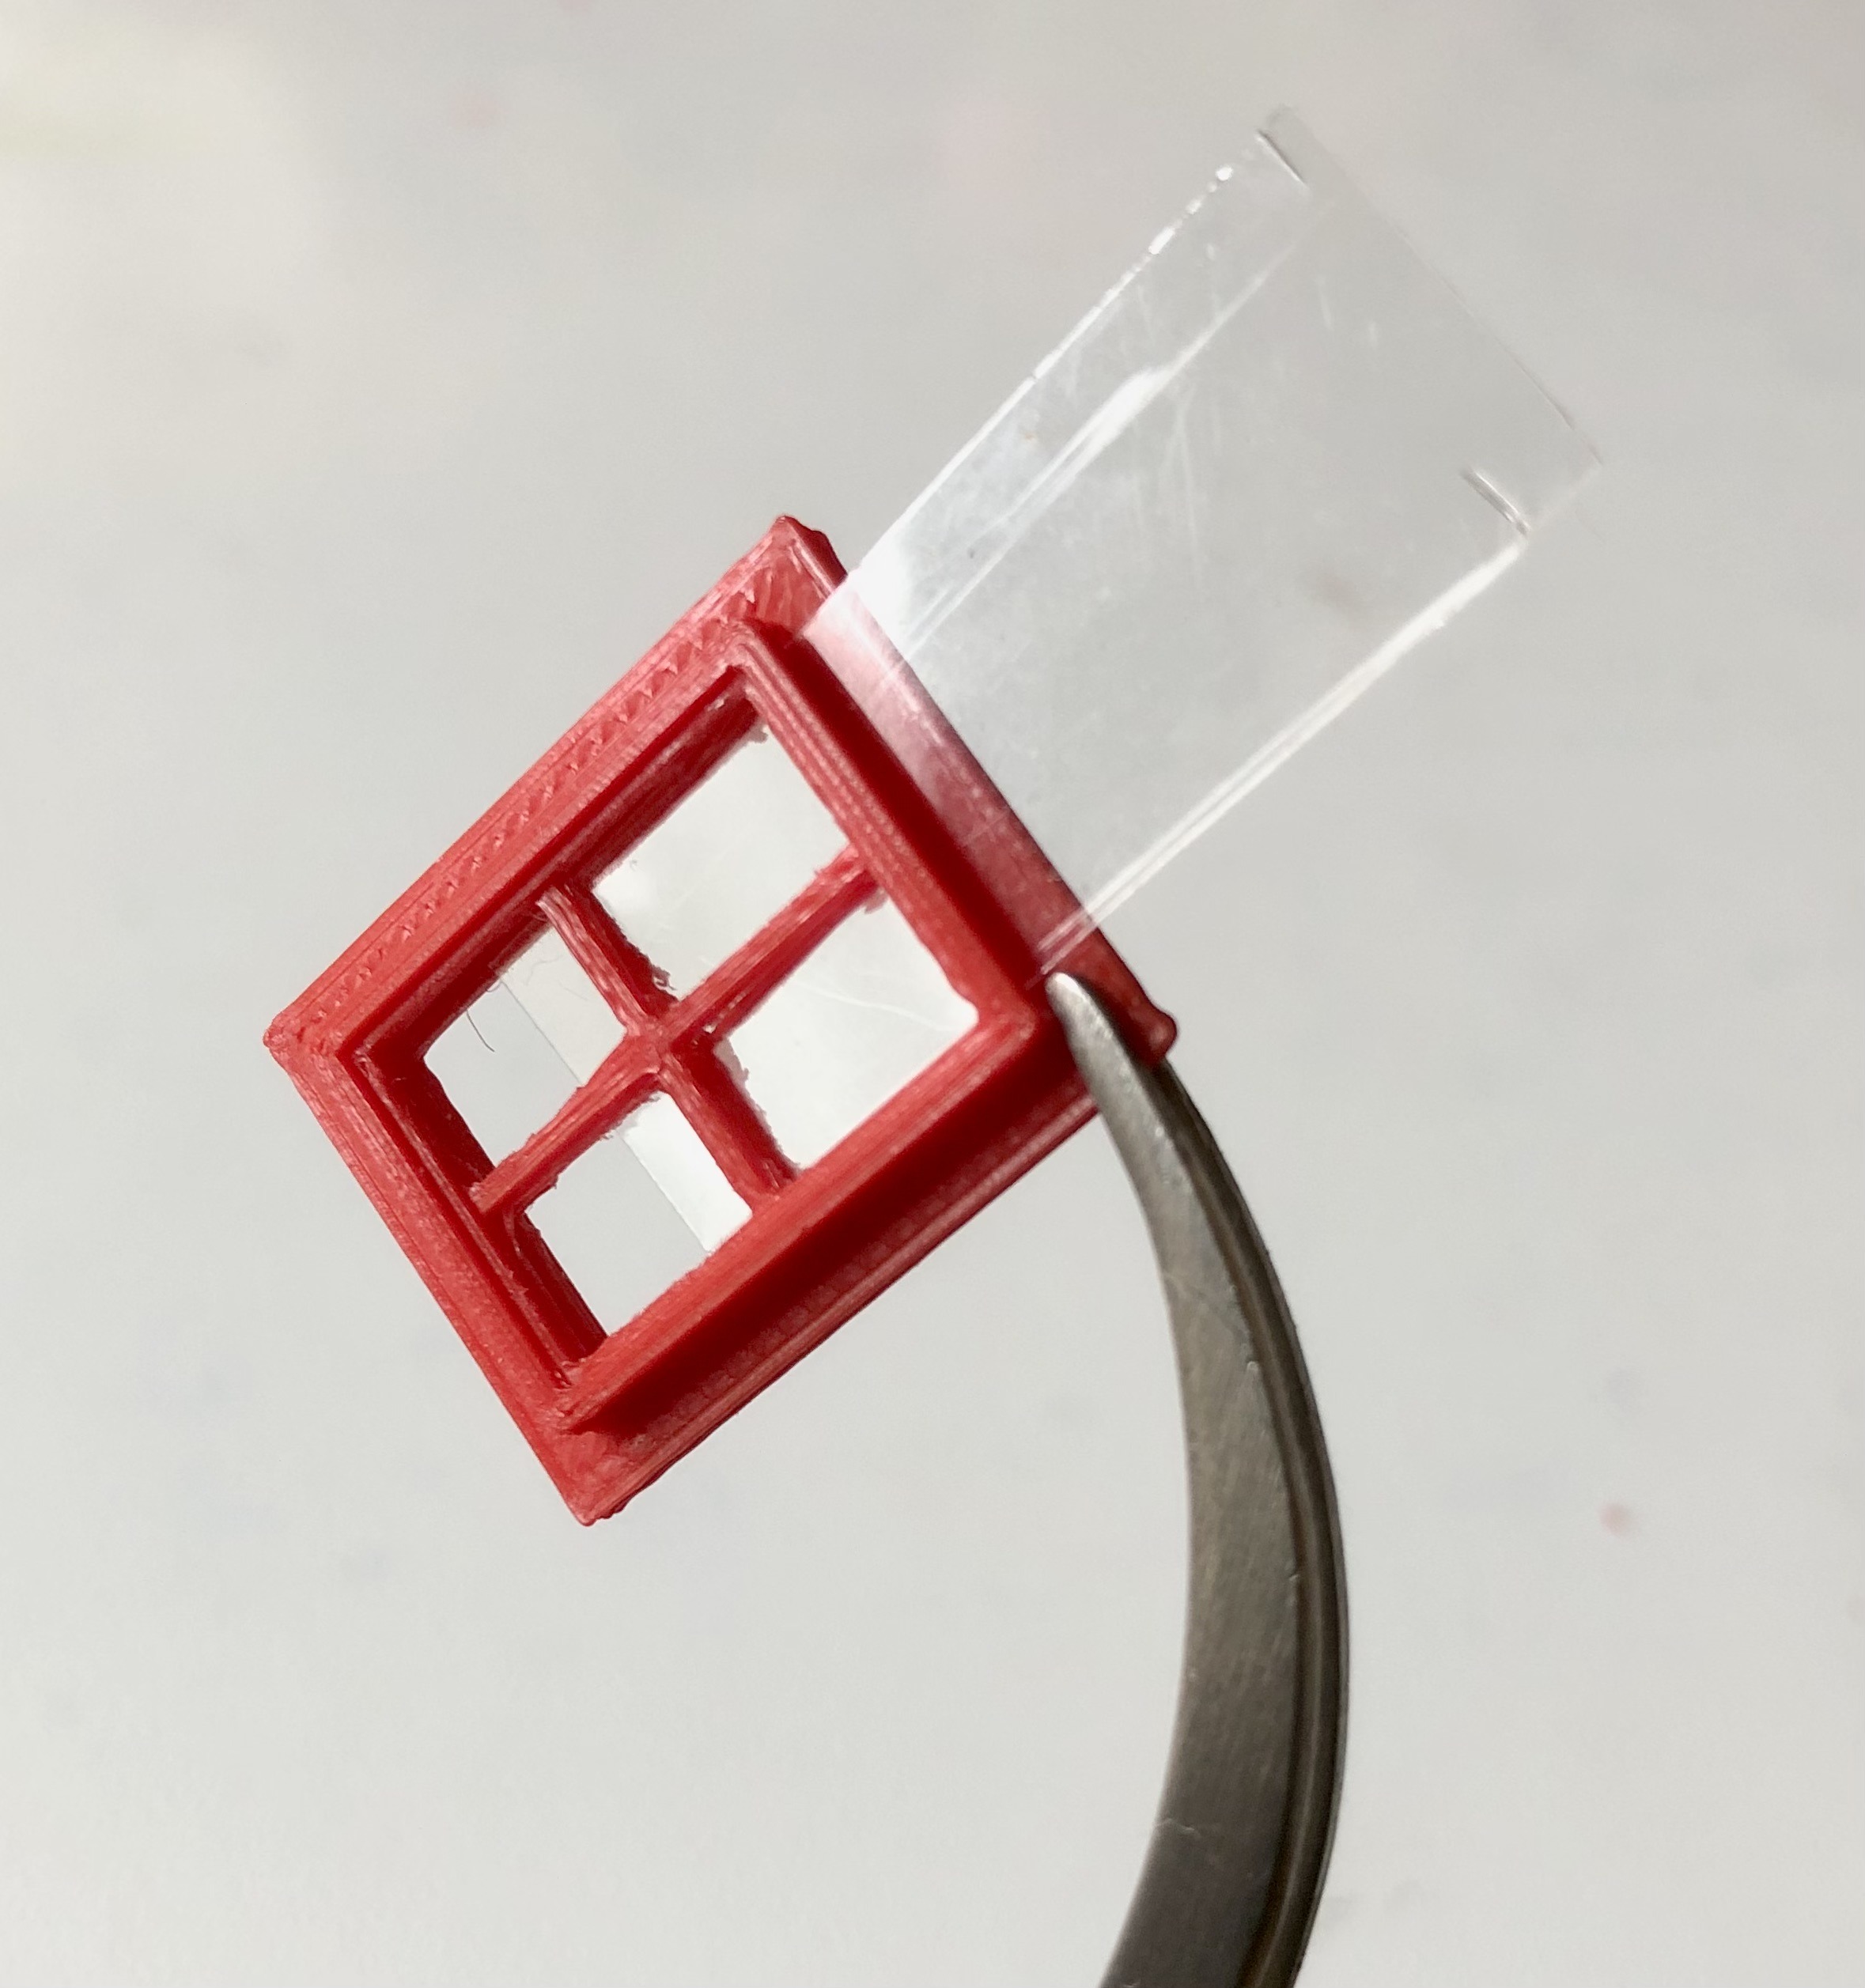
Sliding the acetate through the window slot may reveal a few more threads that need to be cleaned up.