Description
For Sale: All Nation Line Wood Beam Trucks Kit PN#3847K
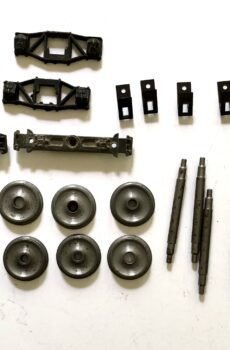
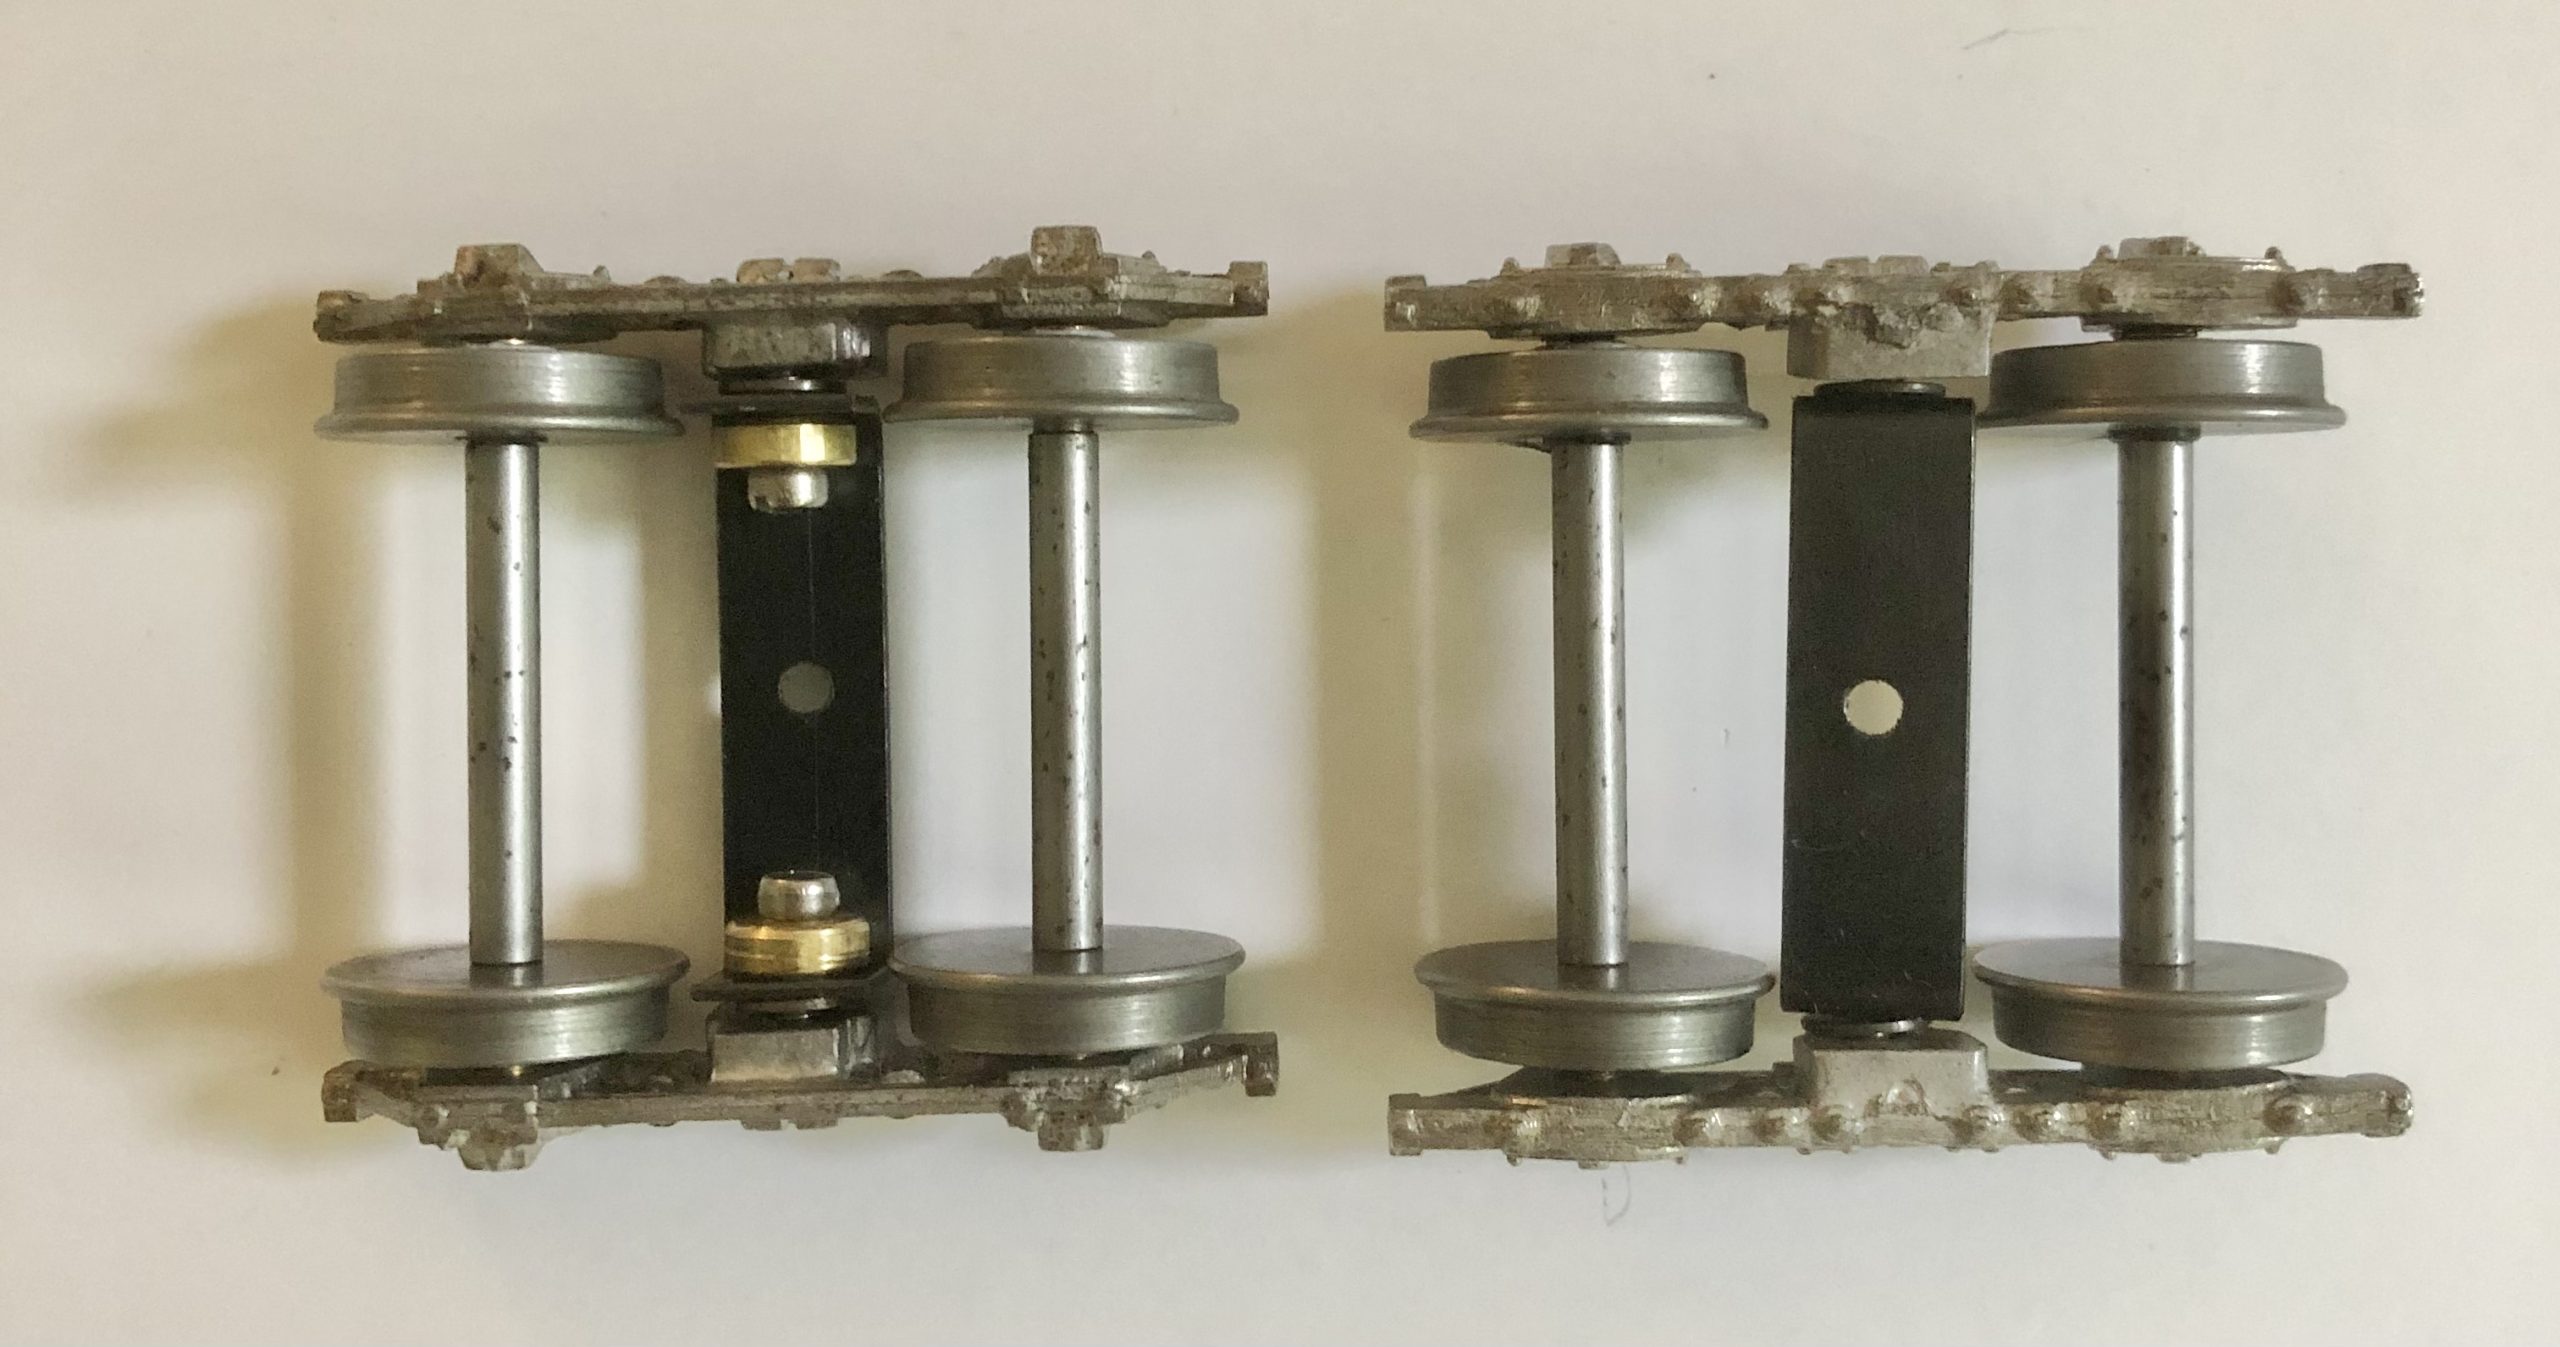
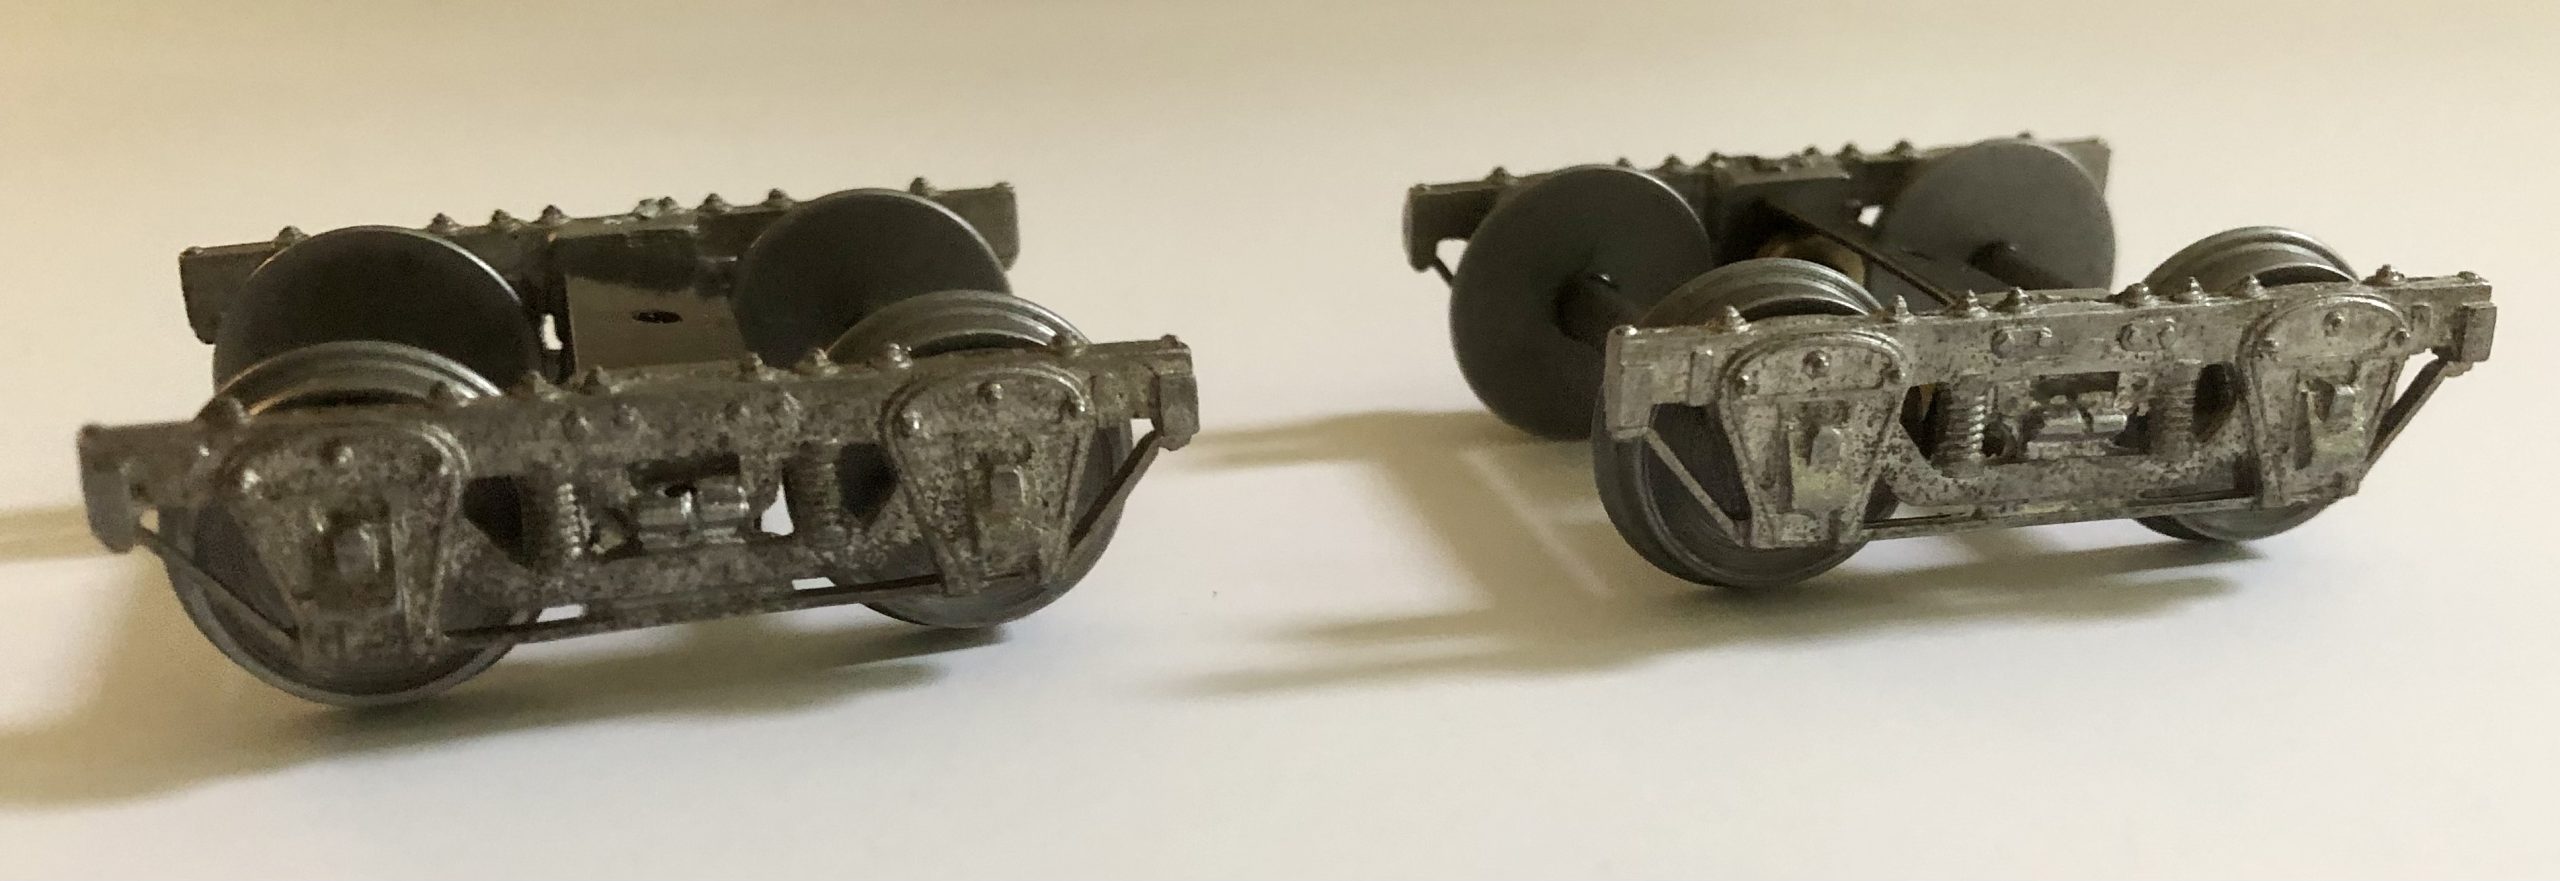
Instructions for Caboose Truck – Equalized Wood Beam 33″ wheels 3847 Kit (suitable for old time passenger cars as well)
The 3847 Kit is not for the faint hearted modeler and requires model building experience as well as some tools to build the truck into a freely rolling piece of equipment for your wood caboose application. The tools required are as follows: a Dremel with a cutting disk to trim sprues, a small drill press, an arbor press, 1 #43 drill bit to tap the bolster 4-40 machine screws, and #32 to drill the journals for the eyelet bushings. A 4-40 bottom tap will also be required and a small screw driver.
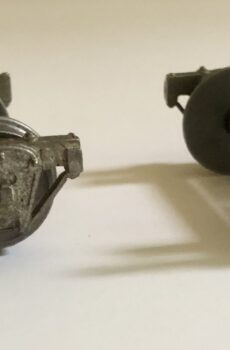
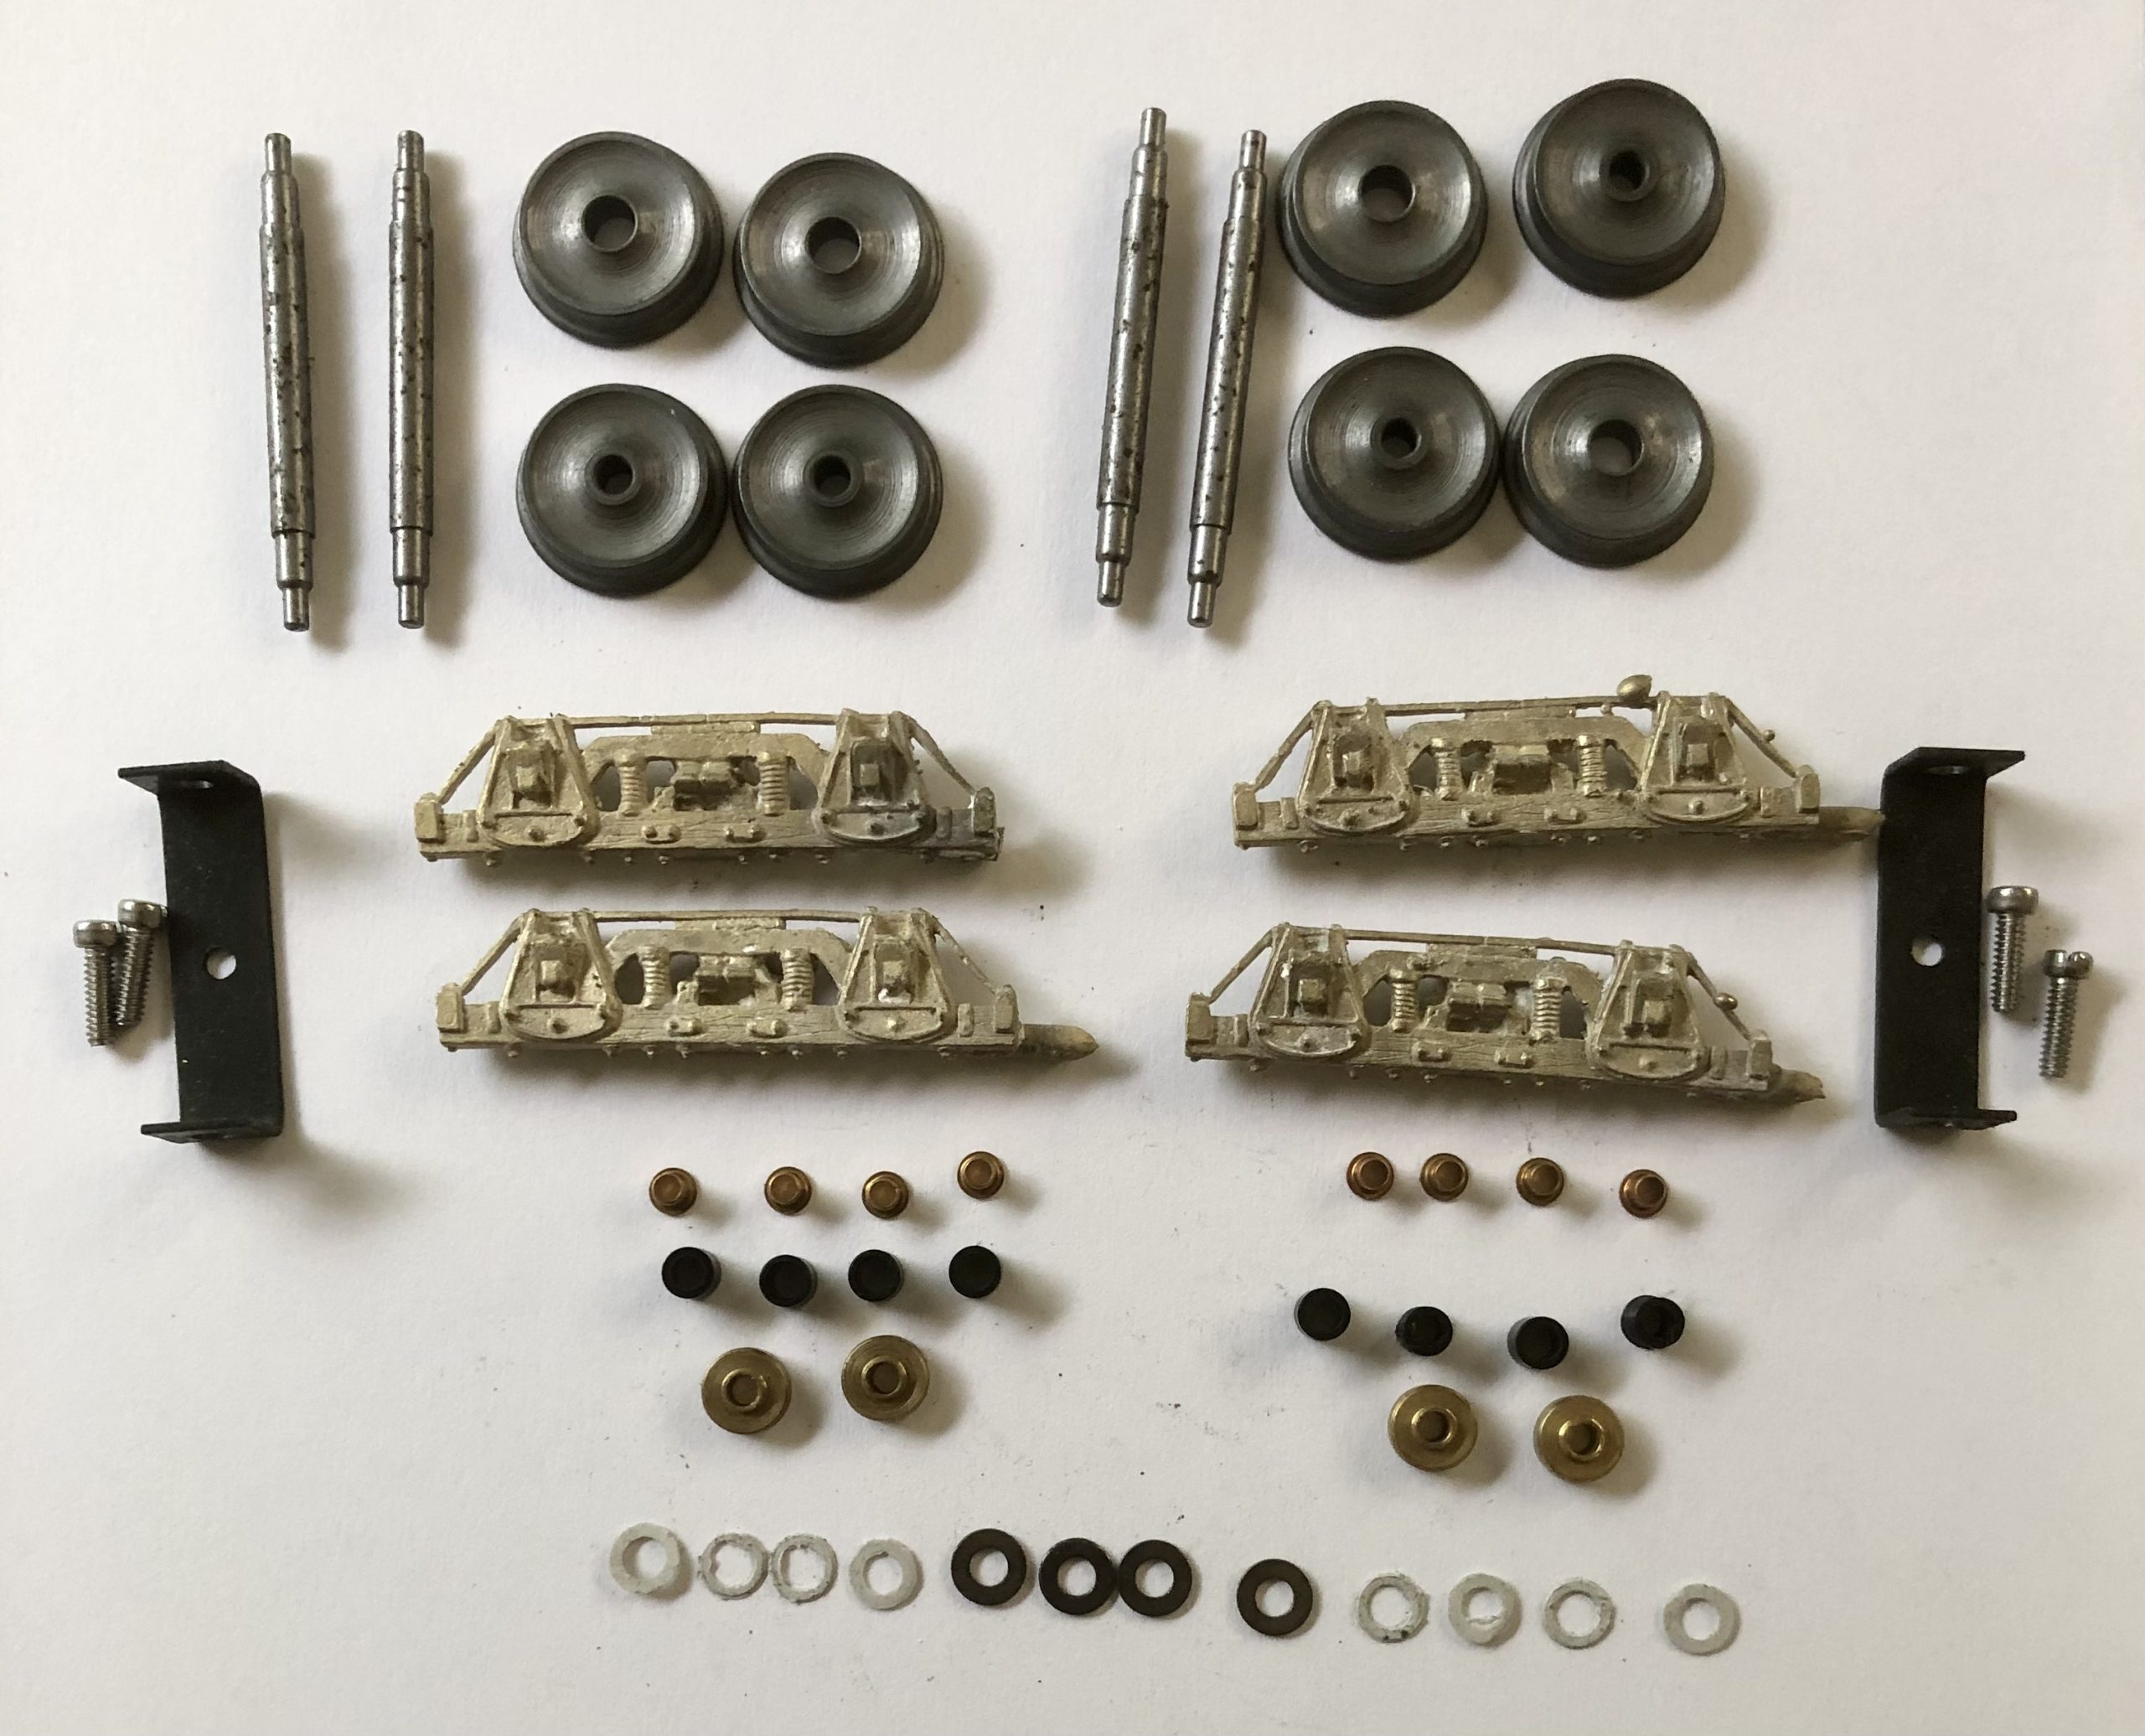
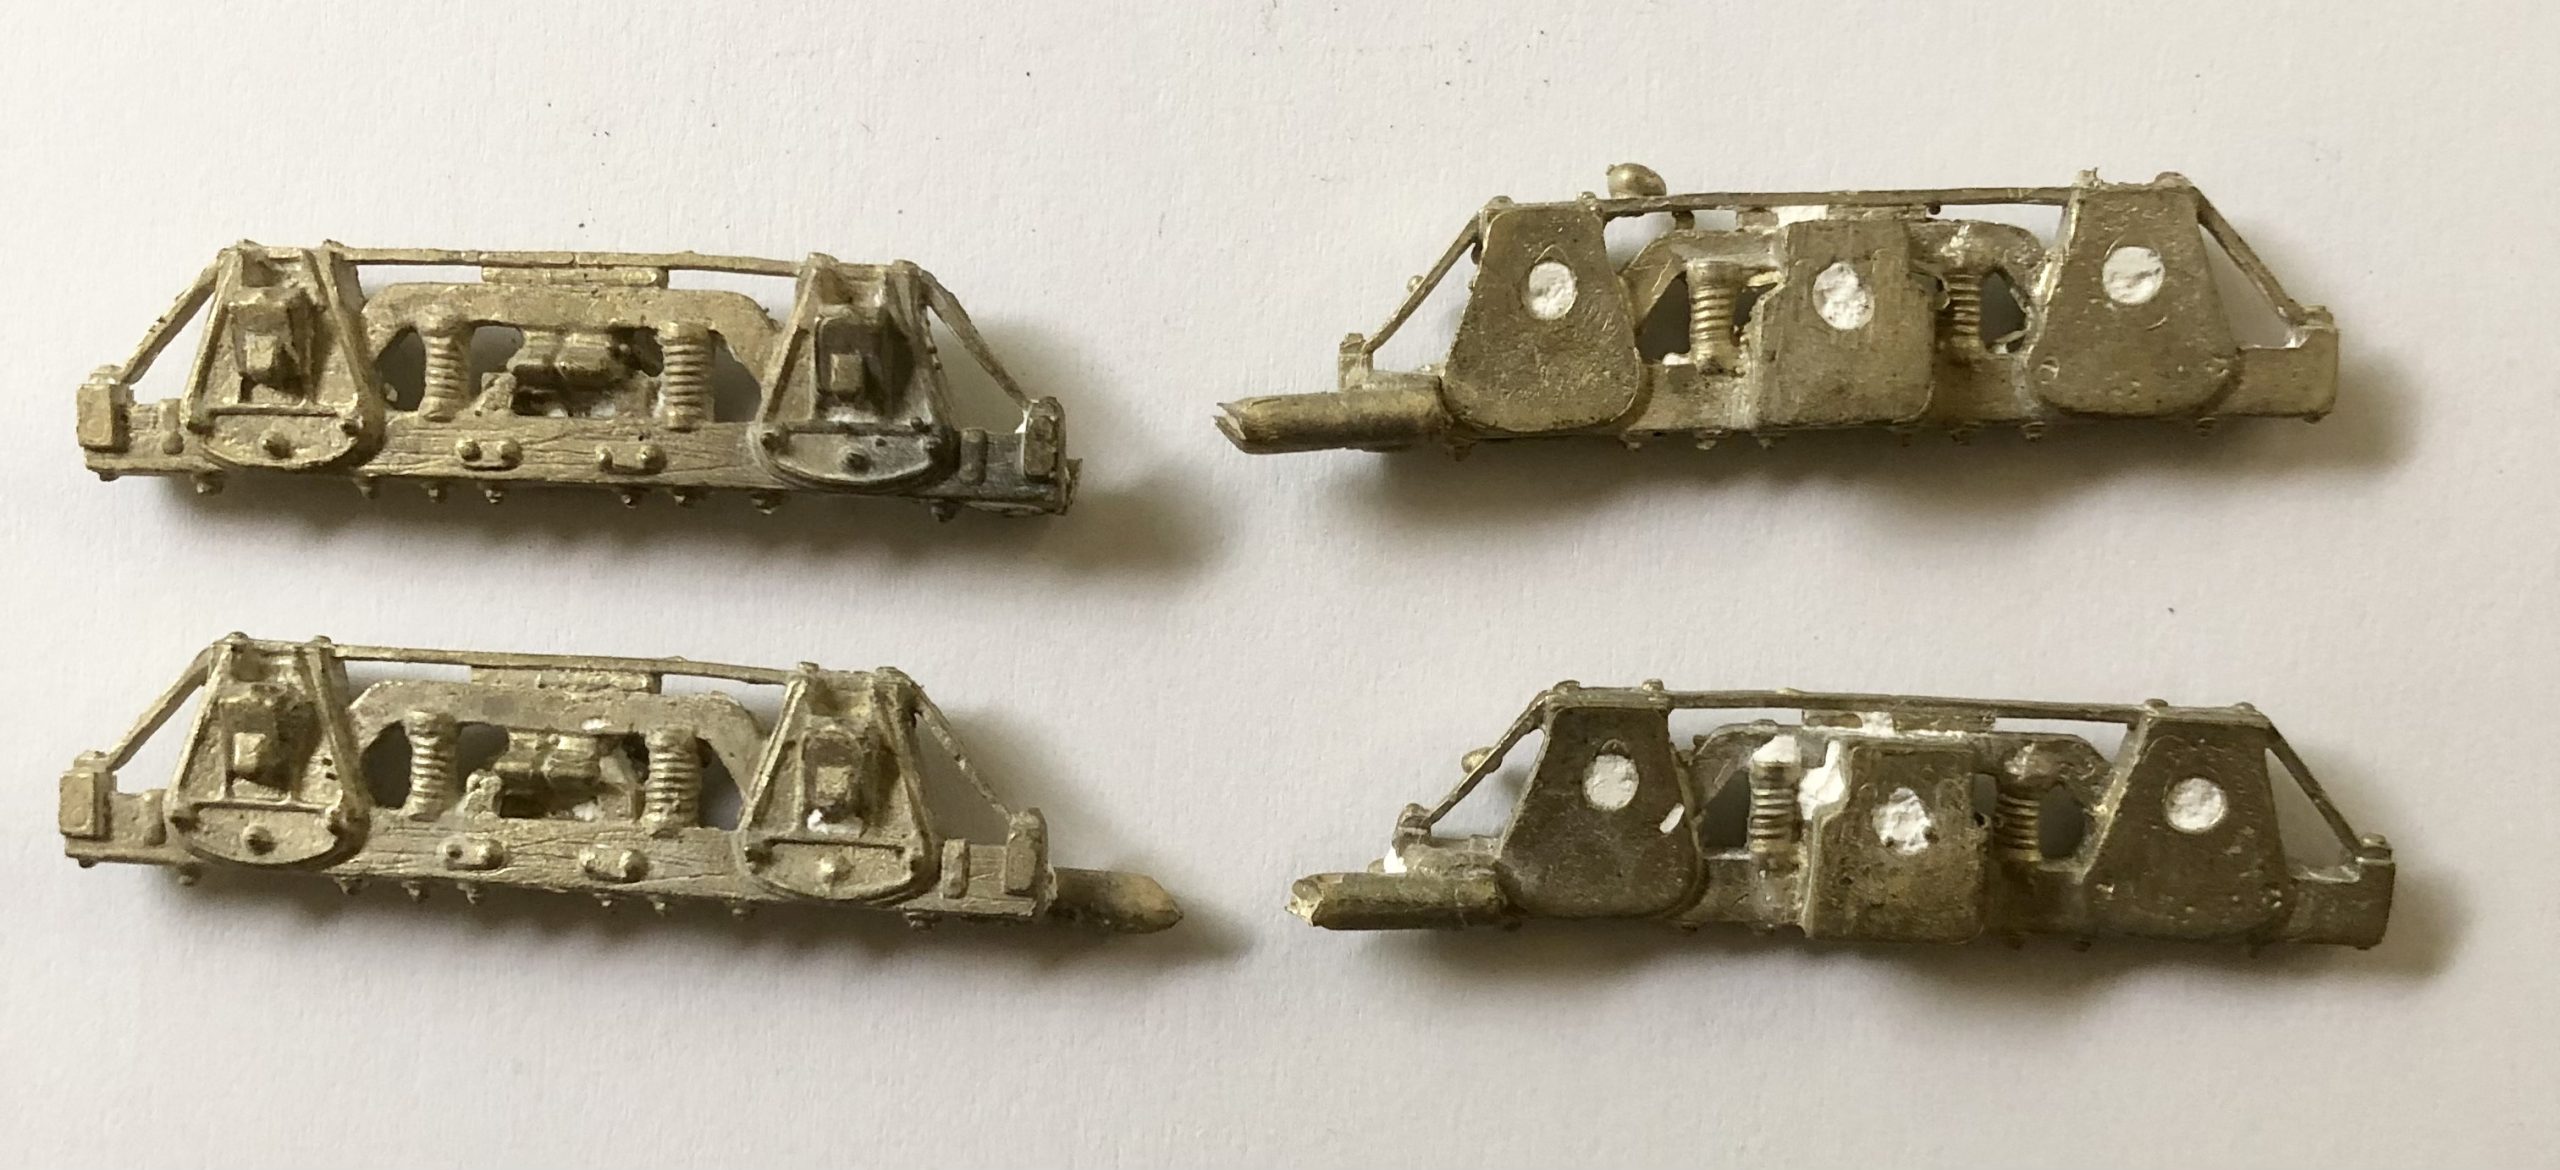
The 3847 Wood Beam Caboose Truck is an Investment Brass casting. The casting has not been processed so the modeler is required to remove the sprue(s) and clean up any flashing. The back side face of the journals should also be touched up with a file to make sure the surface is smooth and free of any casting material. The modeler will also notice that the side frames have not been drilled. It is important to be very careful in setting the depth for drilling the journals and the bolster screw holes such that the holes should not be drilled clear through. The journal eyelet bushings should be drilled with a #32 bit to a depth of 0.125″ to 0.130″ where the 0.114″ outside diameter sits in the hole such that the flange (0.15″ diameter) sits on the inside face of the journal. The ends of the axles will fit and rotate in the eyelet bushing. The eyelets can be glued in; however, there is a risk of glue getting on the inside surface of the bushing and causing a problem when it comes time to assemble the kit and putting the axles into the journals. We leave this decision up to the modeler; however, it is not too difficult to assemble if the eyelet bushings are free. I prefer a slight amount of float in the journal therefore I avoid using glue.
The bolster must also be drilled for the 4-40 x 3/8″ machine screw. Once again, set the depth so as to not drill clear through the leaf spring detail. Once the holes are drilled with a #43 tap bit, use a 4-40 bottom tap to cut the threads for the bolster screws.
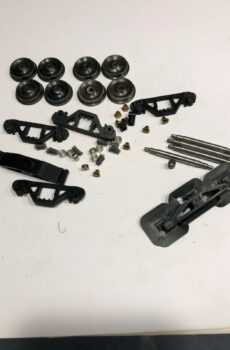
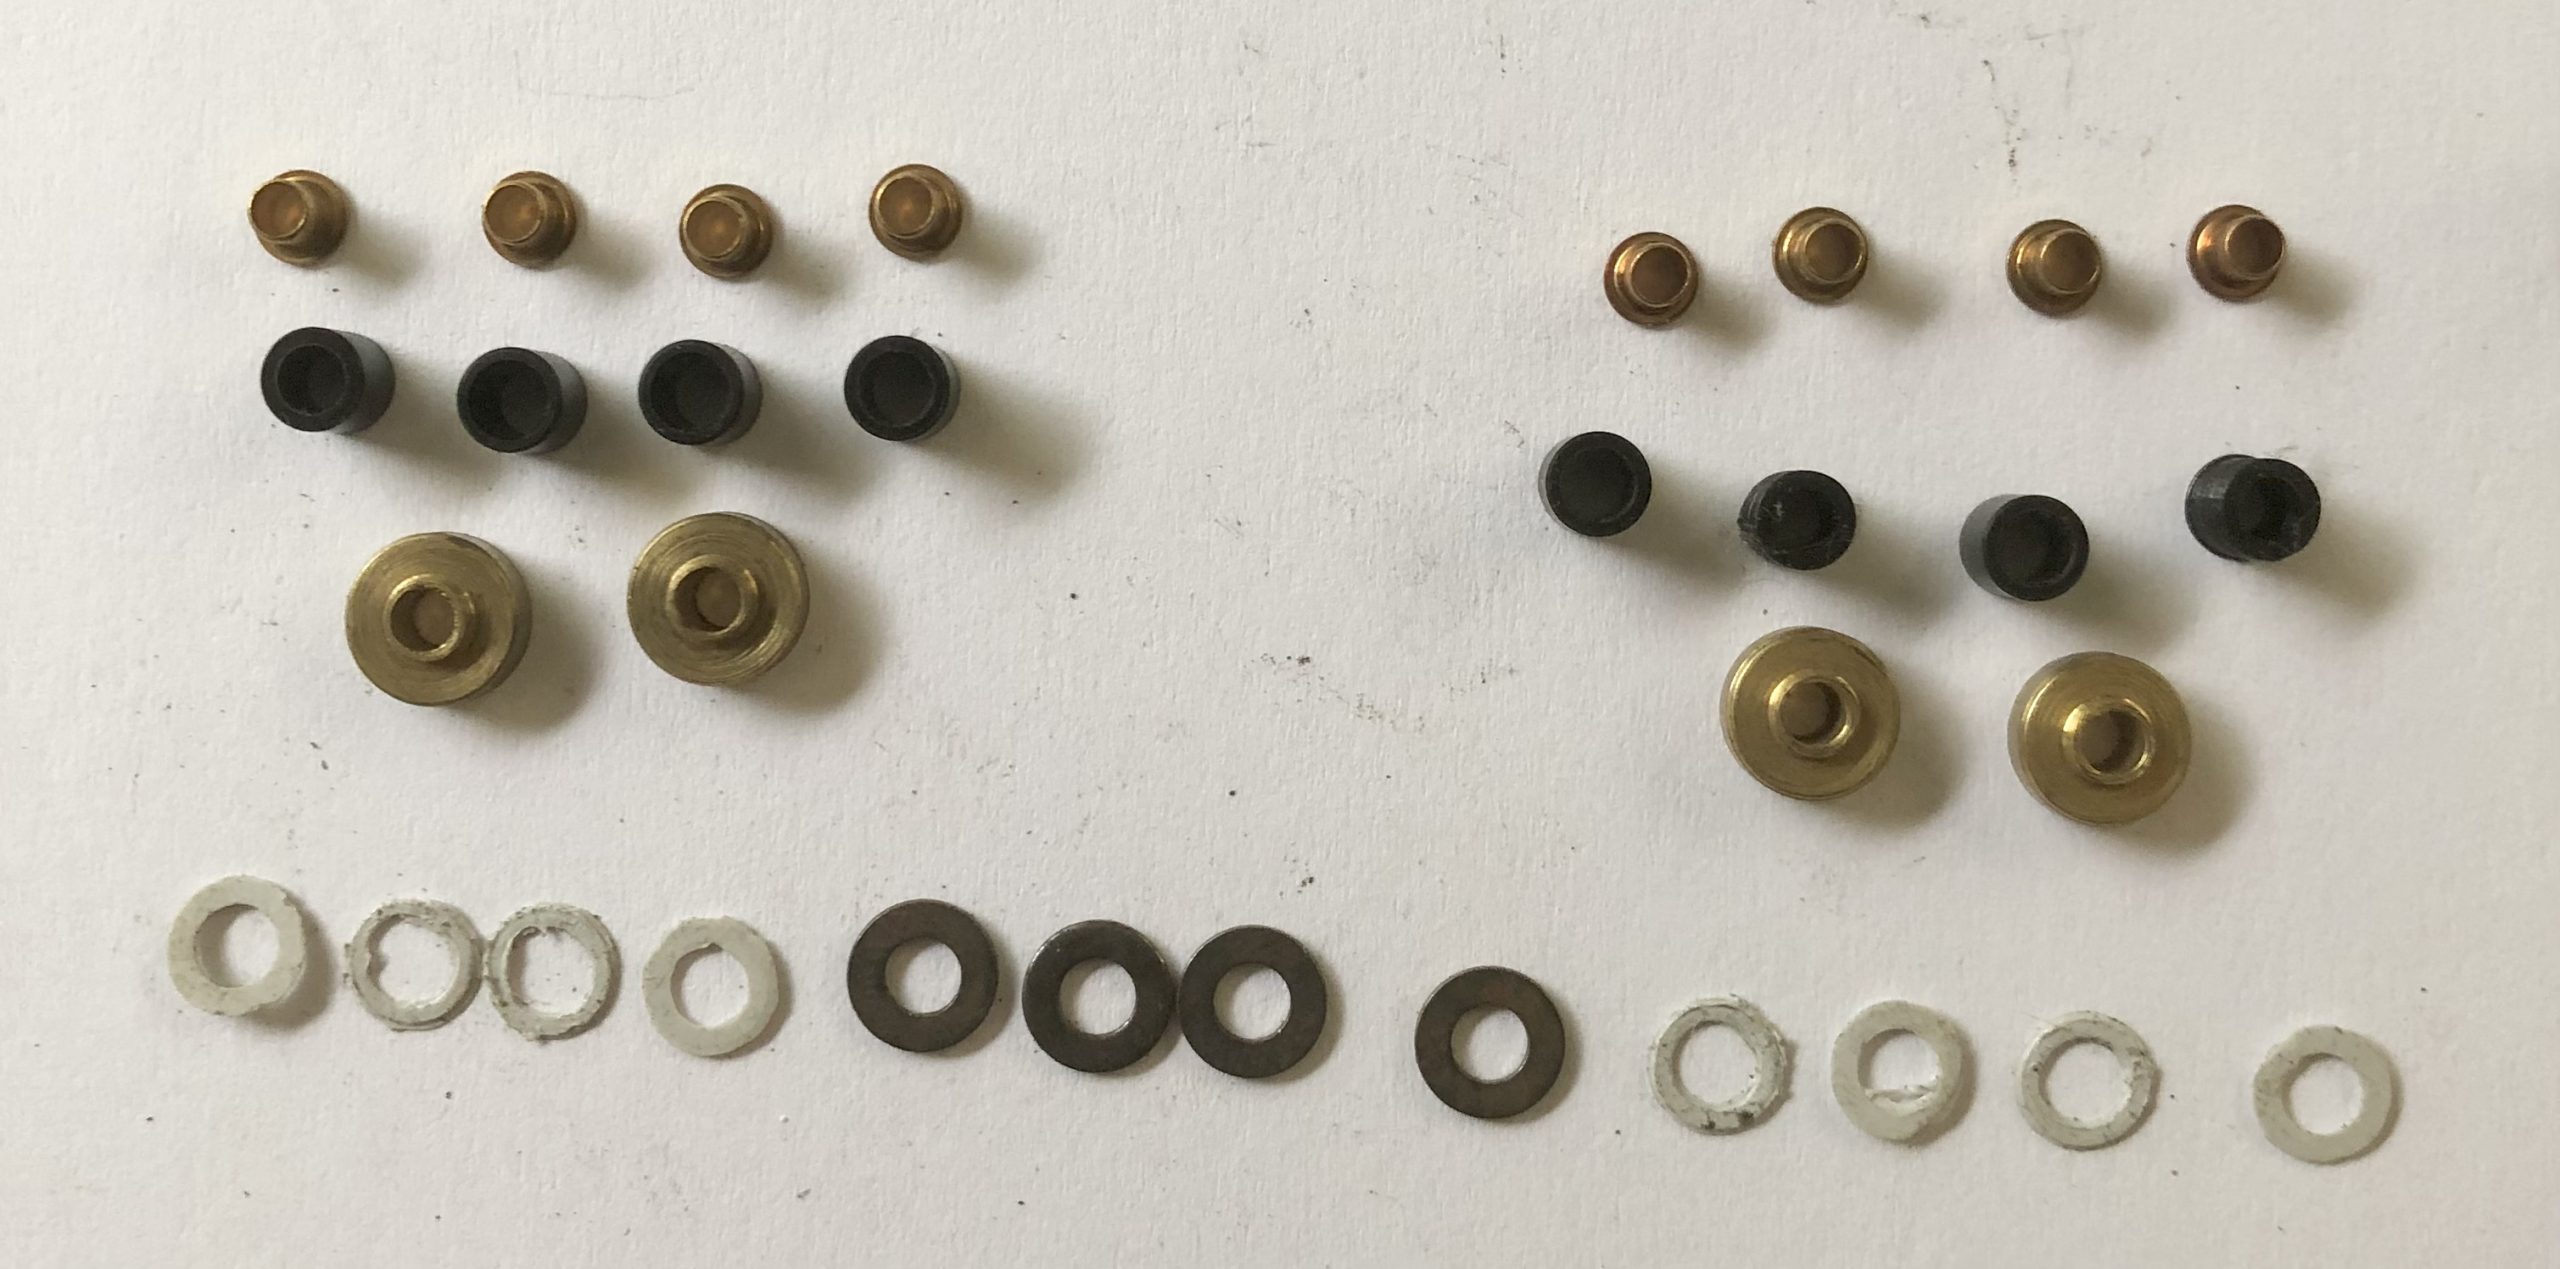
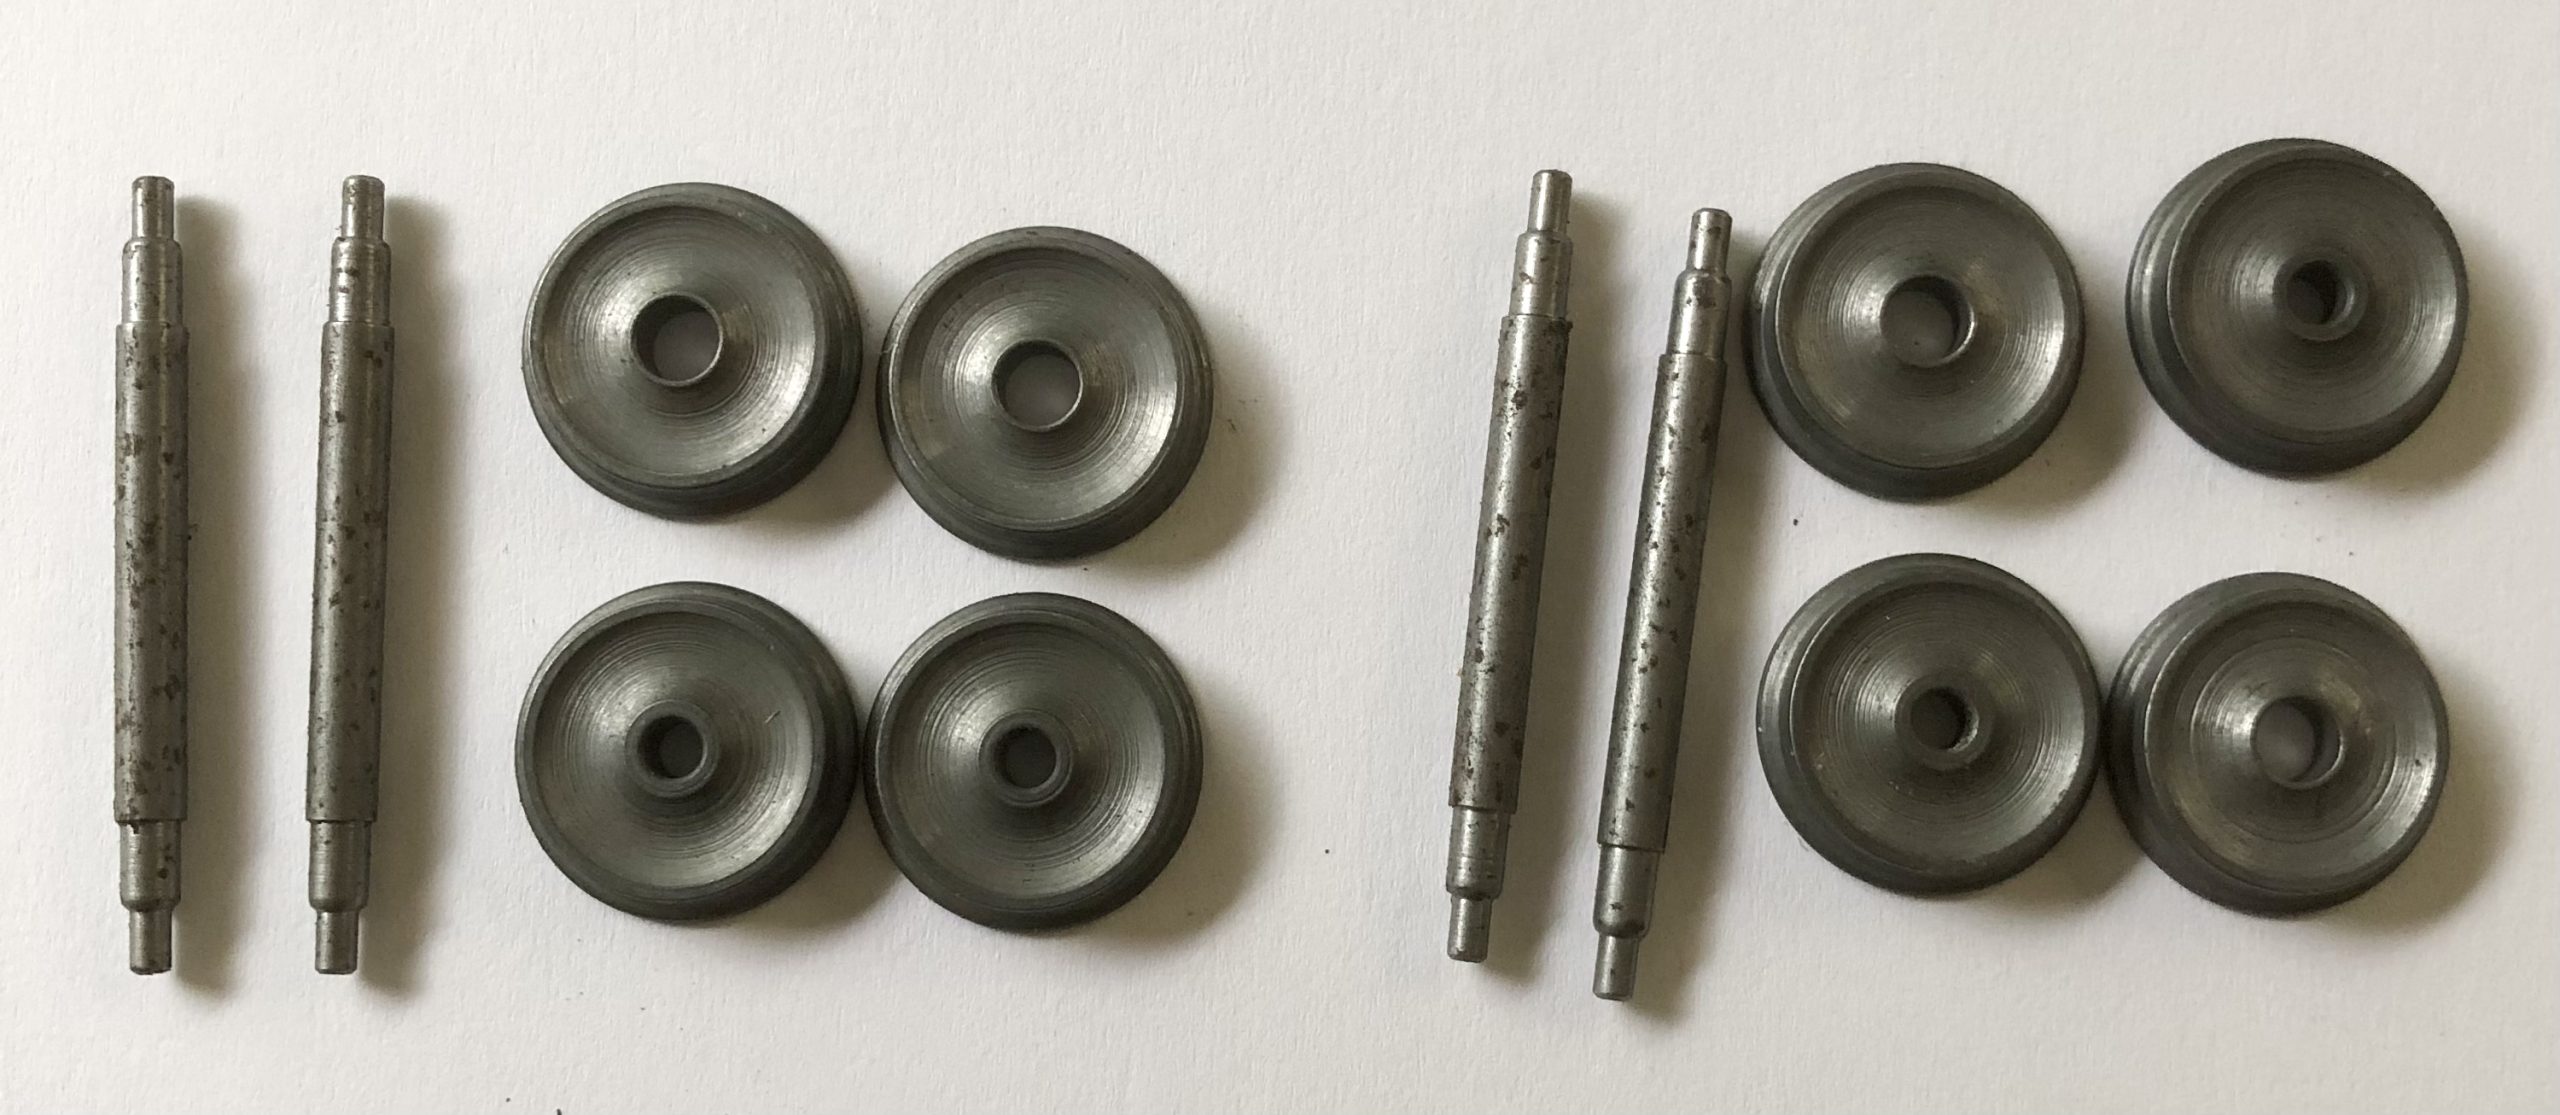
The wheels will need to be pressed onto the All Nation #1524 axles. The wheels are All Nation #1353 with the large hole for insulating with the plastic sleeves and #1354 has the small hole requiring no insulating. It is assumed some modelers are running DC current on the rails and the trucks must be insulated on opposite sides to prevent short circuits.
The bolster accommodates 2 brass #1392 brass bushings with shoulders. Assemble the 1st side frame with the 4-40 screw by placing the screw through the bushing using spacer washer C2021 (0.281 x 0.145 x0.030) between the side frame and the bolster as a spacer. Start the screw but do not snug it up just yet.
Time to install the wheels previously mounted on the axles. Put 1 PC/ABS plastic washer on the ends of the axles. If the eyelets have not been glued into the journal, place the eyelet bushings on the ends of the axles. Insert the 2 axles into the 1st side frame making sure the insulated wheels are on the same side. It may be easier to work up the truck assembly on a flat surface since it can be a little tricky getting things in place as you install the 2nd side frame. Use the 2nd 4-40 screw and the other #1392 bushing and the spacer washer C2021 to finish assembling the truck. The bolster screws can now be adjusted and snugged up. Test the truck to make sure the wheel sets turn freely and the bolster can rotate freely on the shoulders of the brass bushing #1392. Repeat this procedure for the second truck.
Made in the USA.