Description
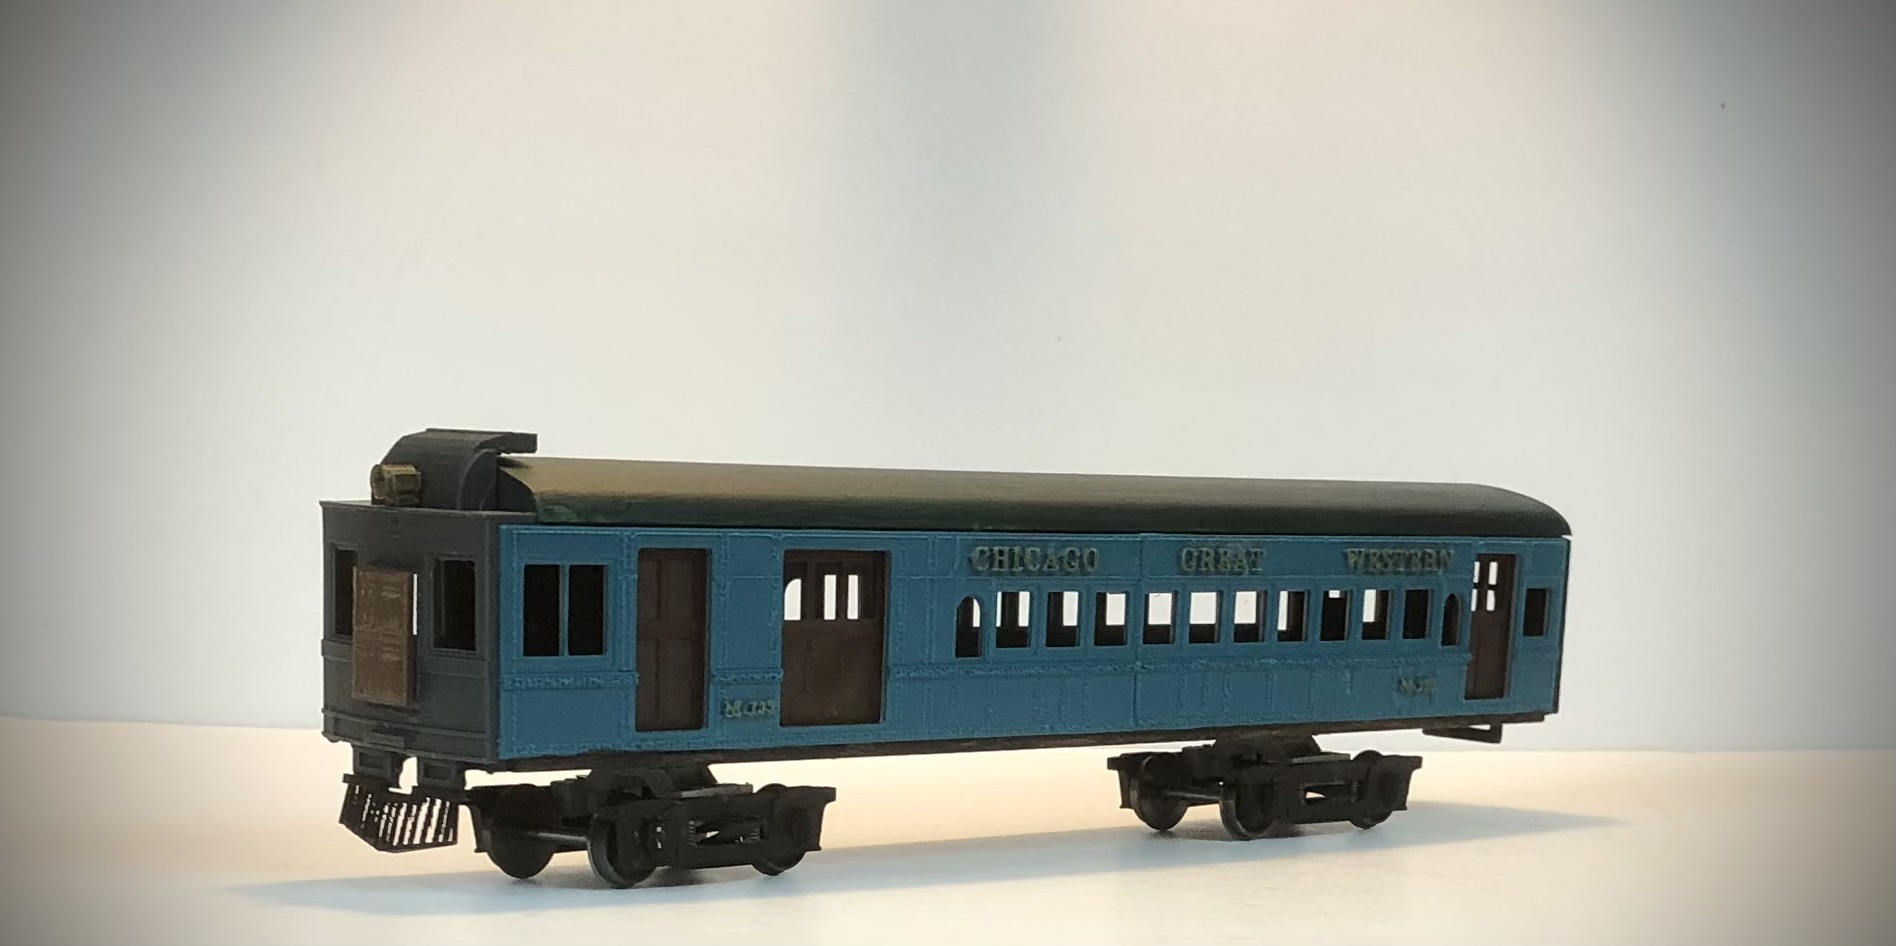
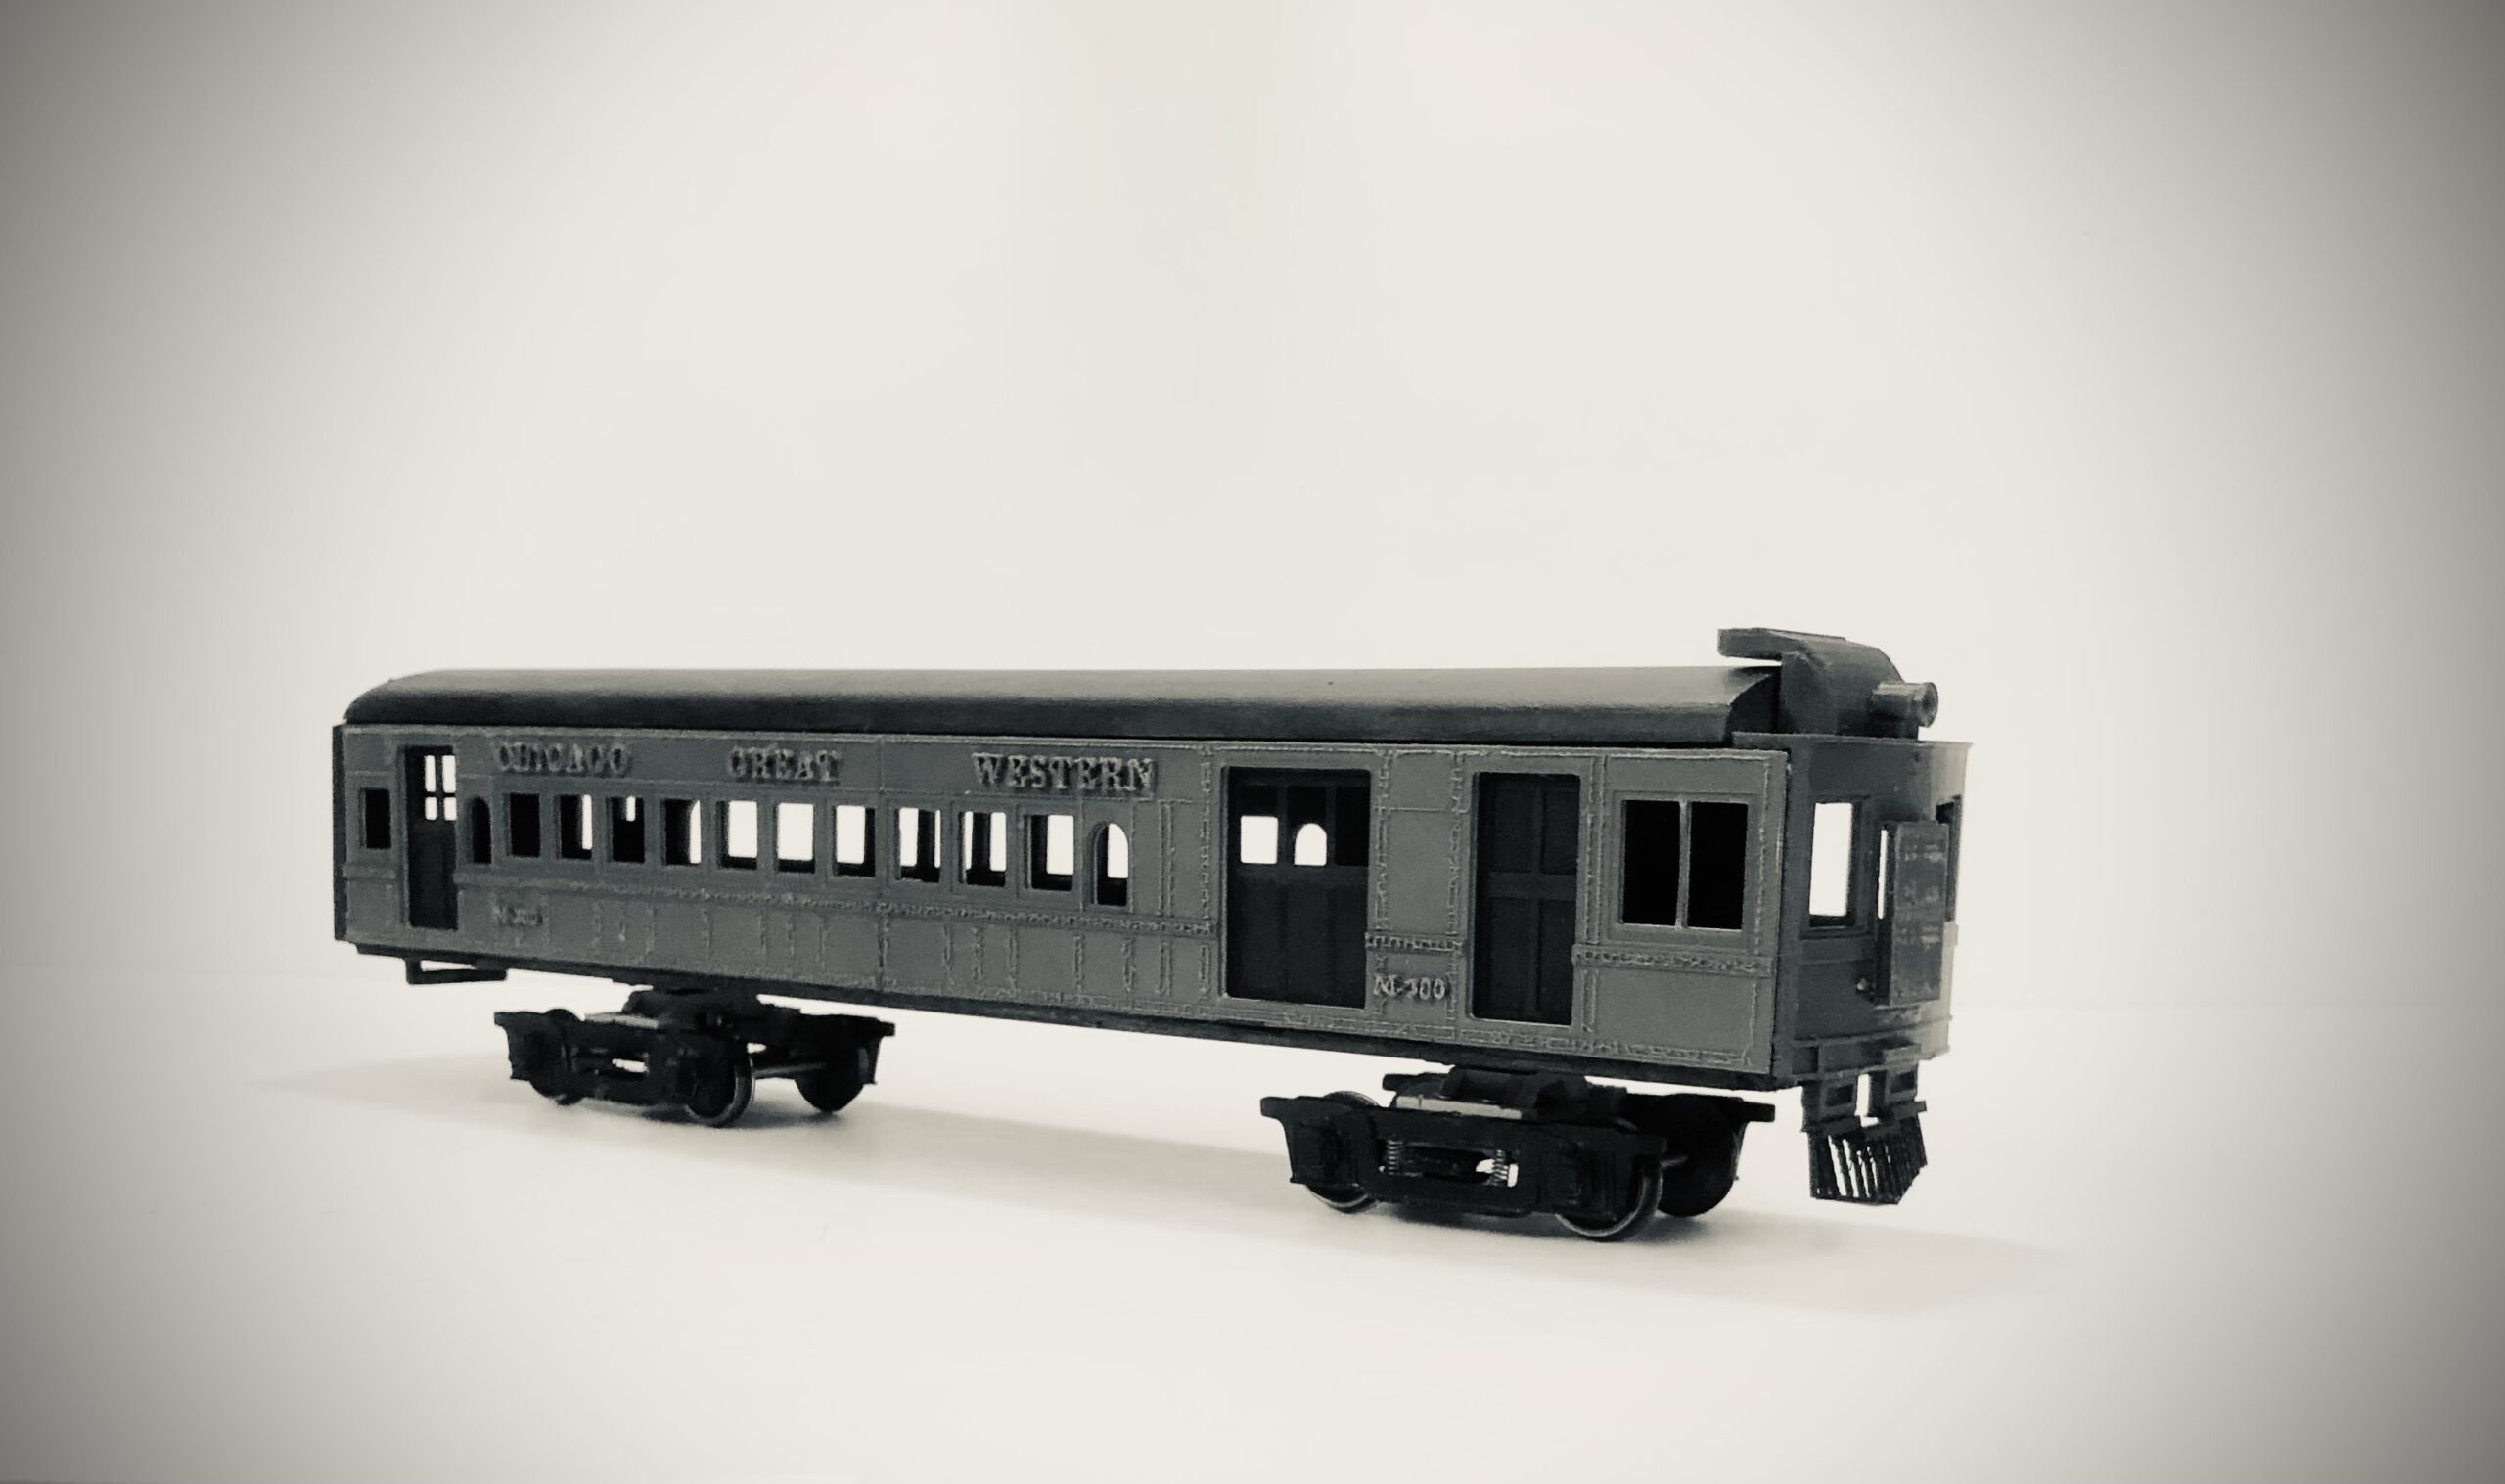
For Sale: All Nation Line M-300 Gas Electric “Doodlebug” Kit Basic 57′ Chicago Great Western (minus trucks/details) PN#465AN
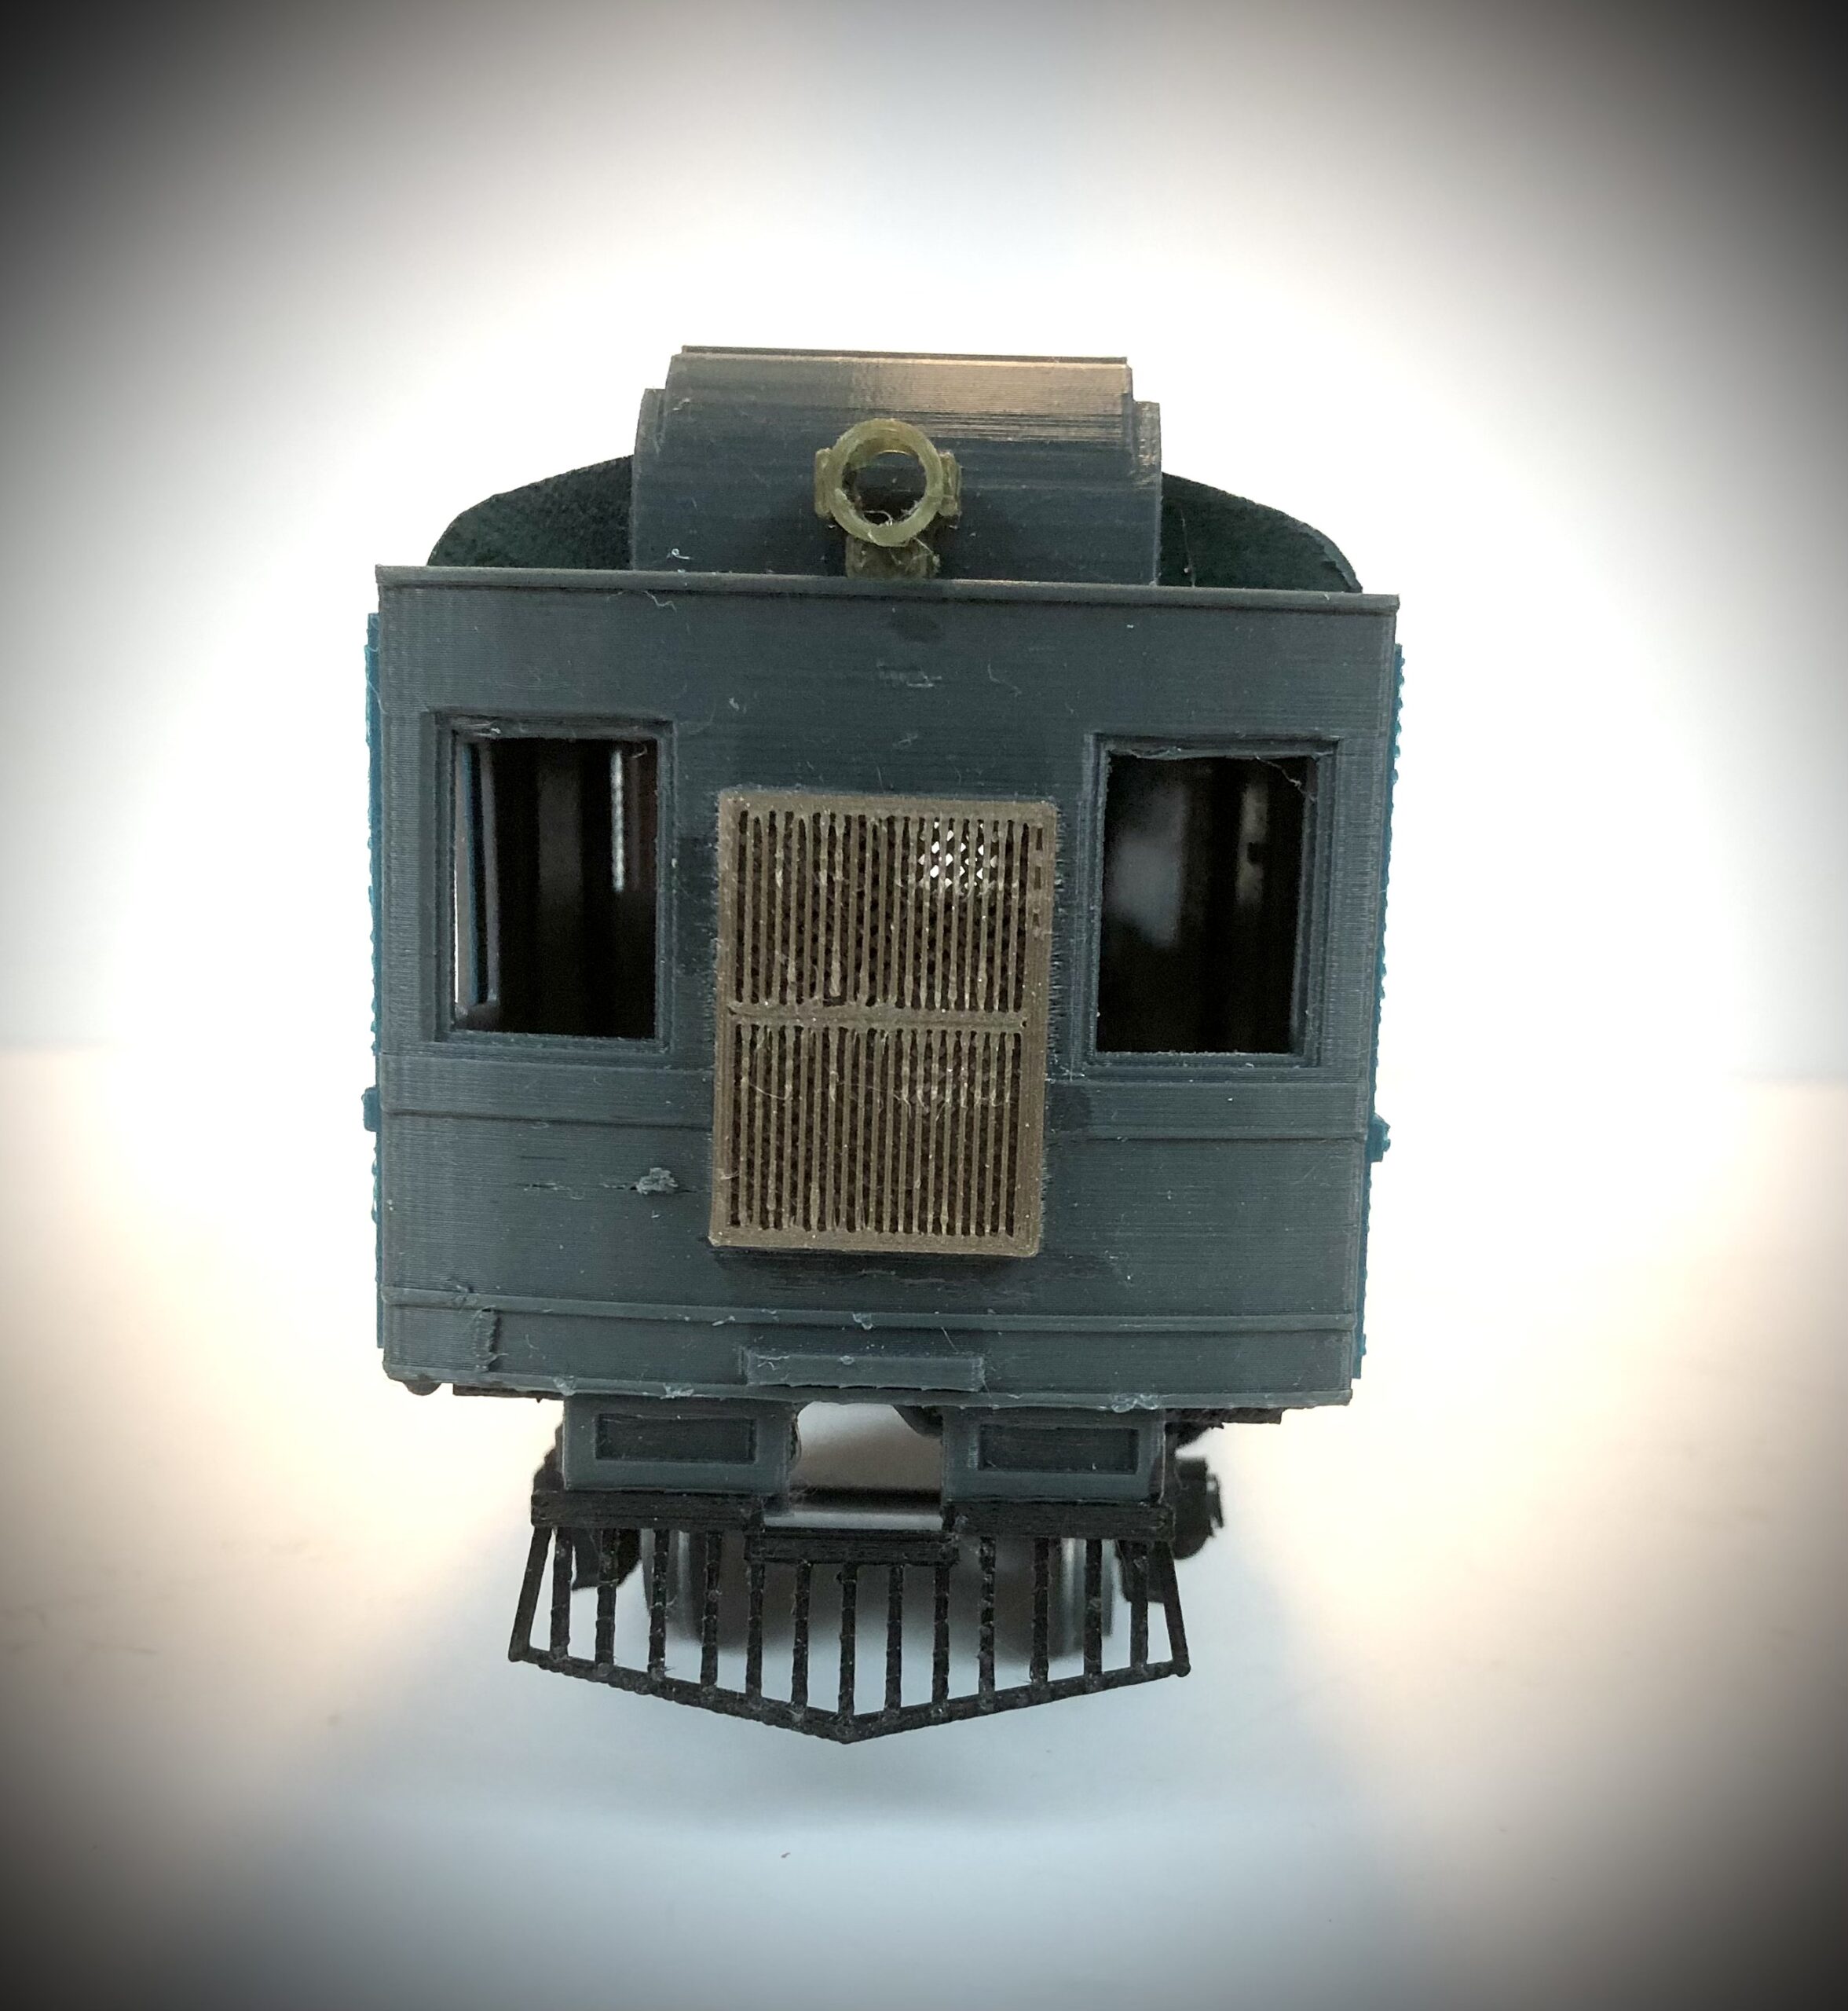
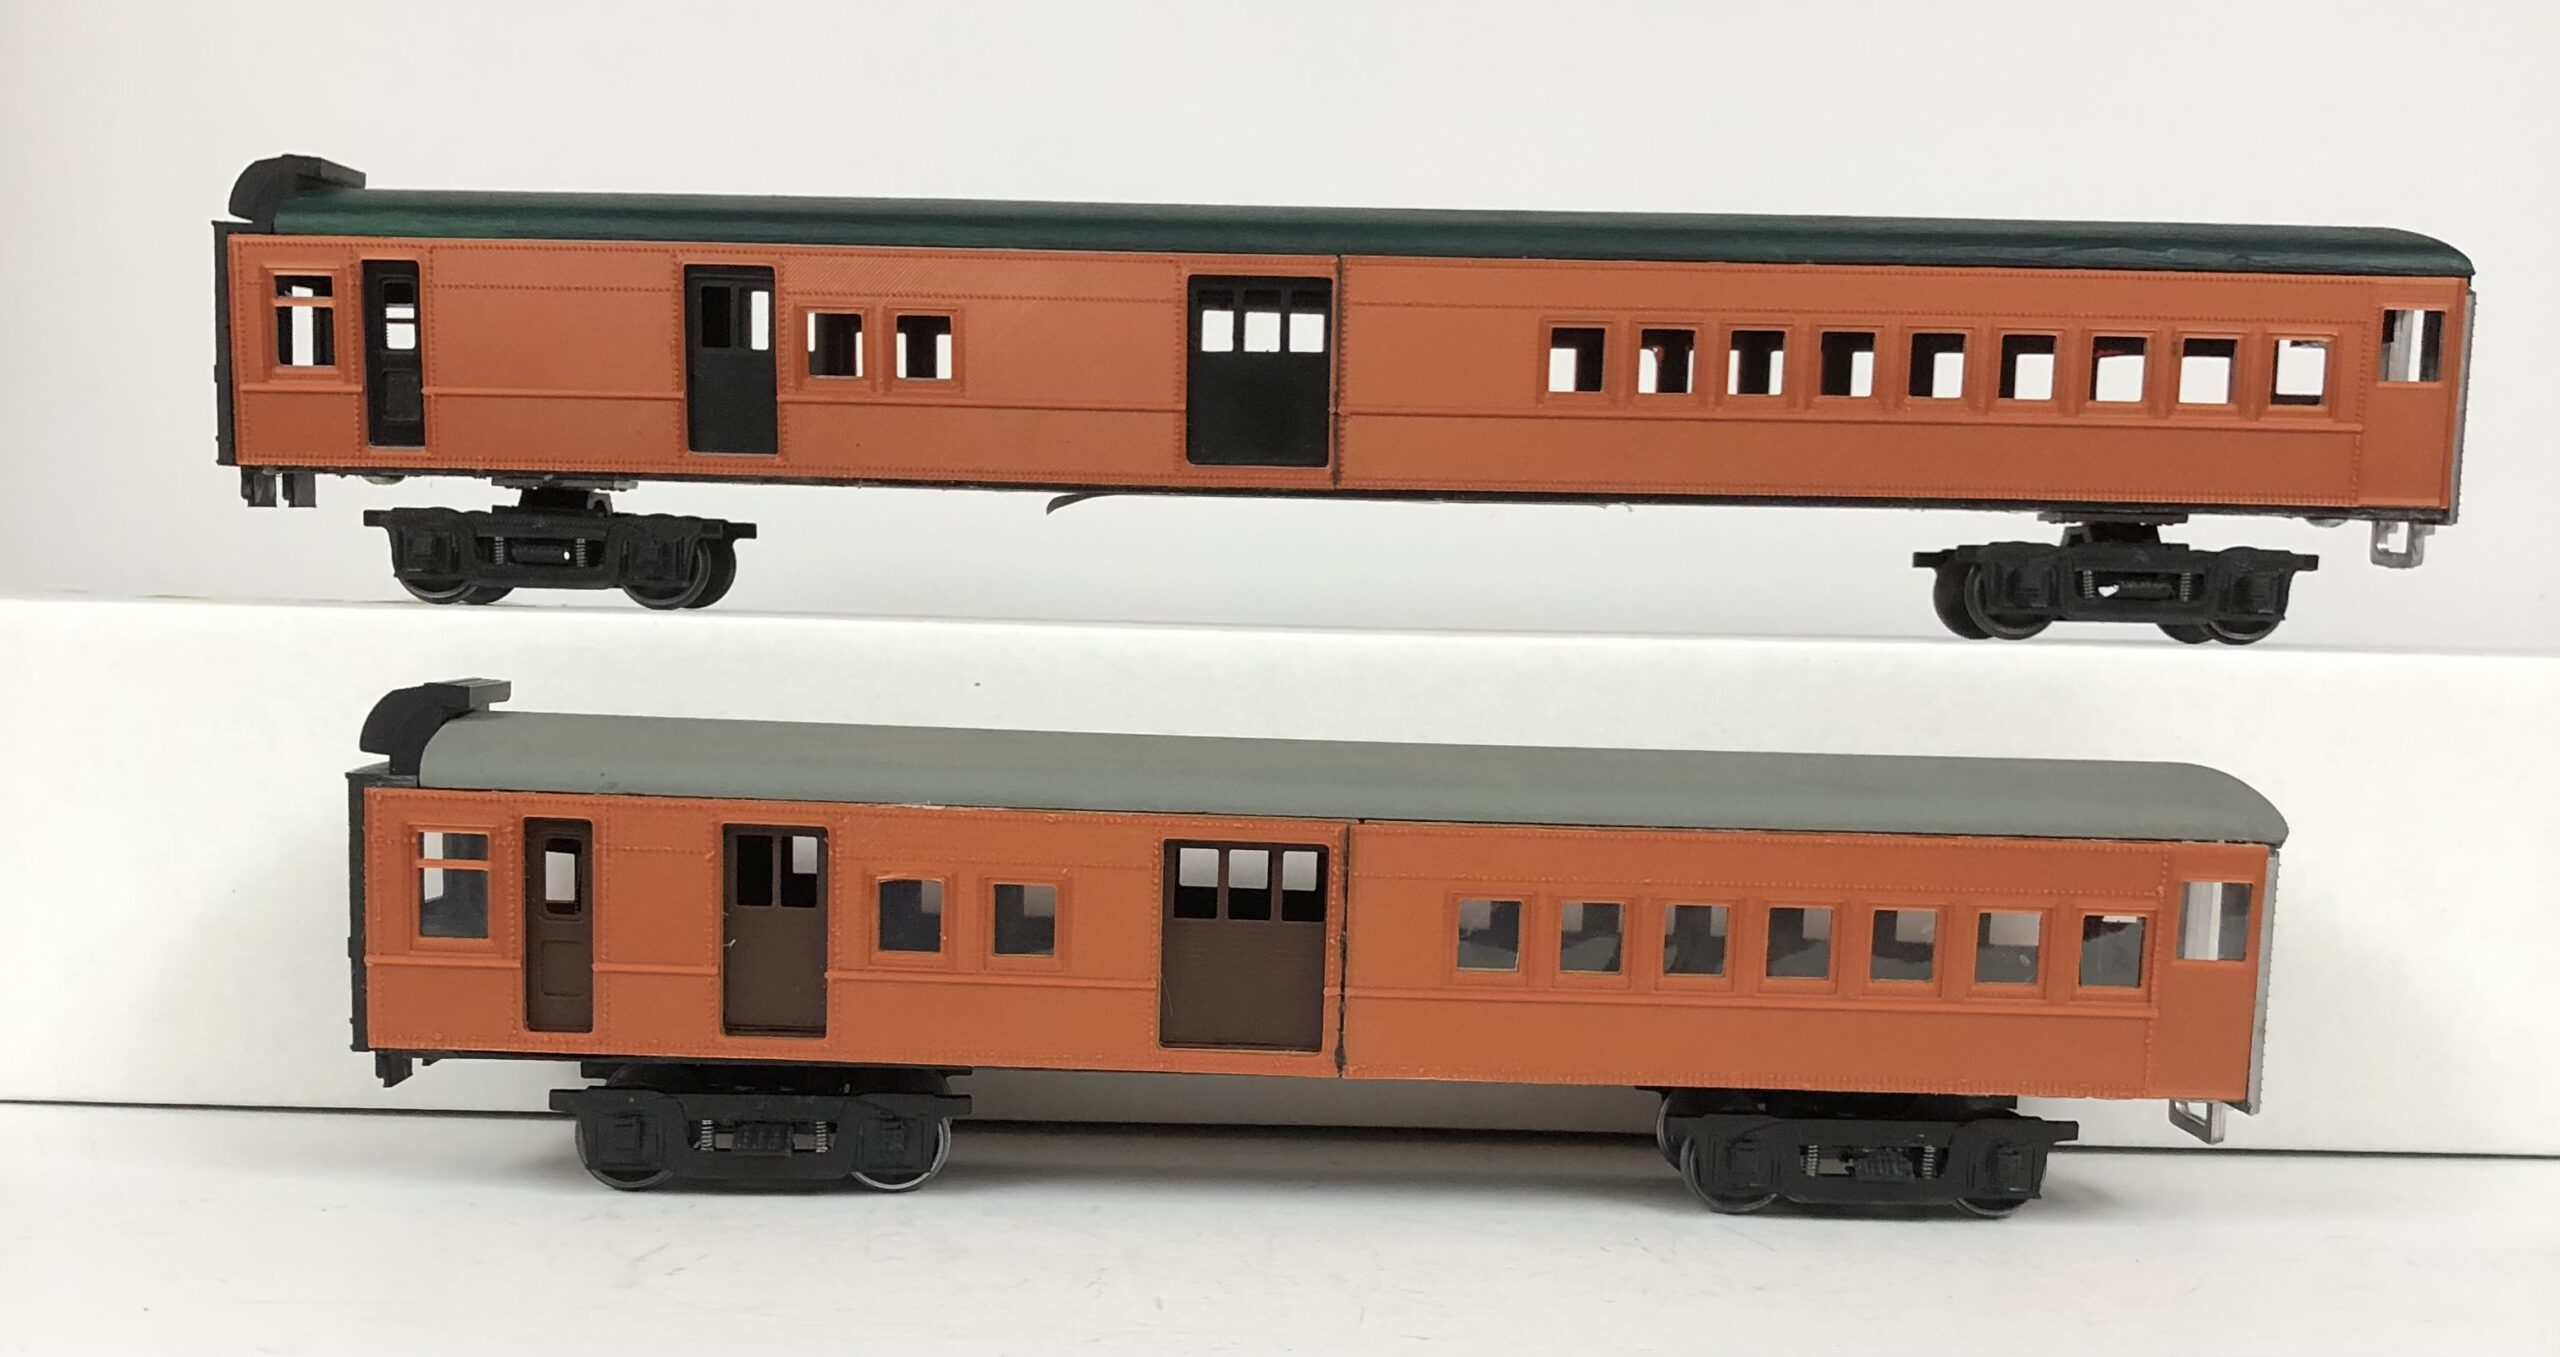
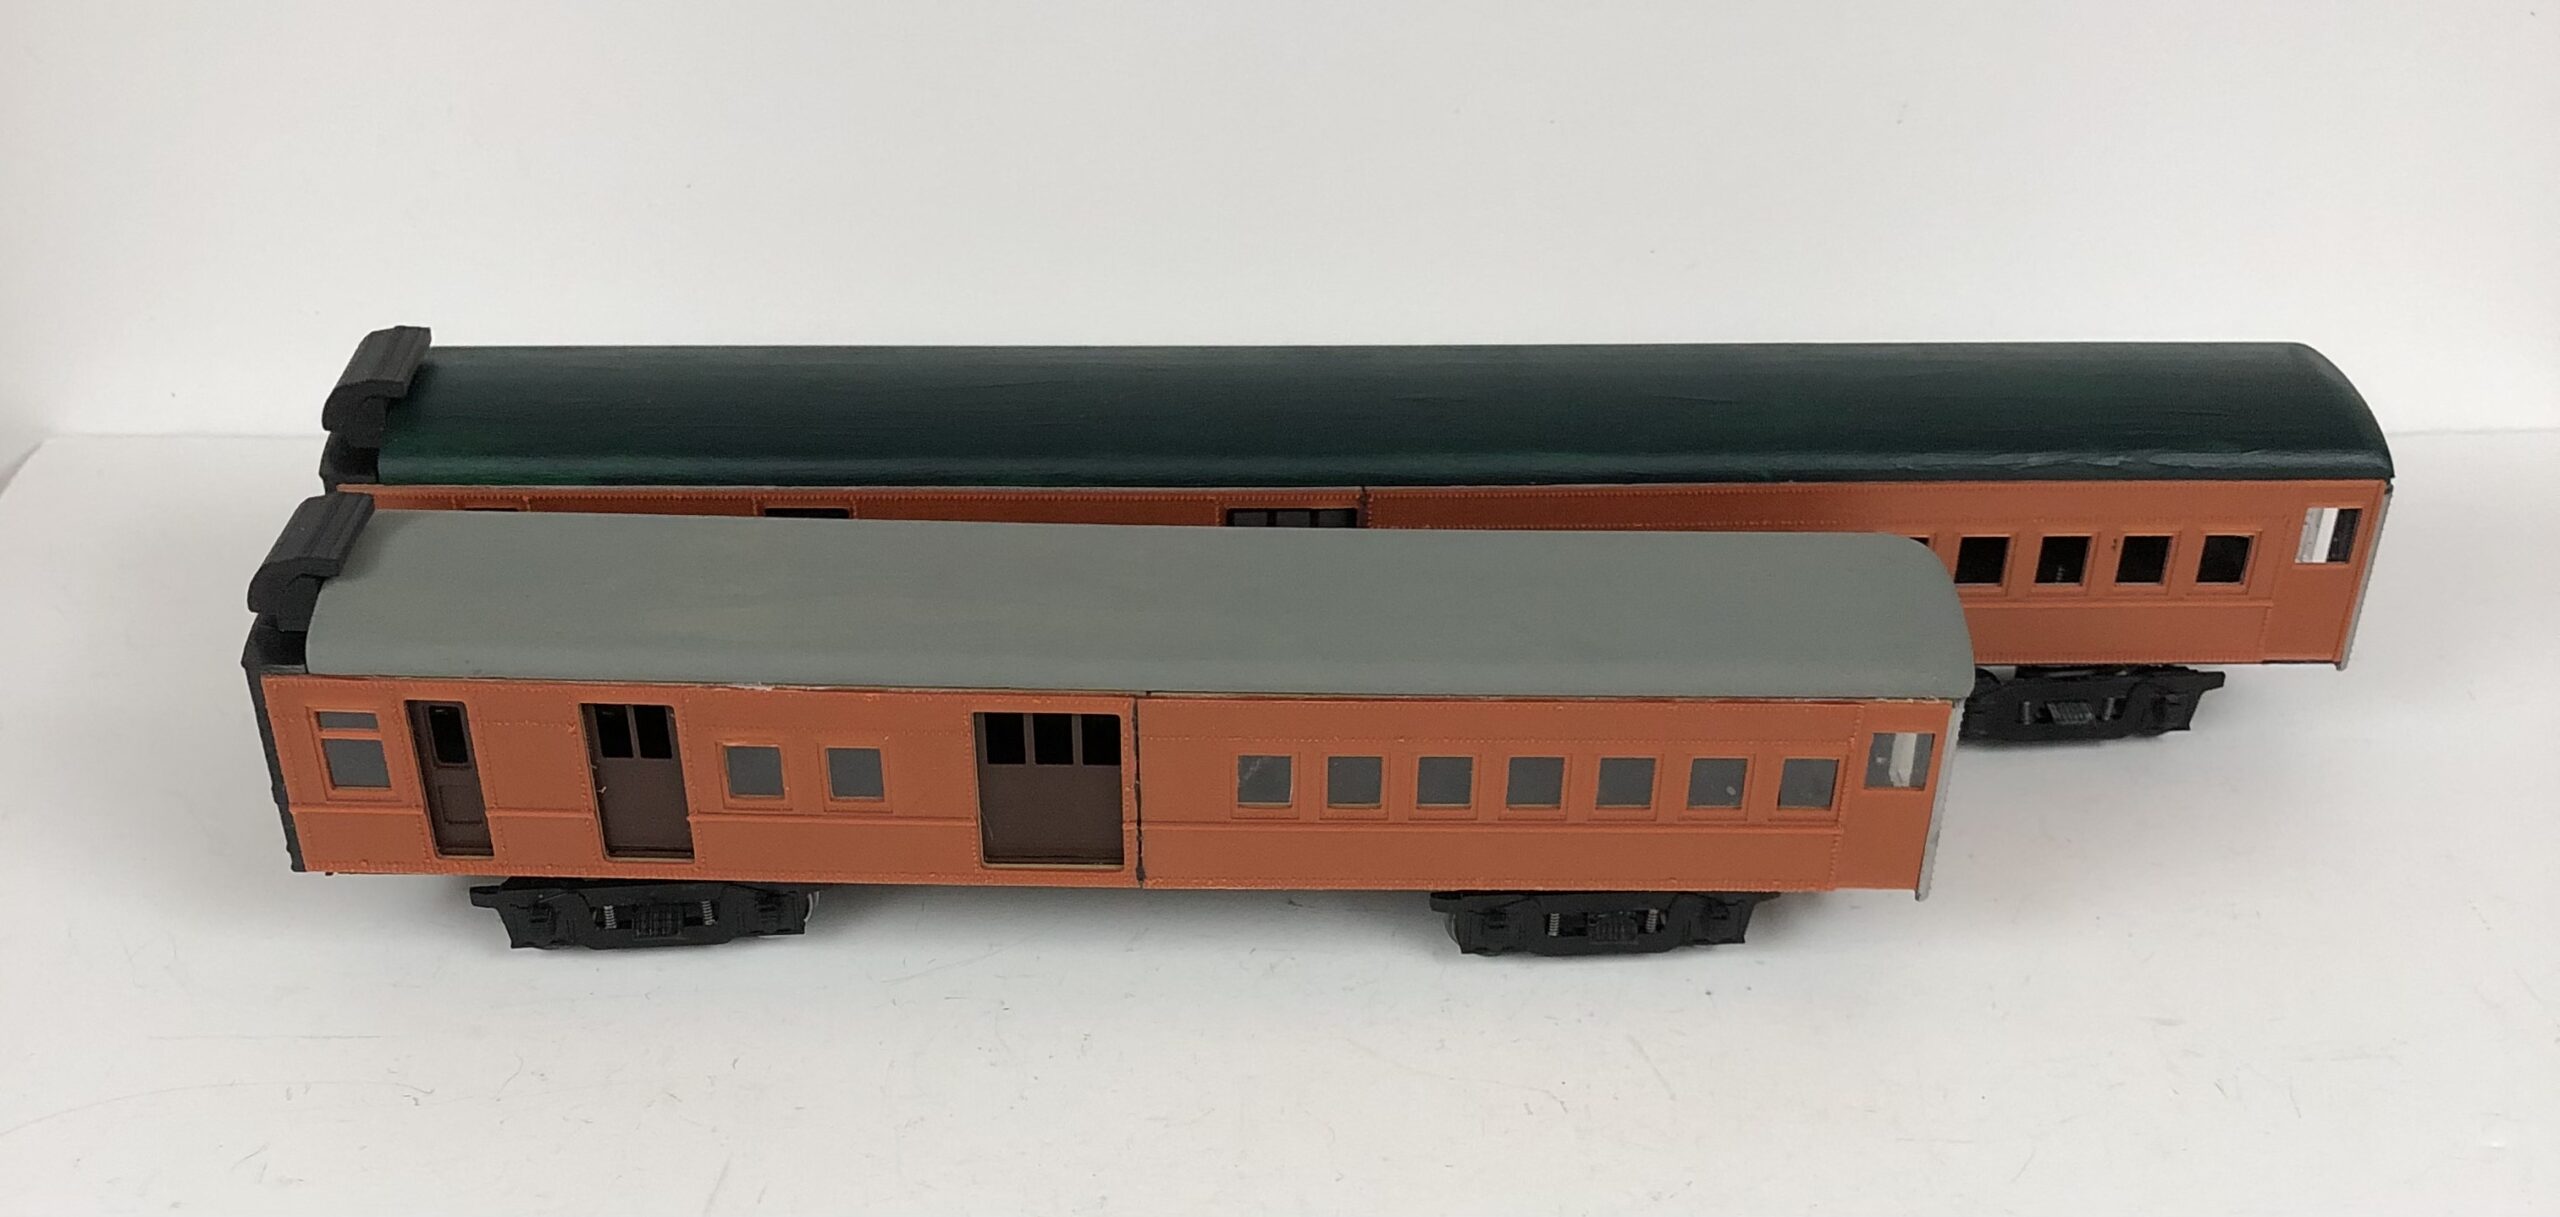
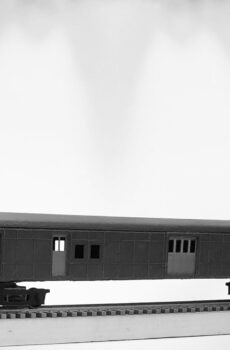
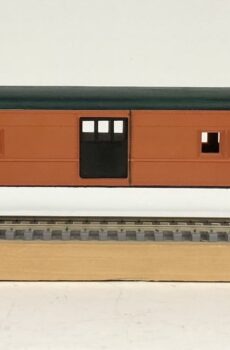
Note: This purchase is a beginners kit. Lettering is not included in the basic kit. The completed photos are prototypes for demonstration purposes only and not included in this purchase. Please review below items included in this kit.
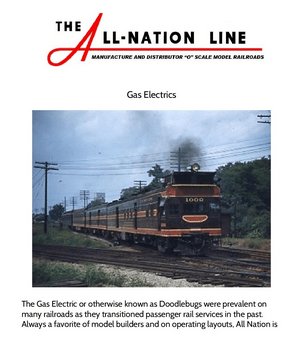
If you do not already know, I model the Chicago Great Western and has been a favorite railroad of mine since way back when. One reason I liked this road even though it was considered a late comer as a Class I railroad was the fact that the company was constantly innovating to show up and stay ahead of the competition. First to experiment with welded rail and first to develop Piggyback service to compete with trucking firms. The first to acquire the Electro-Motive Company’s Gas Electric railcar numbered the M-300. Our efforts to introduce the Doodlebug models is to incentivize O Scale modelers and what better way to have self-propelled piece of equipment if your layout space is limited, a point-to-point or have sharp curves.
The prototype measured 57′ 4″ between couplers, a 16′ 8″ baggage compartment, seated 44 passengers and weighed 35 tons powered by a 6-cylinder, 175 h.p. Winton gas engine; electrical controls, generator, and traction motors by General Electric and the car body was manufactured by St. Louis Car. The rest was history after the CGW purchase with approximately 400 manufactured for the railroads. After this first sale to the CGW, Northern Pacific took delivery of the B-3 in August of 1924. Upon further research, other roads such as the Boston & Maine 152 or the Alton 6002 which later became the GM&O renumbered to 2504. A good reference source comes from Trains Magazine book titled “Our GM Scrapbook” copyright 1971.
The 2 Rail O Scale Doodlebugs were first introduced by Walther’s and The All-Nation Line. Since C&NW & GM&O has not been available as a kit for many years and modelers have requested that we manufacture and release the kits once again, as well as the 56′ and now the CGW 57′. We decided to add it as our continuing series of kits for the beginner modeler or someone new to the scale. It is a good starting point to work on perfecting the assembly of the basic superstructure of the car and later acquire our detail kit to finish out the build. Taking the construction in steps is a good idea to build a non-powered version for starters and then upgrade it with our power truck transmissions and trucks. We have available both Geared Drives (PN#446AN) or Chain Drives (PN#441AN). Myself, I am not the fastest model builder and taking my time to work in stages works for me.
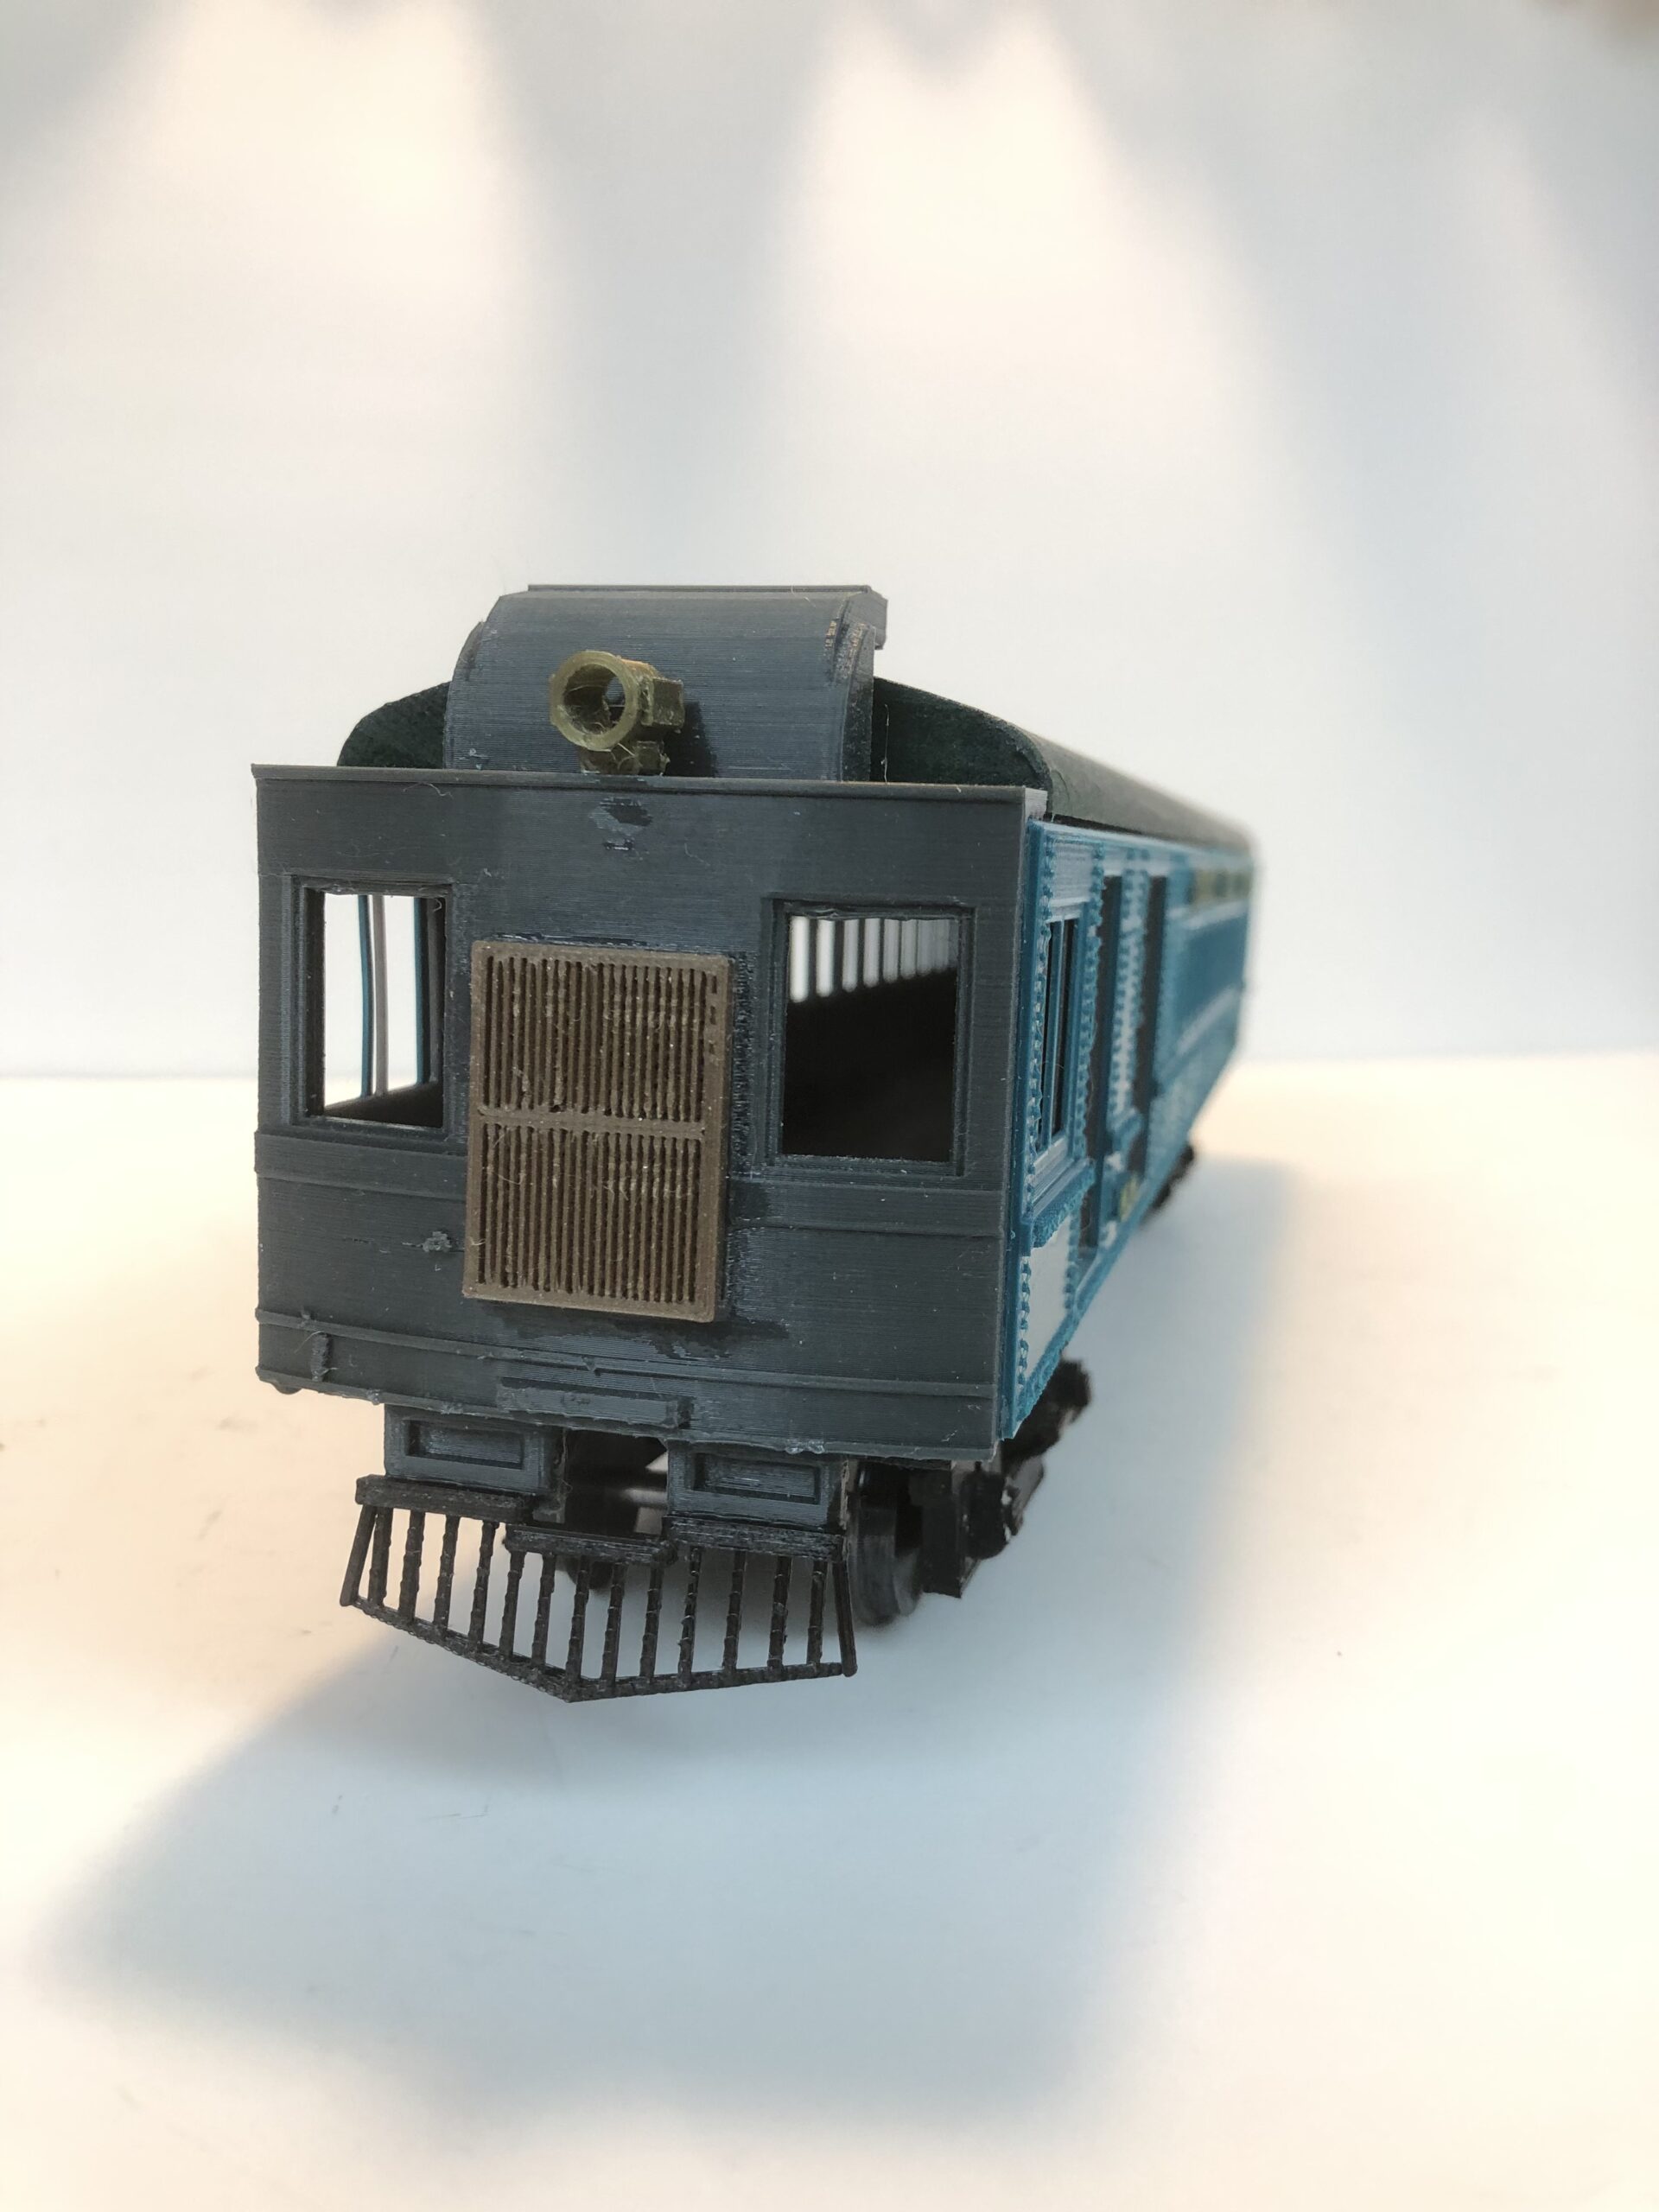
One might note that the specifications are similar to other traction equipment with the exception of the unusual front end. The EMC prime mover engines located forward in the car behind the cab required roof radiators and other unique details such as a trio of exhaust pipes, grill detail, headlight, marker lights, bell and pilot. Ideal for branch line service these dual purpose cars facilitated mail, express packages, baggage and passenger service in a single car and could also pull extra passenger coaches i.e., trailers, or freight cars making all local stops. Their power was sufficient as diesel or gas-electric engines proving economical for short runs.
These later types of railcars could also be found on may roads such as the CRI&P, Reading, AT&SF, SP, and NYC.
Perhaps the most challenging but not necessarily difficult work on the model is the rear contour of the roof. While it may be intimidating to think about at first, this is relatively easy to form the radius. Watching our video to listen to the caveat on the roof length first, it is easiest to remove some bulk of the material before mounting the roof. If you use a belt sander, go slow. Normally a medium grade sand paper on a block is the best approach. Once the roof is attached, the final contouring can be done with fine sand paper on a block to roll the edge. Finishing the contour is a personal preference but since the end profile of the roof shows less arch then say a heavy weight passenger car arch roof, the radius is less drastic. The part # for the roof is M406 as found in the Walther’s Passenger Car Plan book. Only the rear end of the roof is rounded, the front end butts squarely into the roof radiator.
It should be noted that Walther’s documentation changed over several editions or releases and the kit numbers may also confuse modelers as well as when All Nation took over the Walther’s O Scale Passenger line. Some drawings state truck centers at 13 1/2″ while others state them at 7 5/8″ centers. However, keep in mind there was the 75′ car and also the 56′ car for the modelers that had tight curves on the layout or these 56′ cars were also supplied to tinplate modelers whereby the 3 rail track curves was not kind to such long 75′ scale equipment.
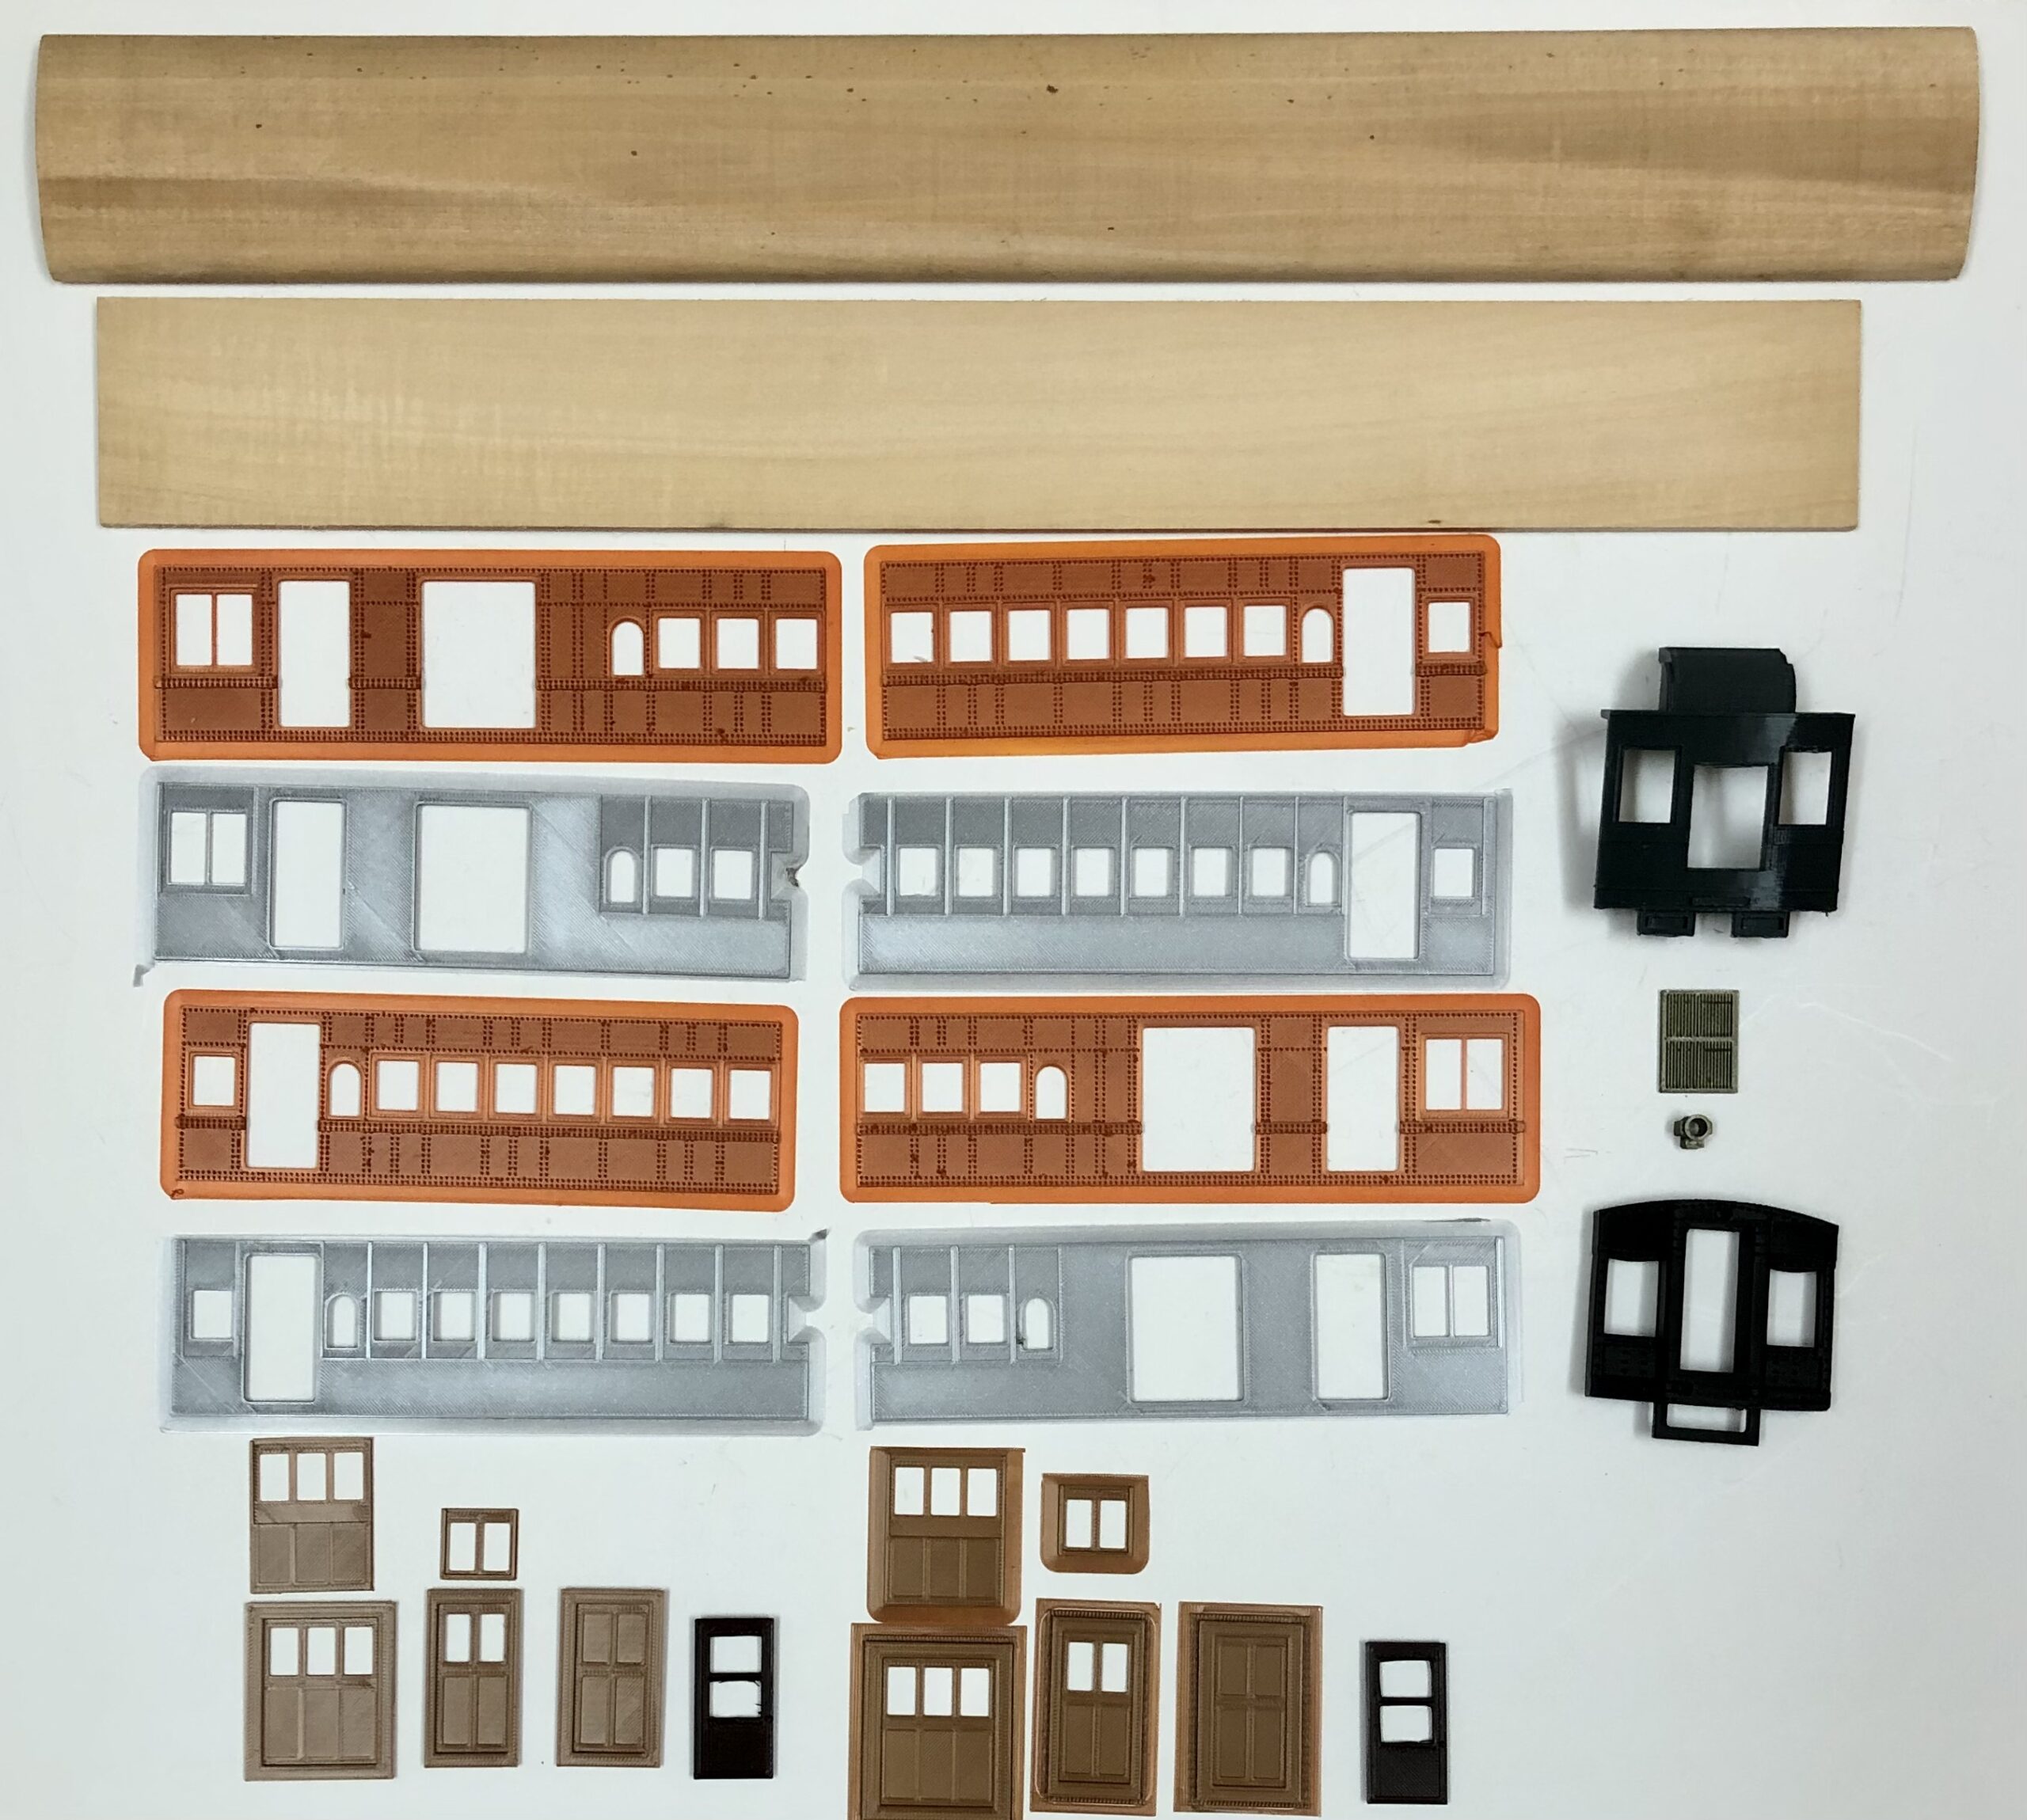
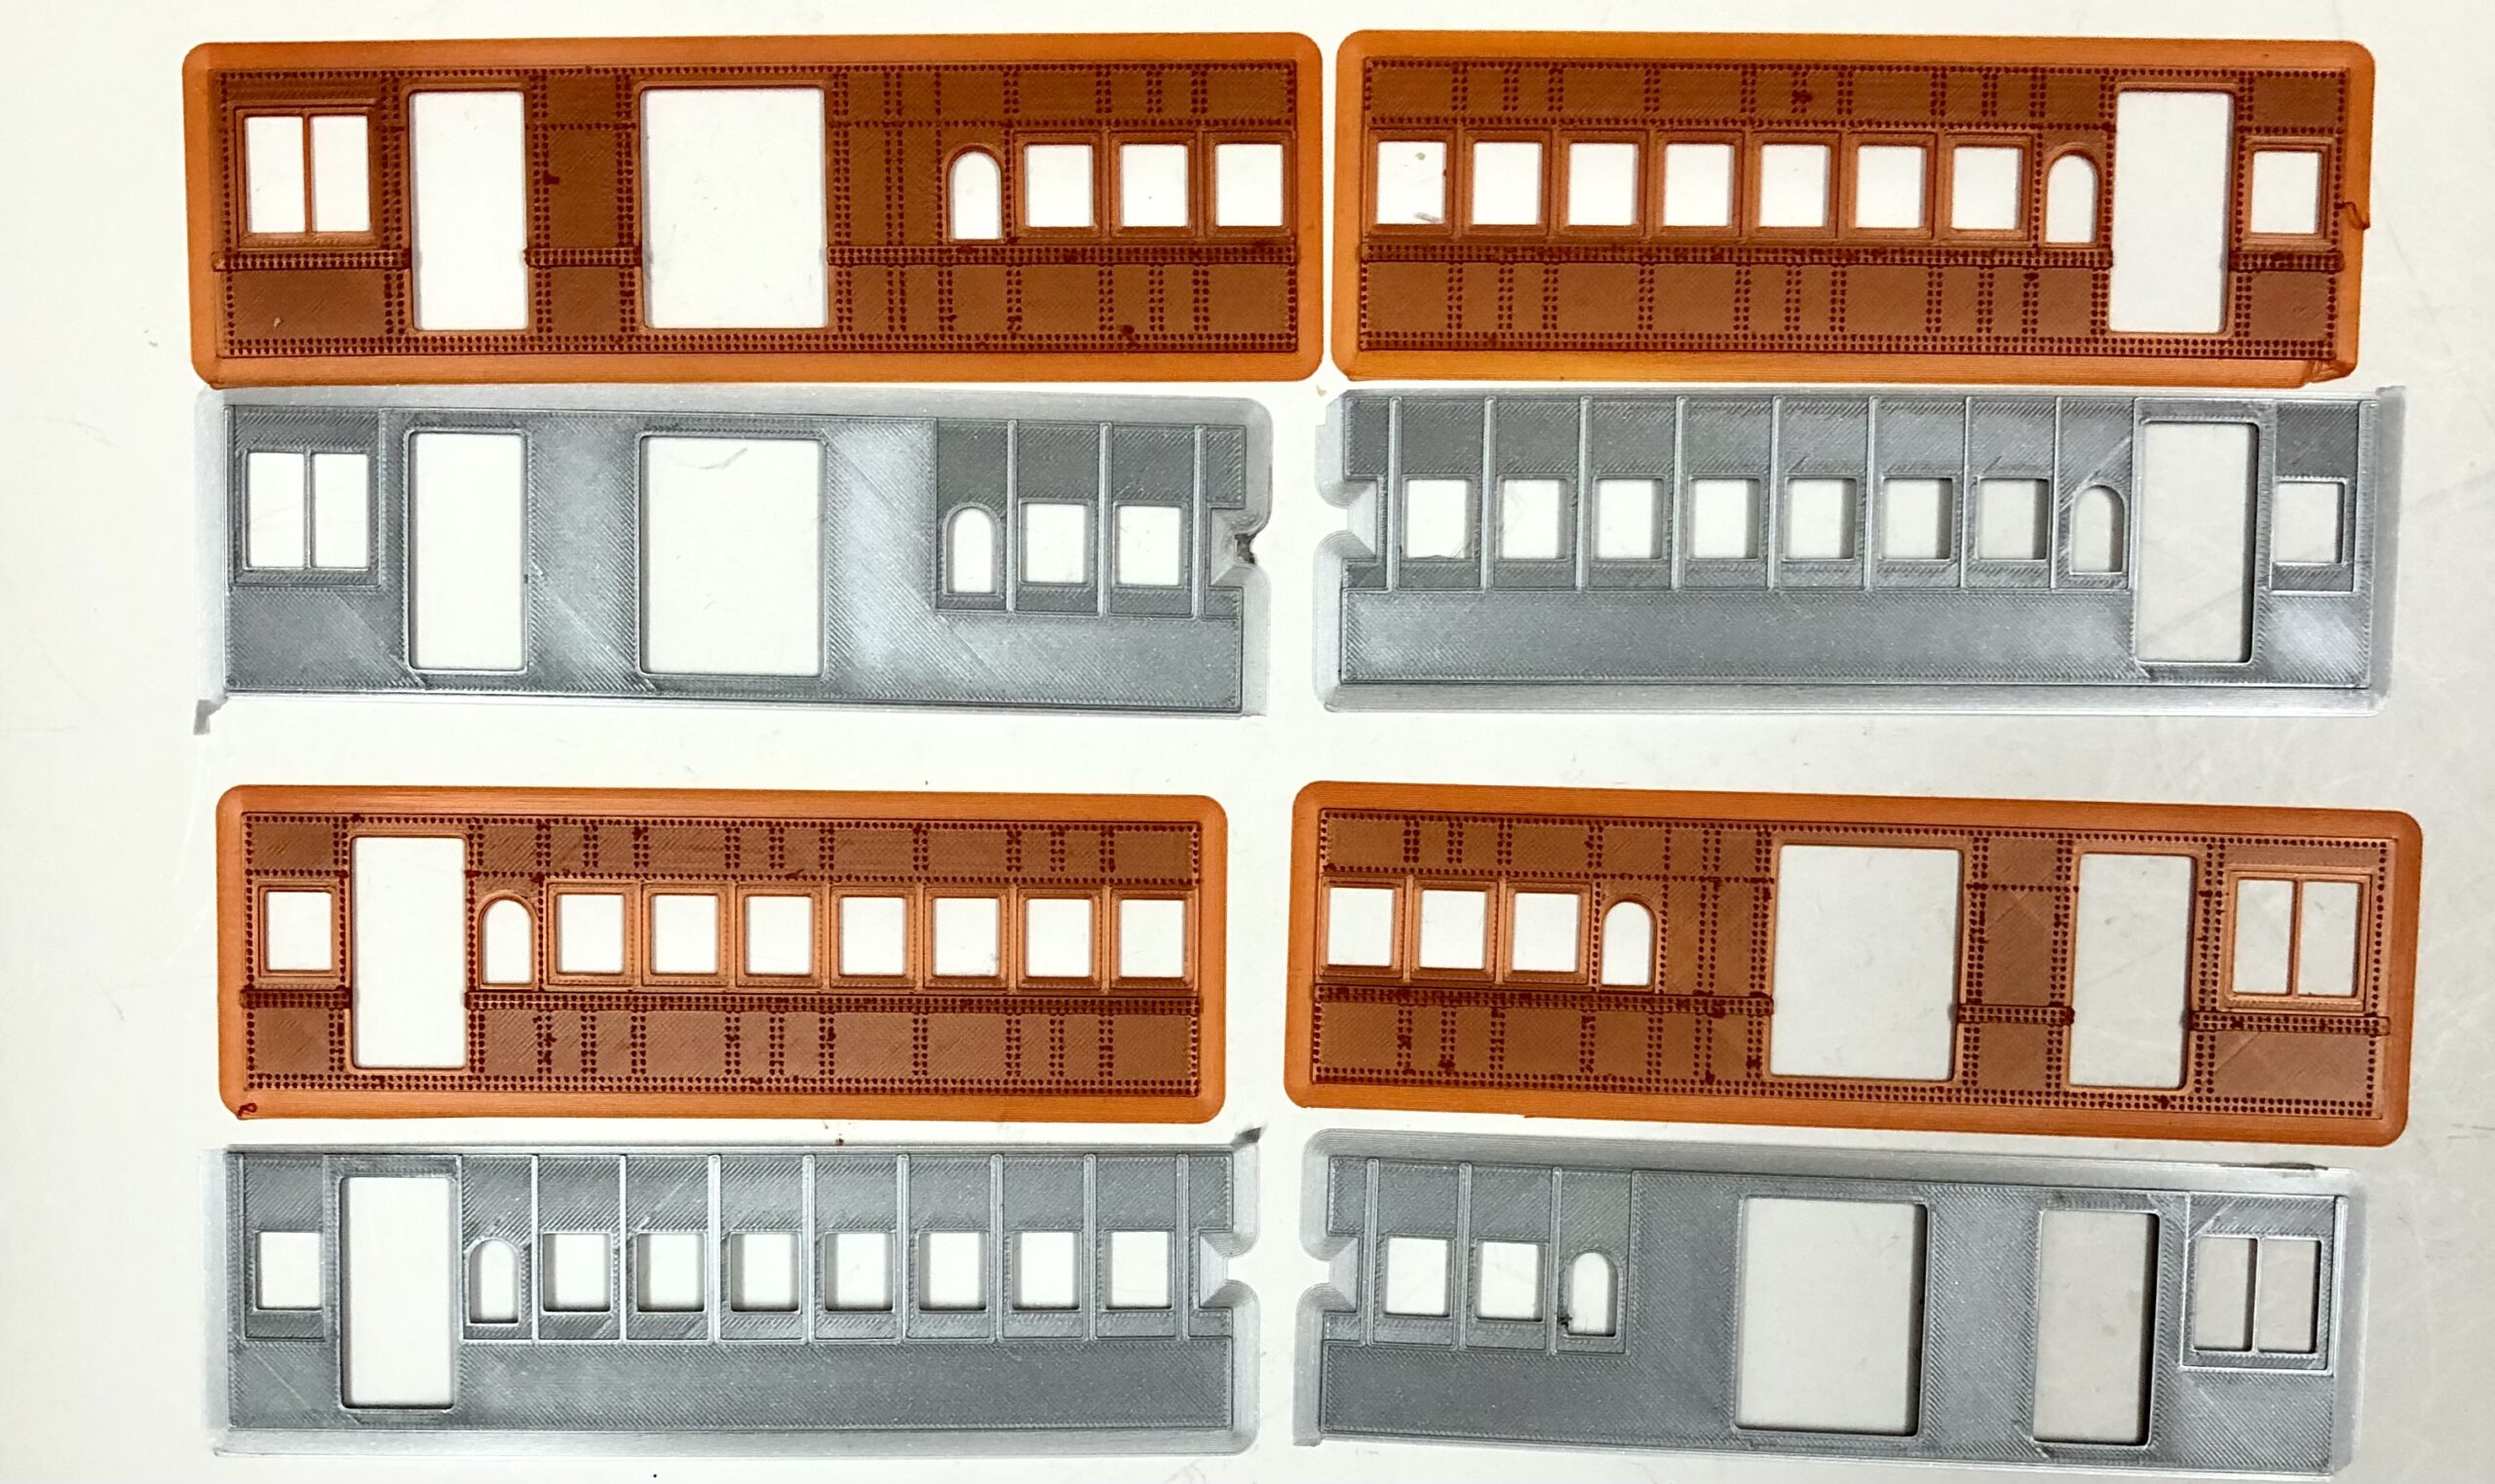
The following is a list of parts for the basic kit.
PARTS LIST:
1 13 1/2″ Wood Floor
1 13 1/2″ Wood Roof
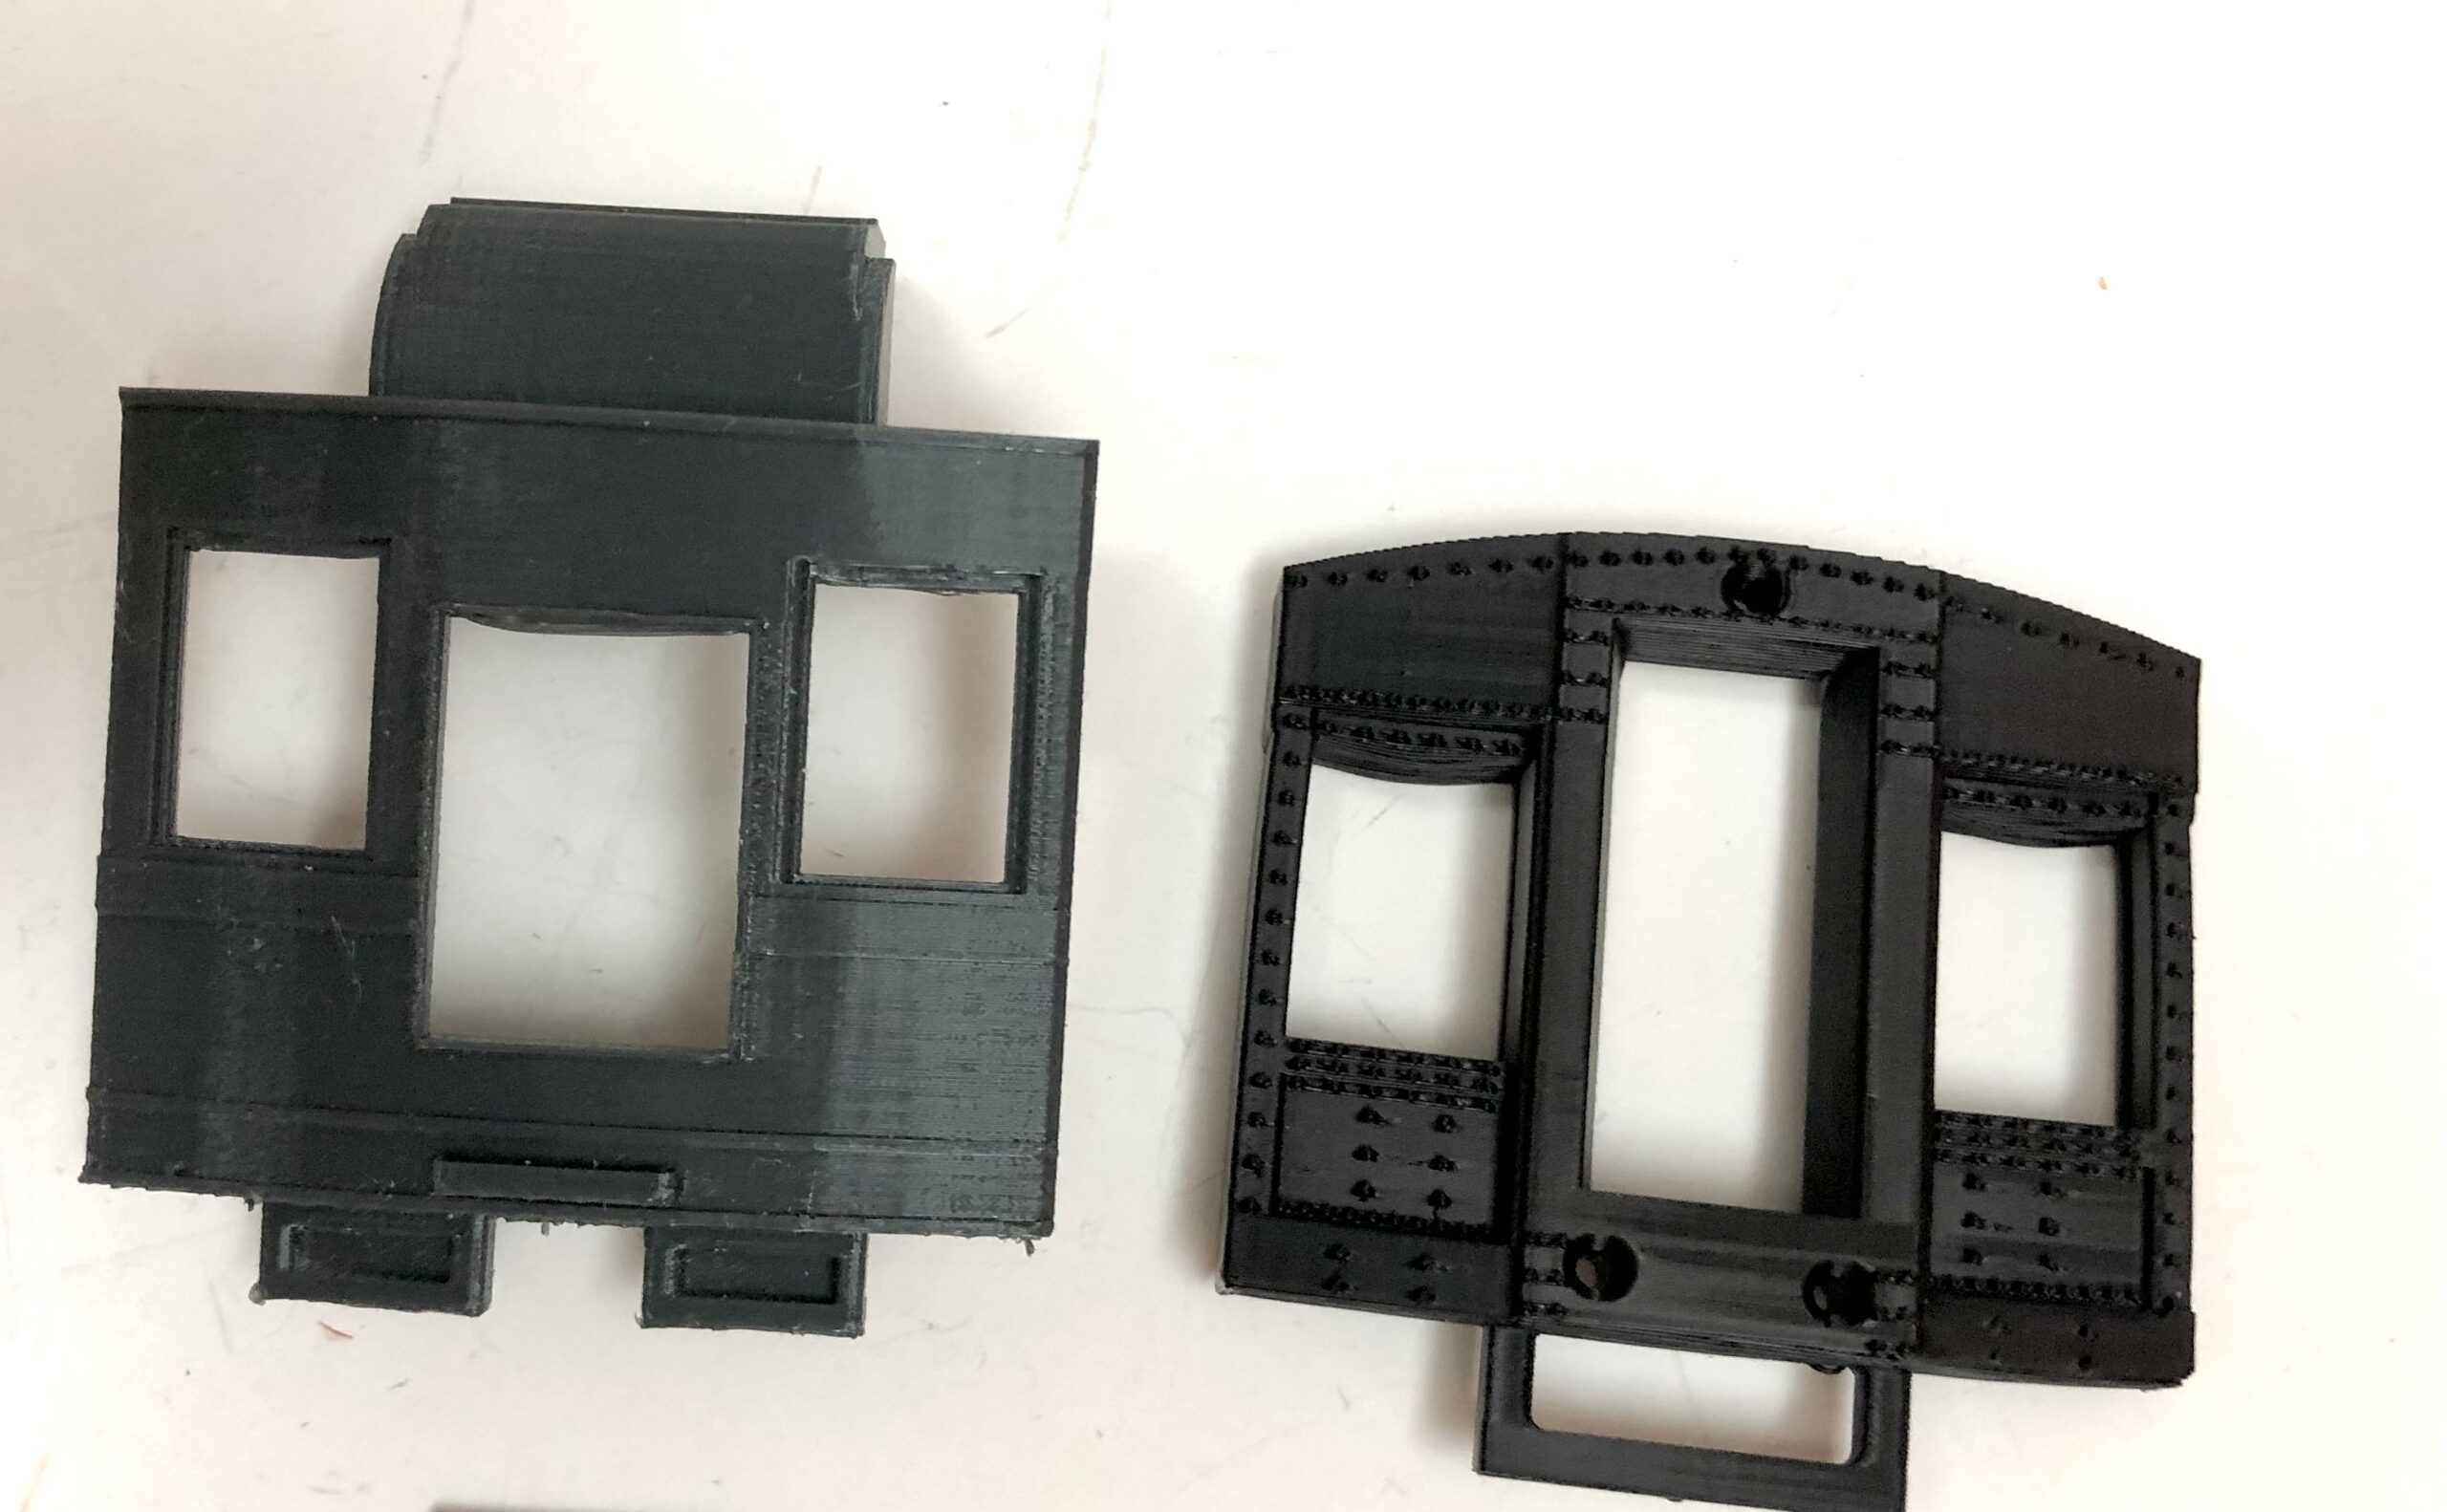
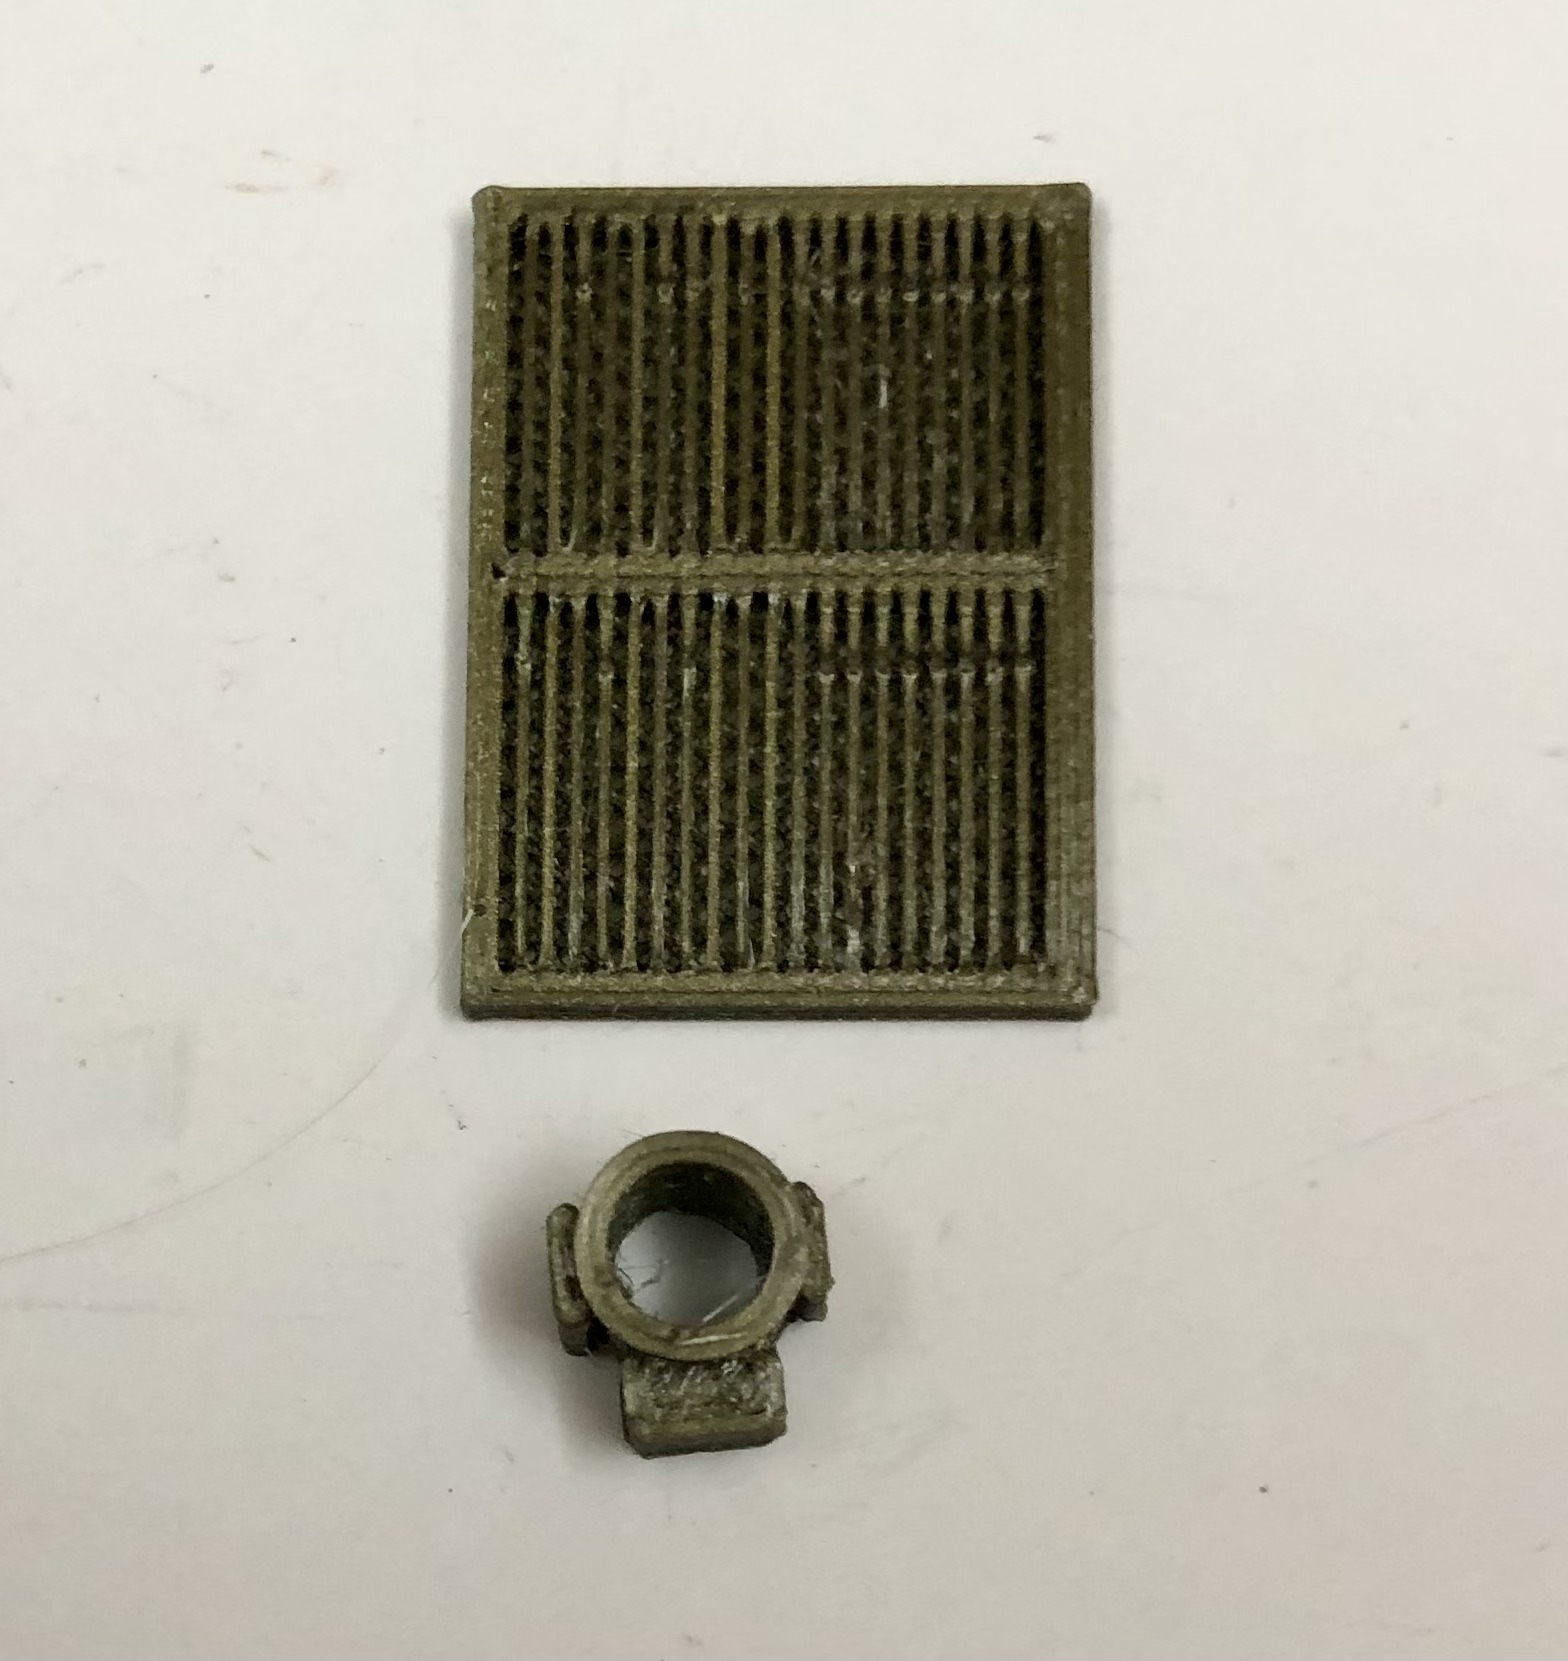
1 Front End cab with radiator grill & Headlamp
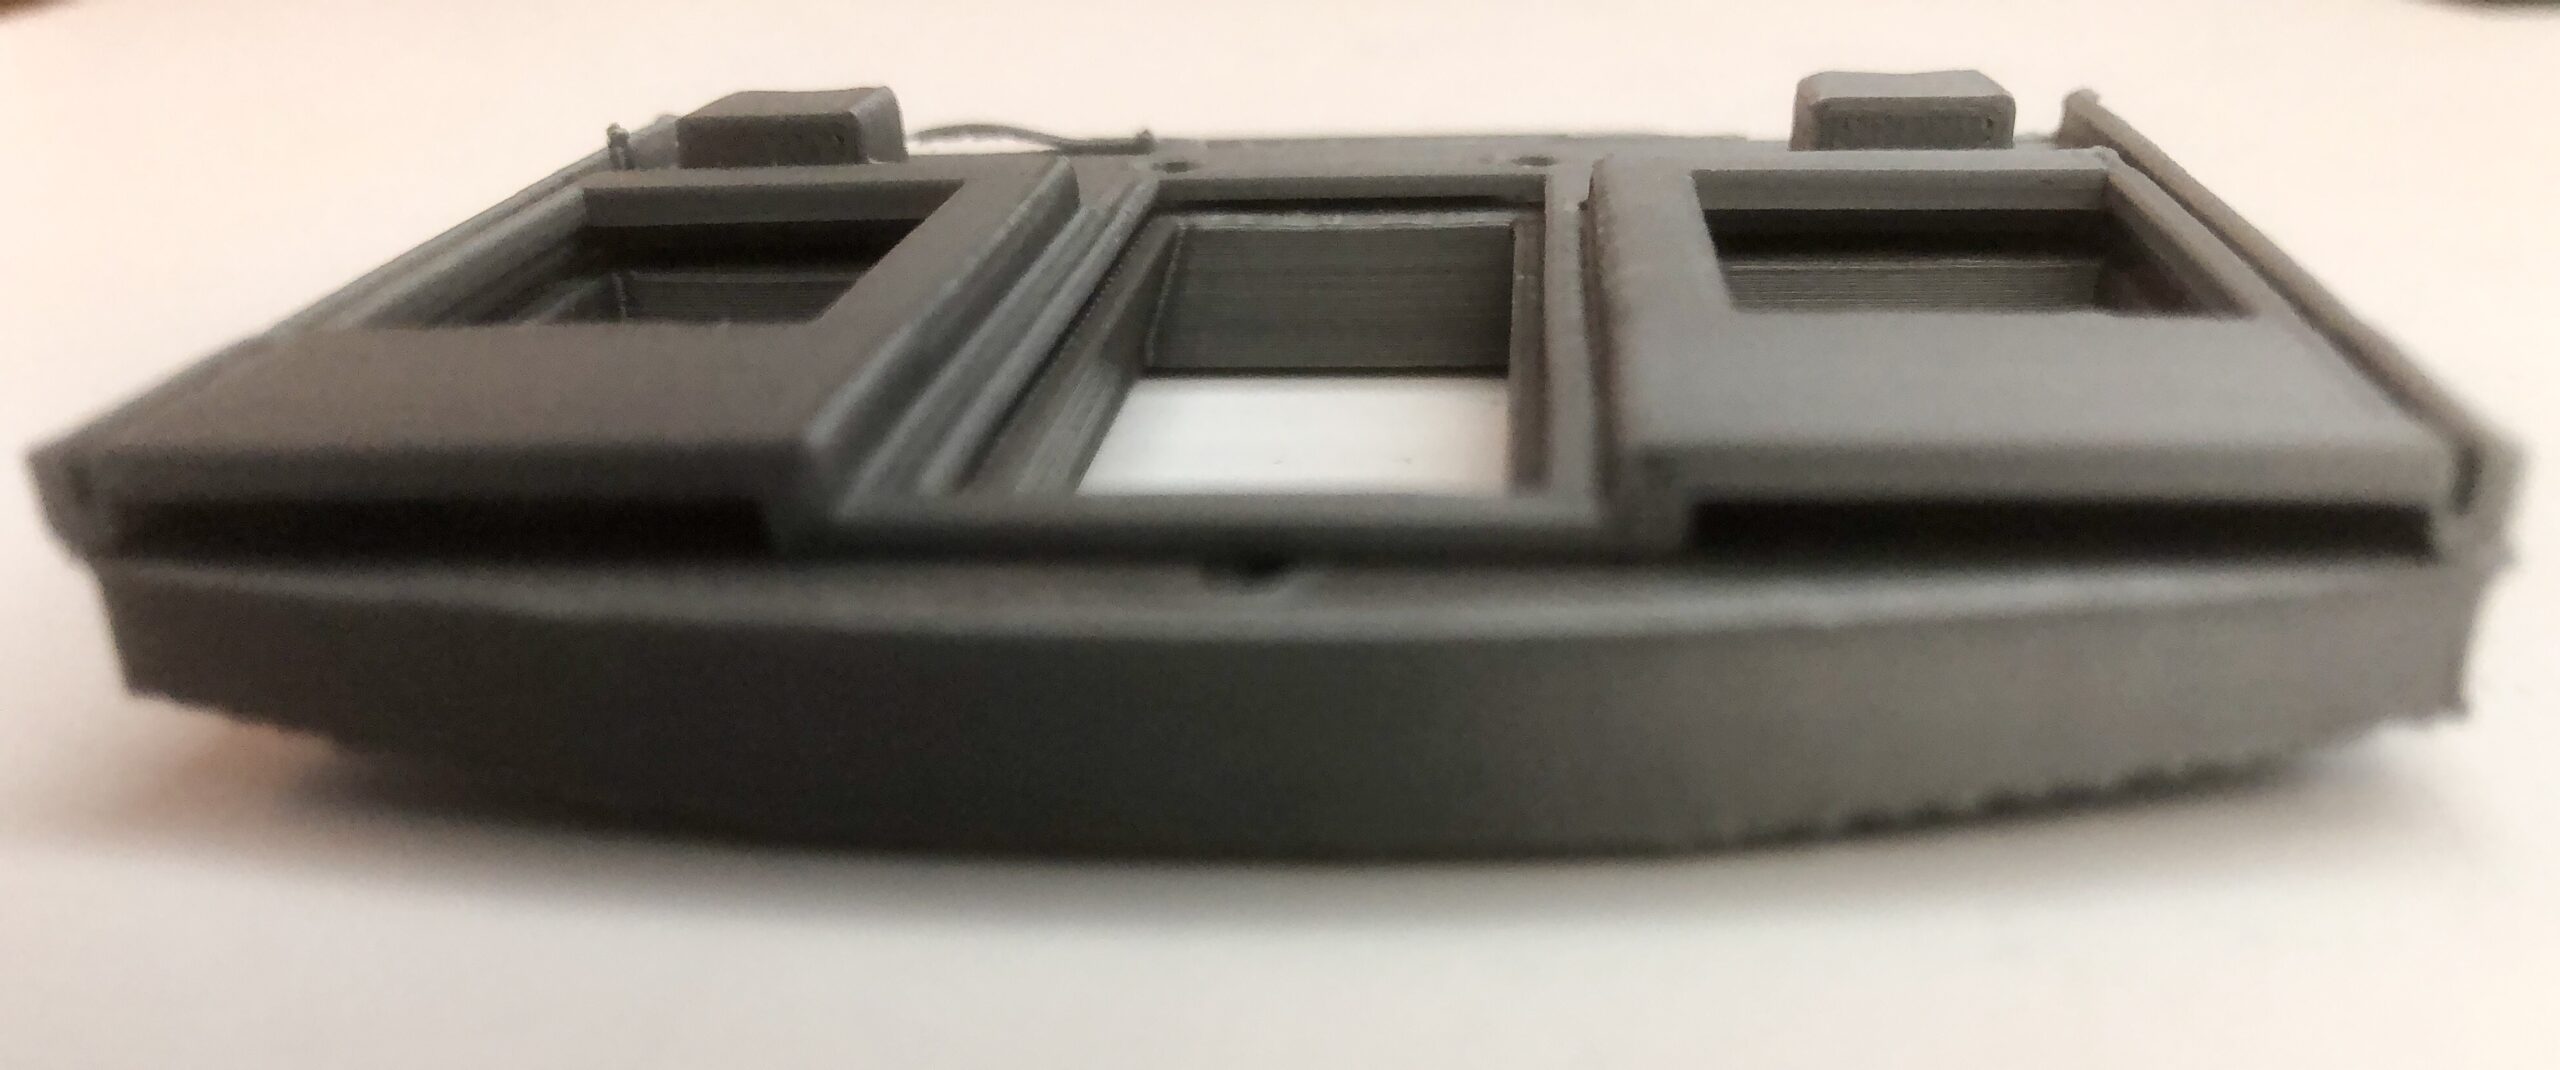
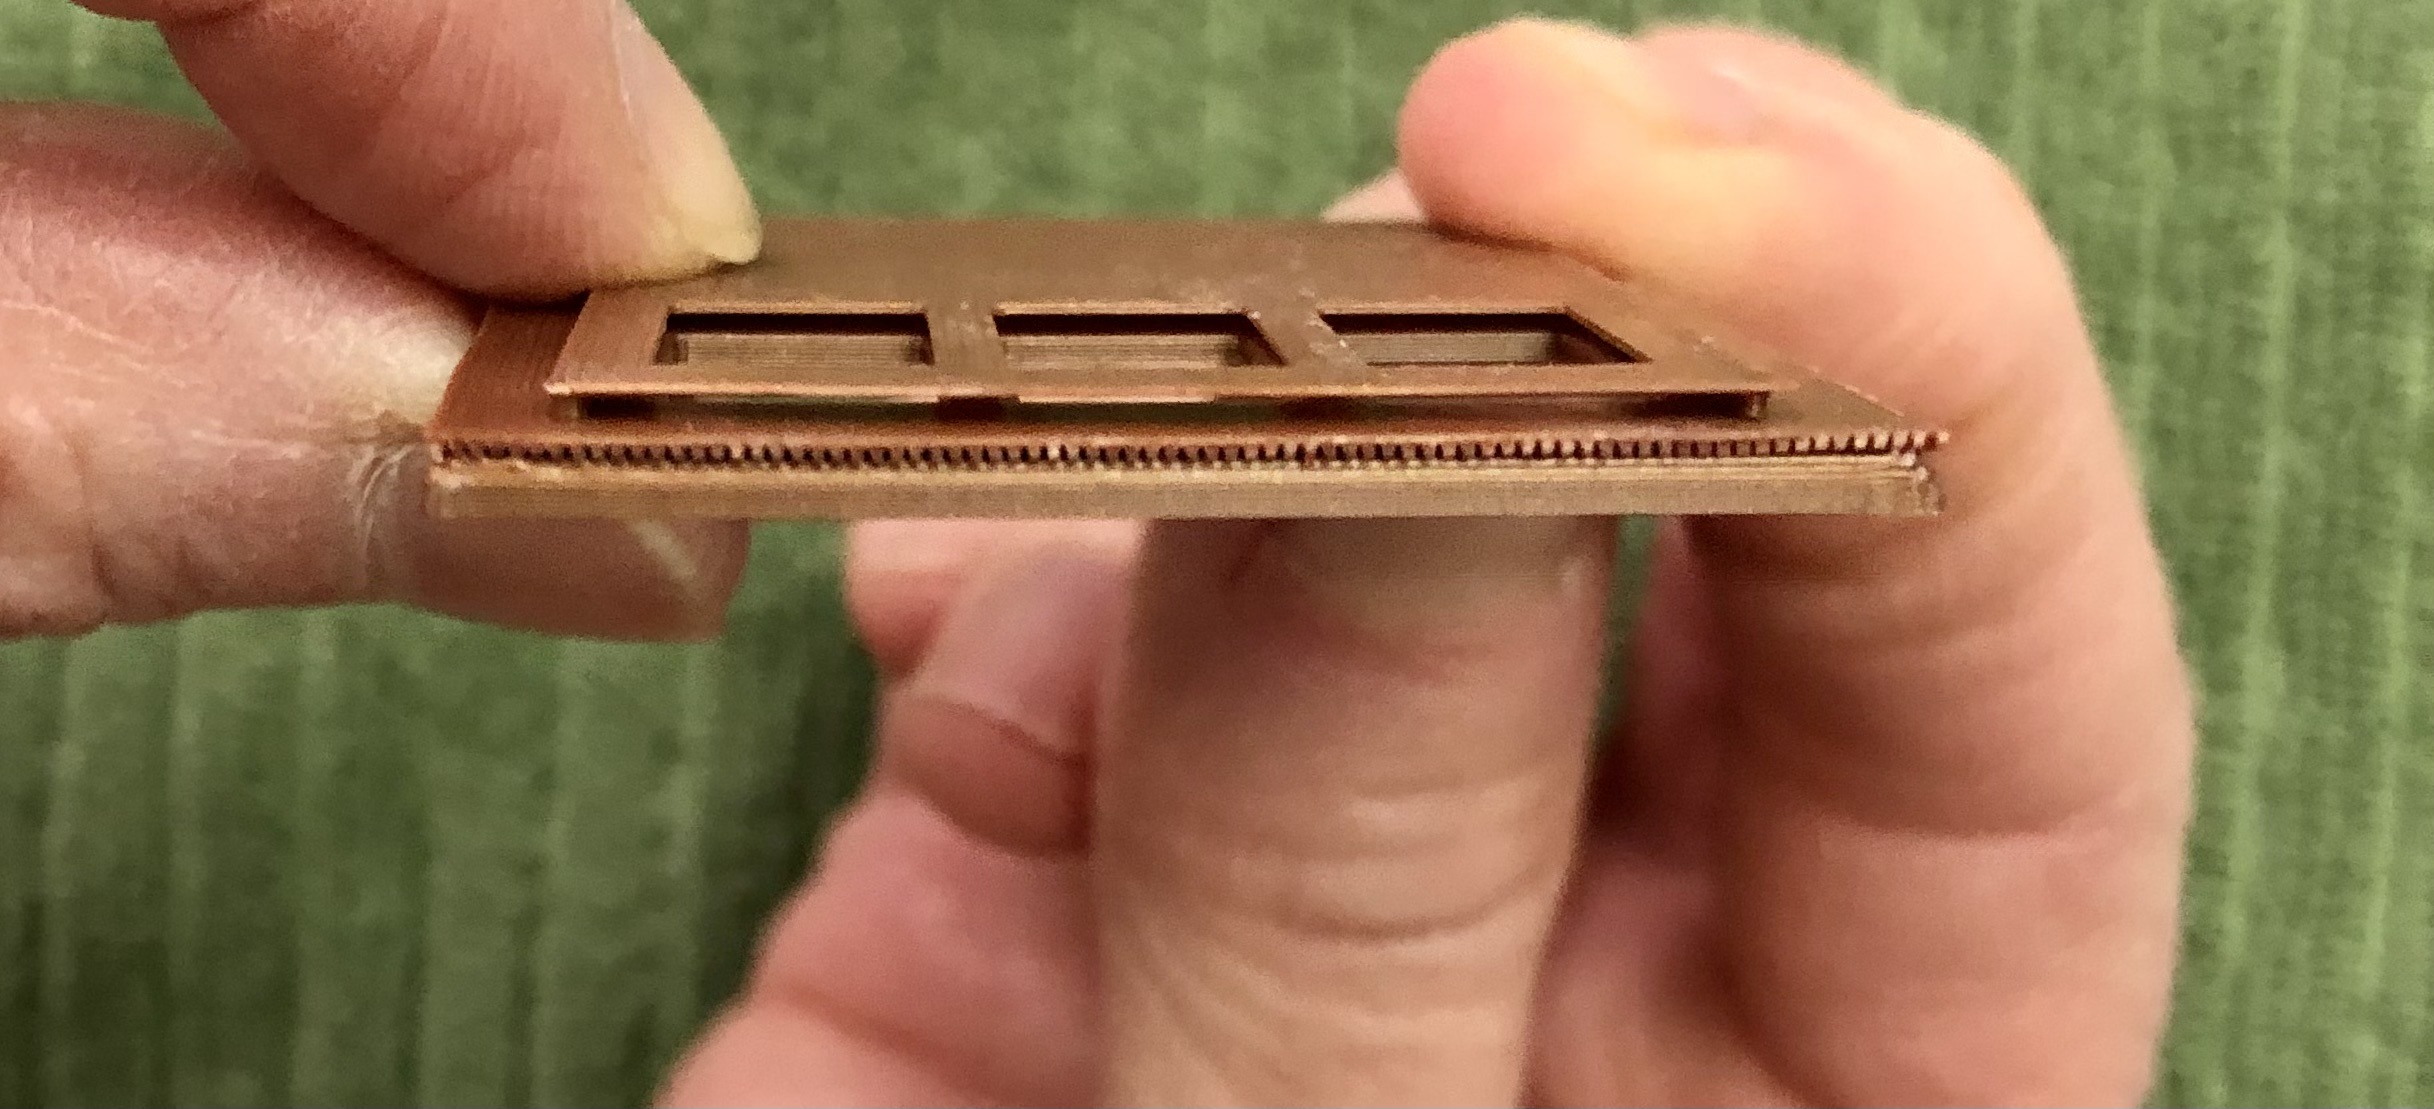
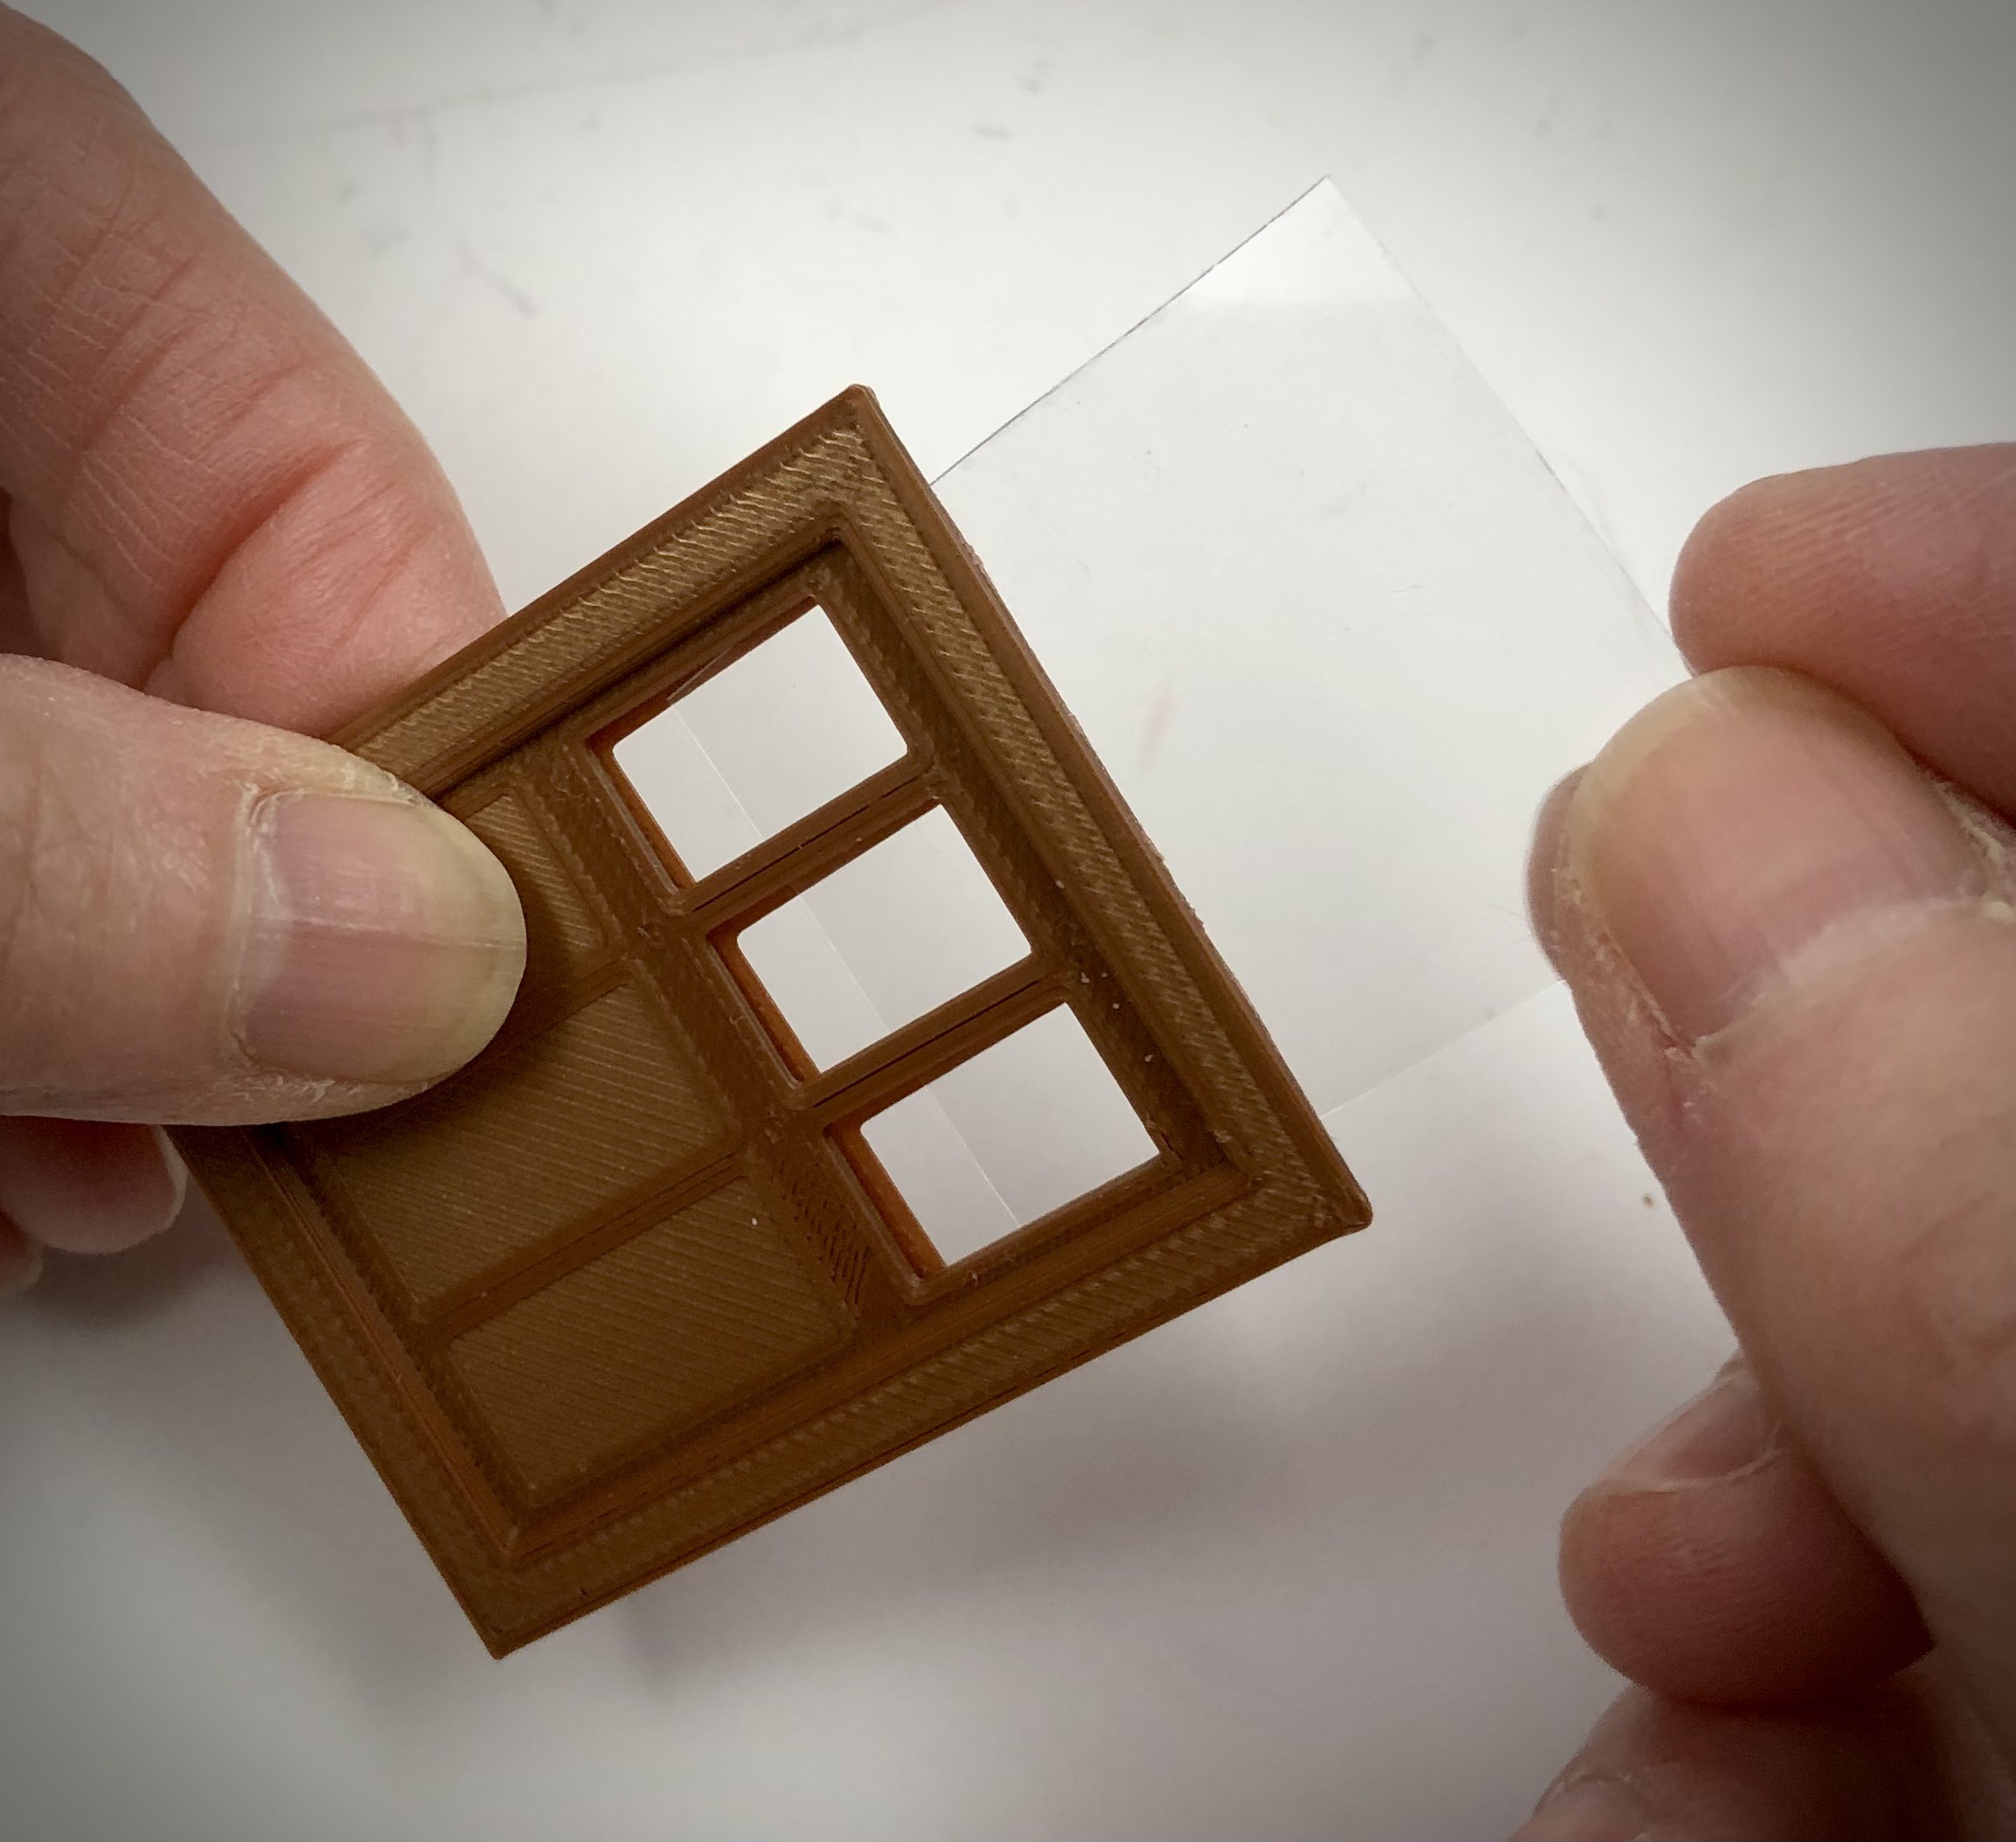
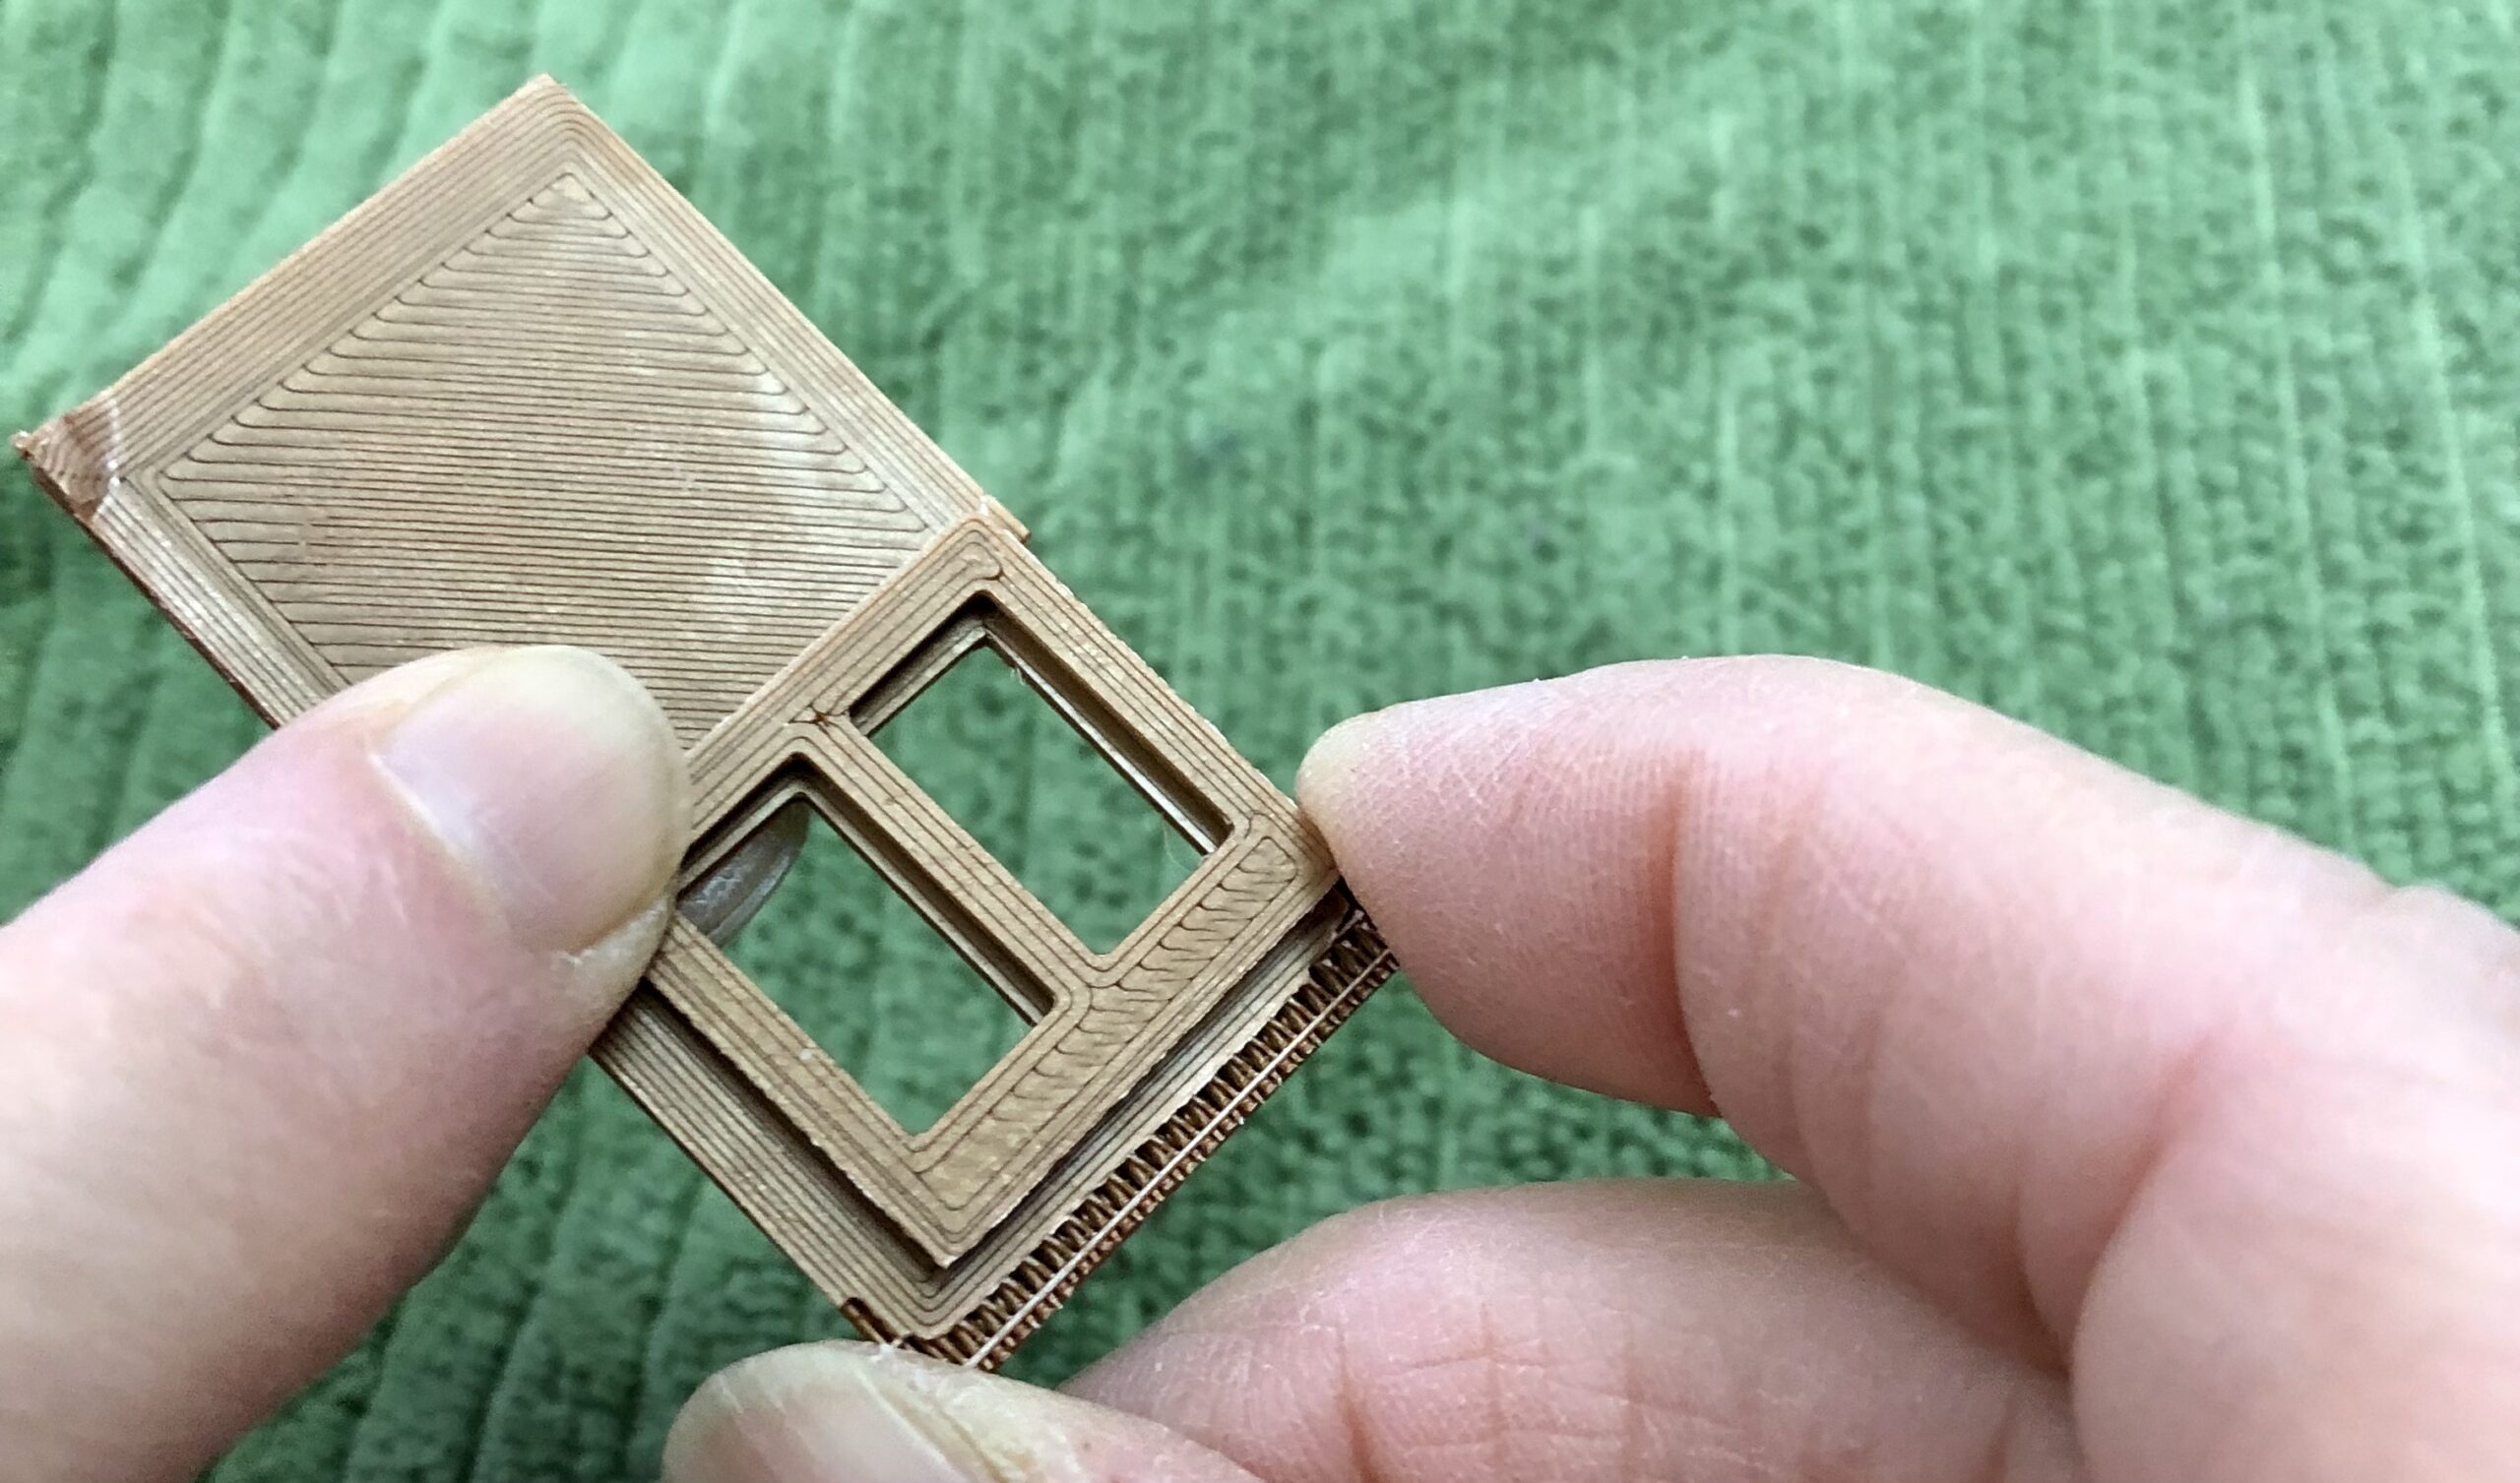
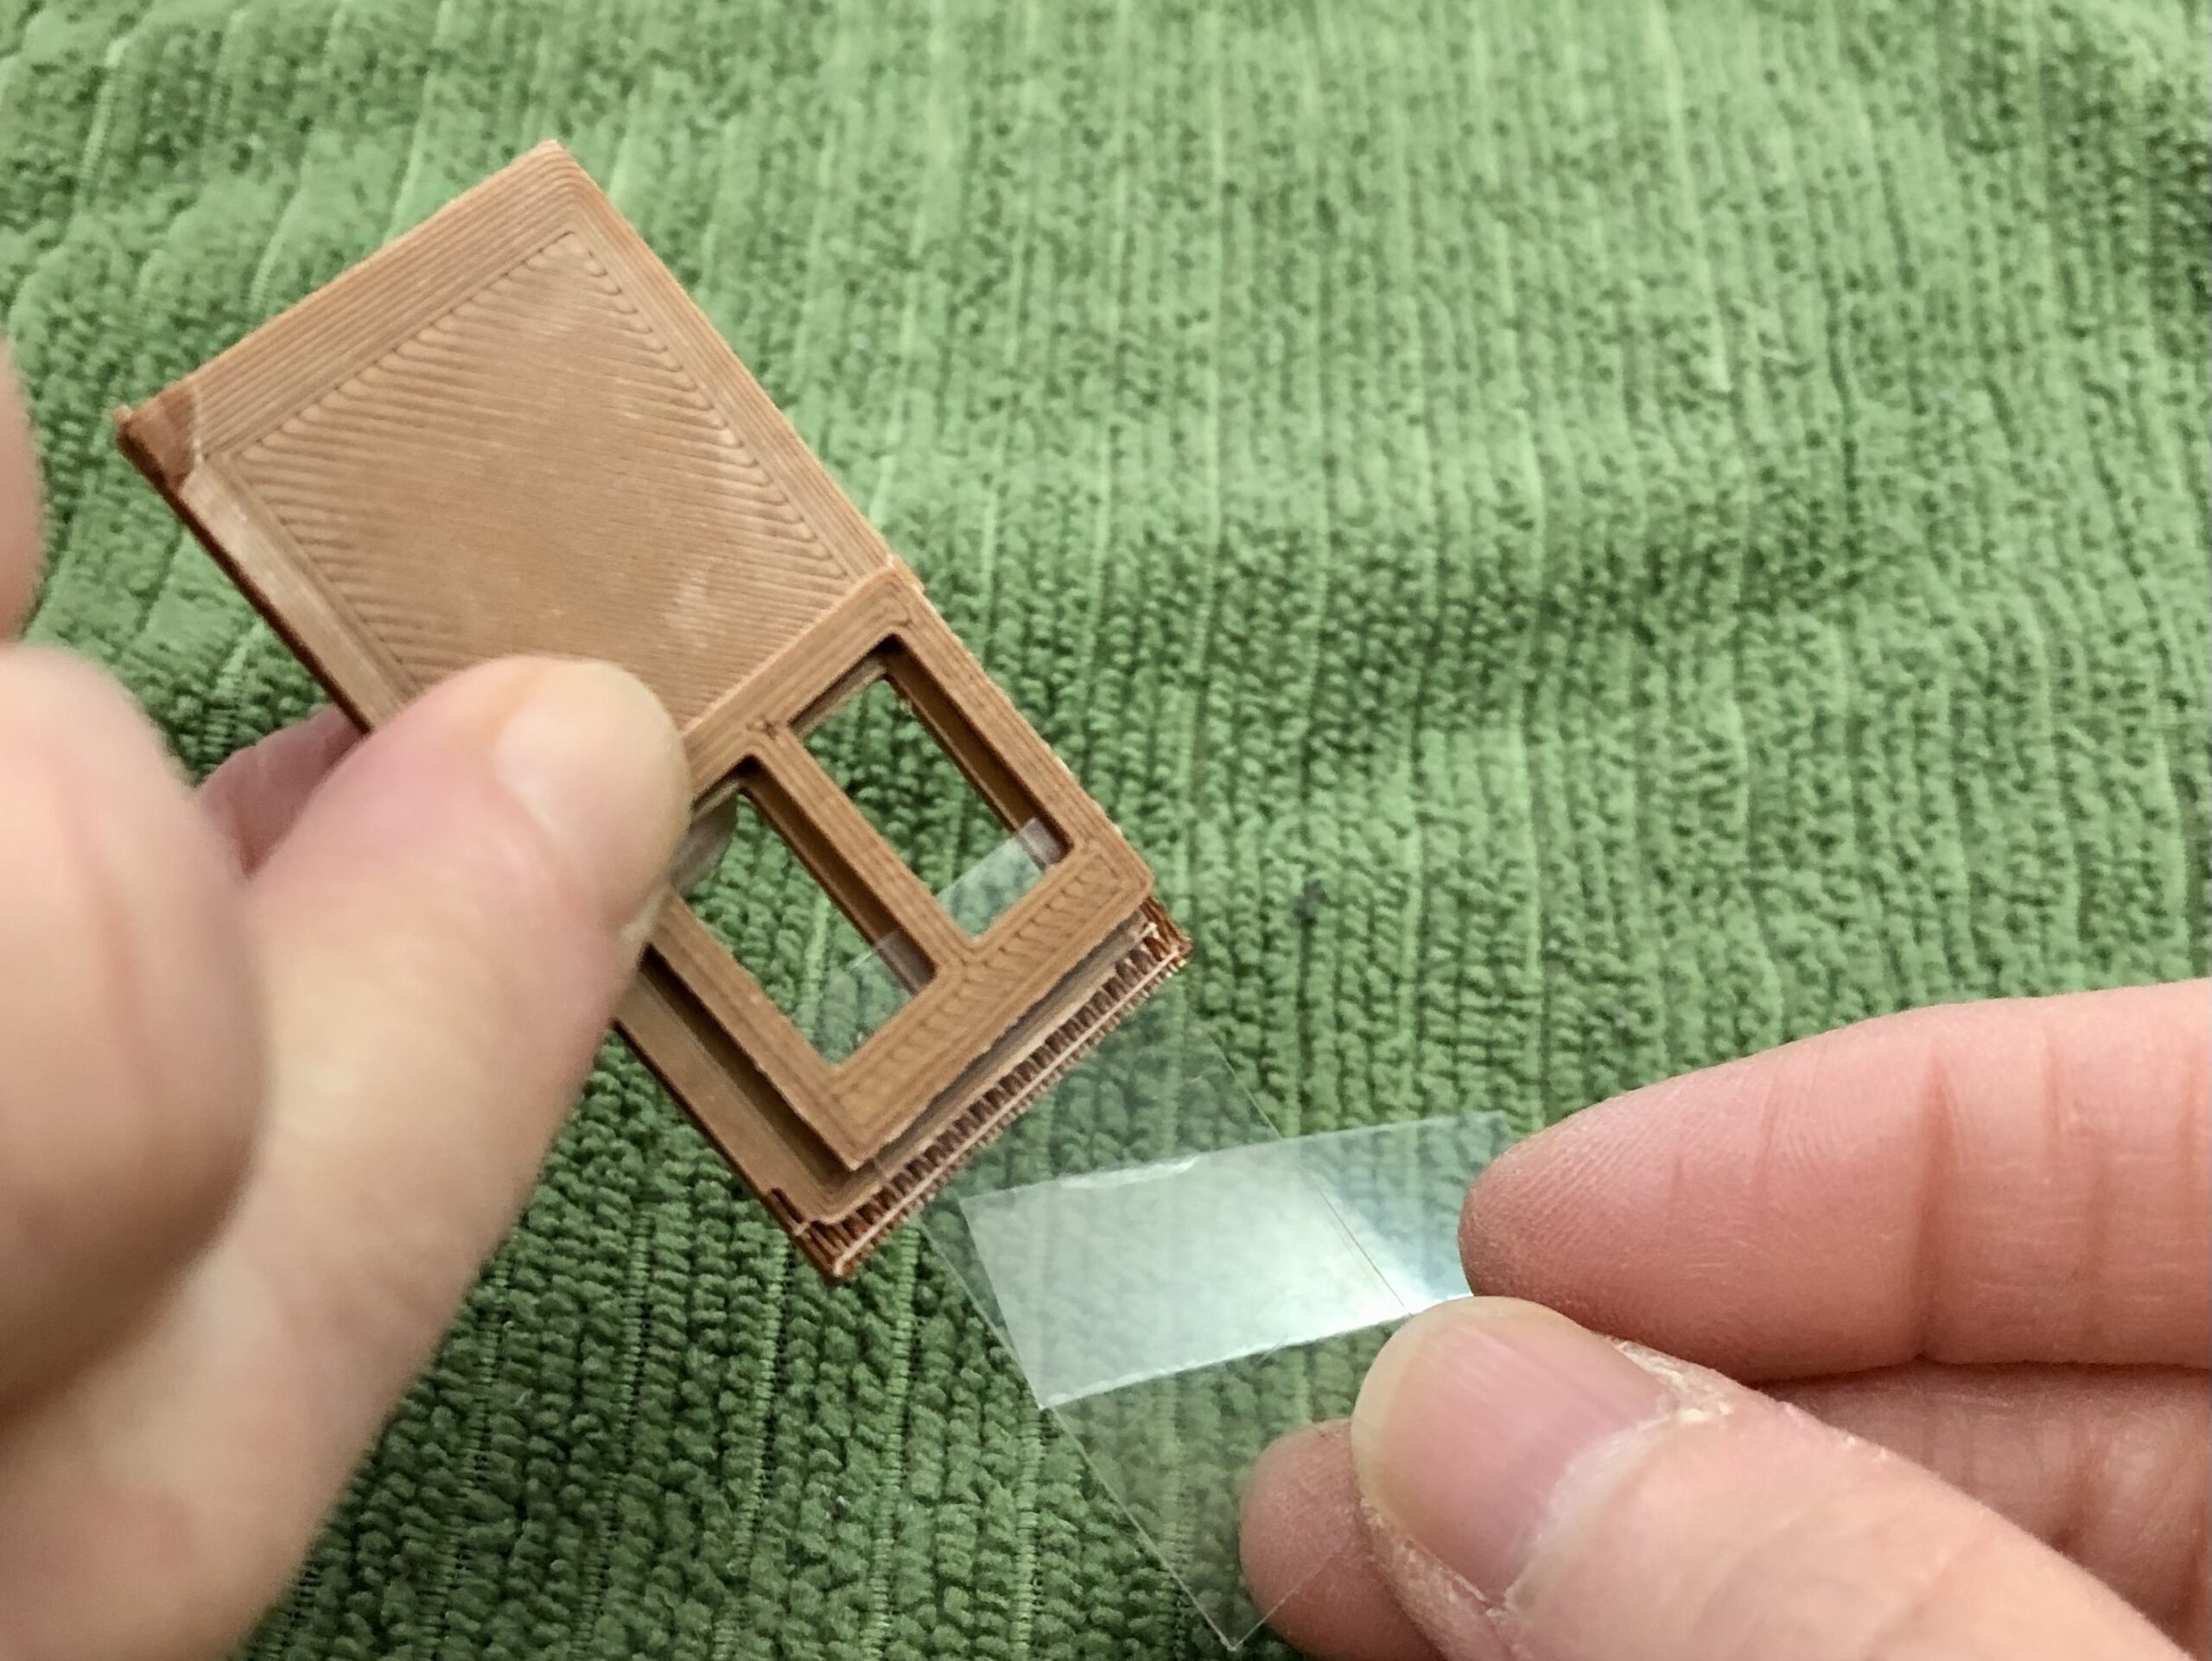
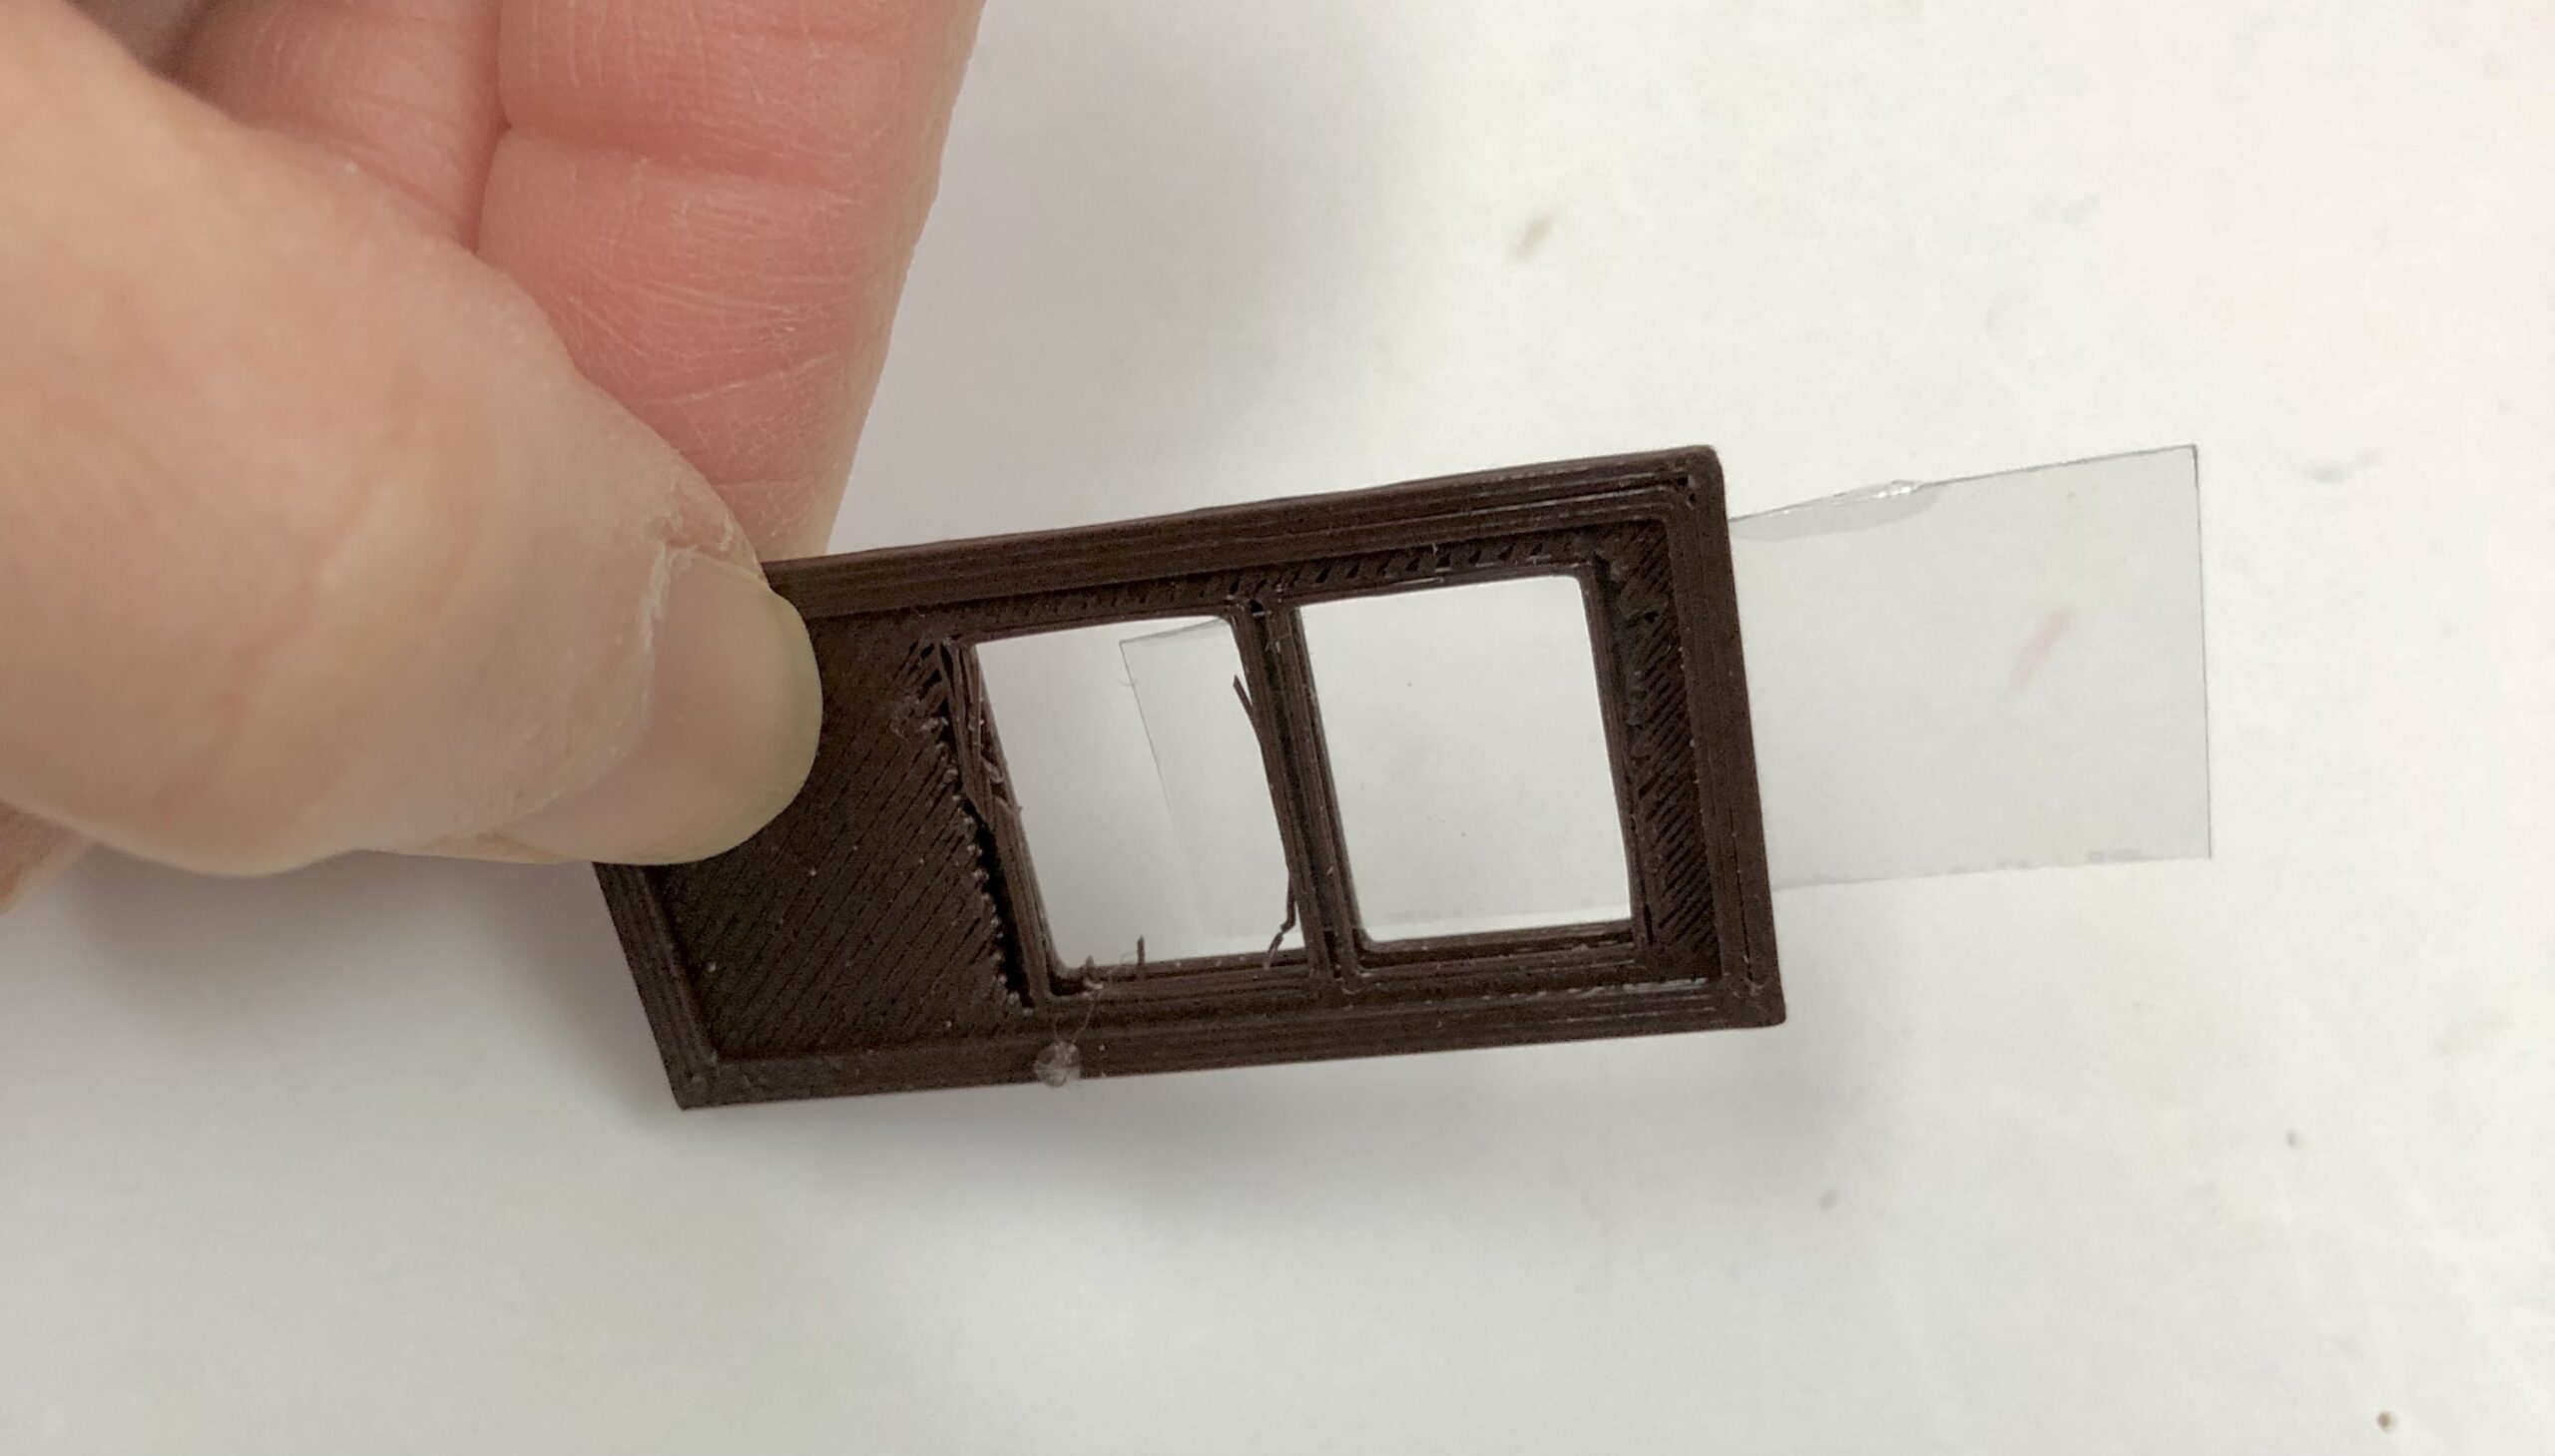
1 Rear End Solarium end (3D printed) space to fit in acetate for window
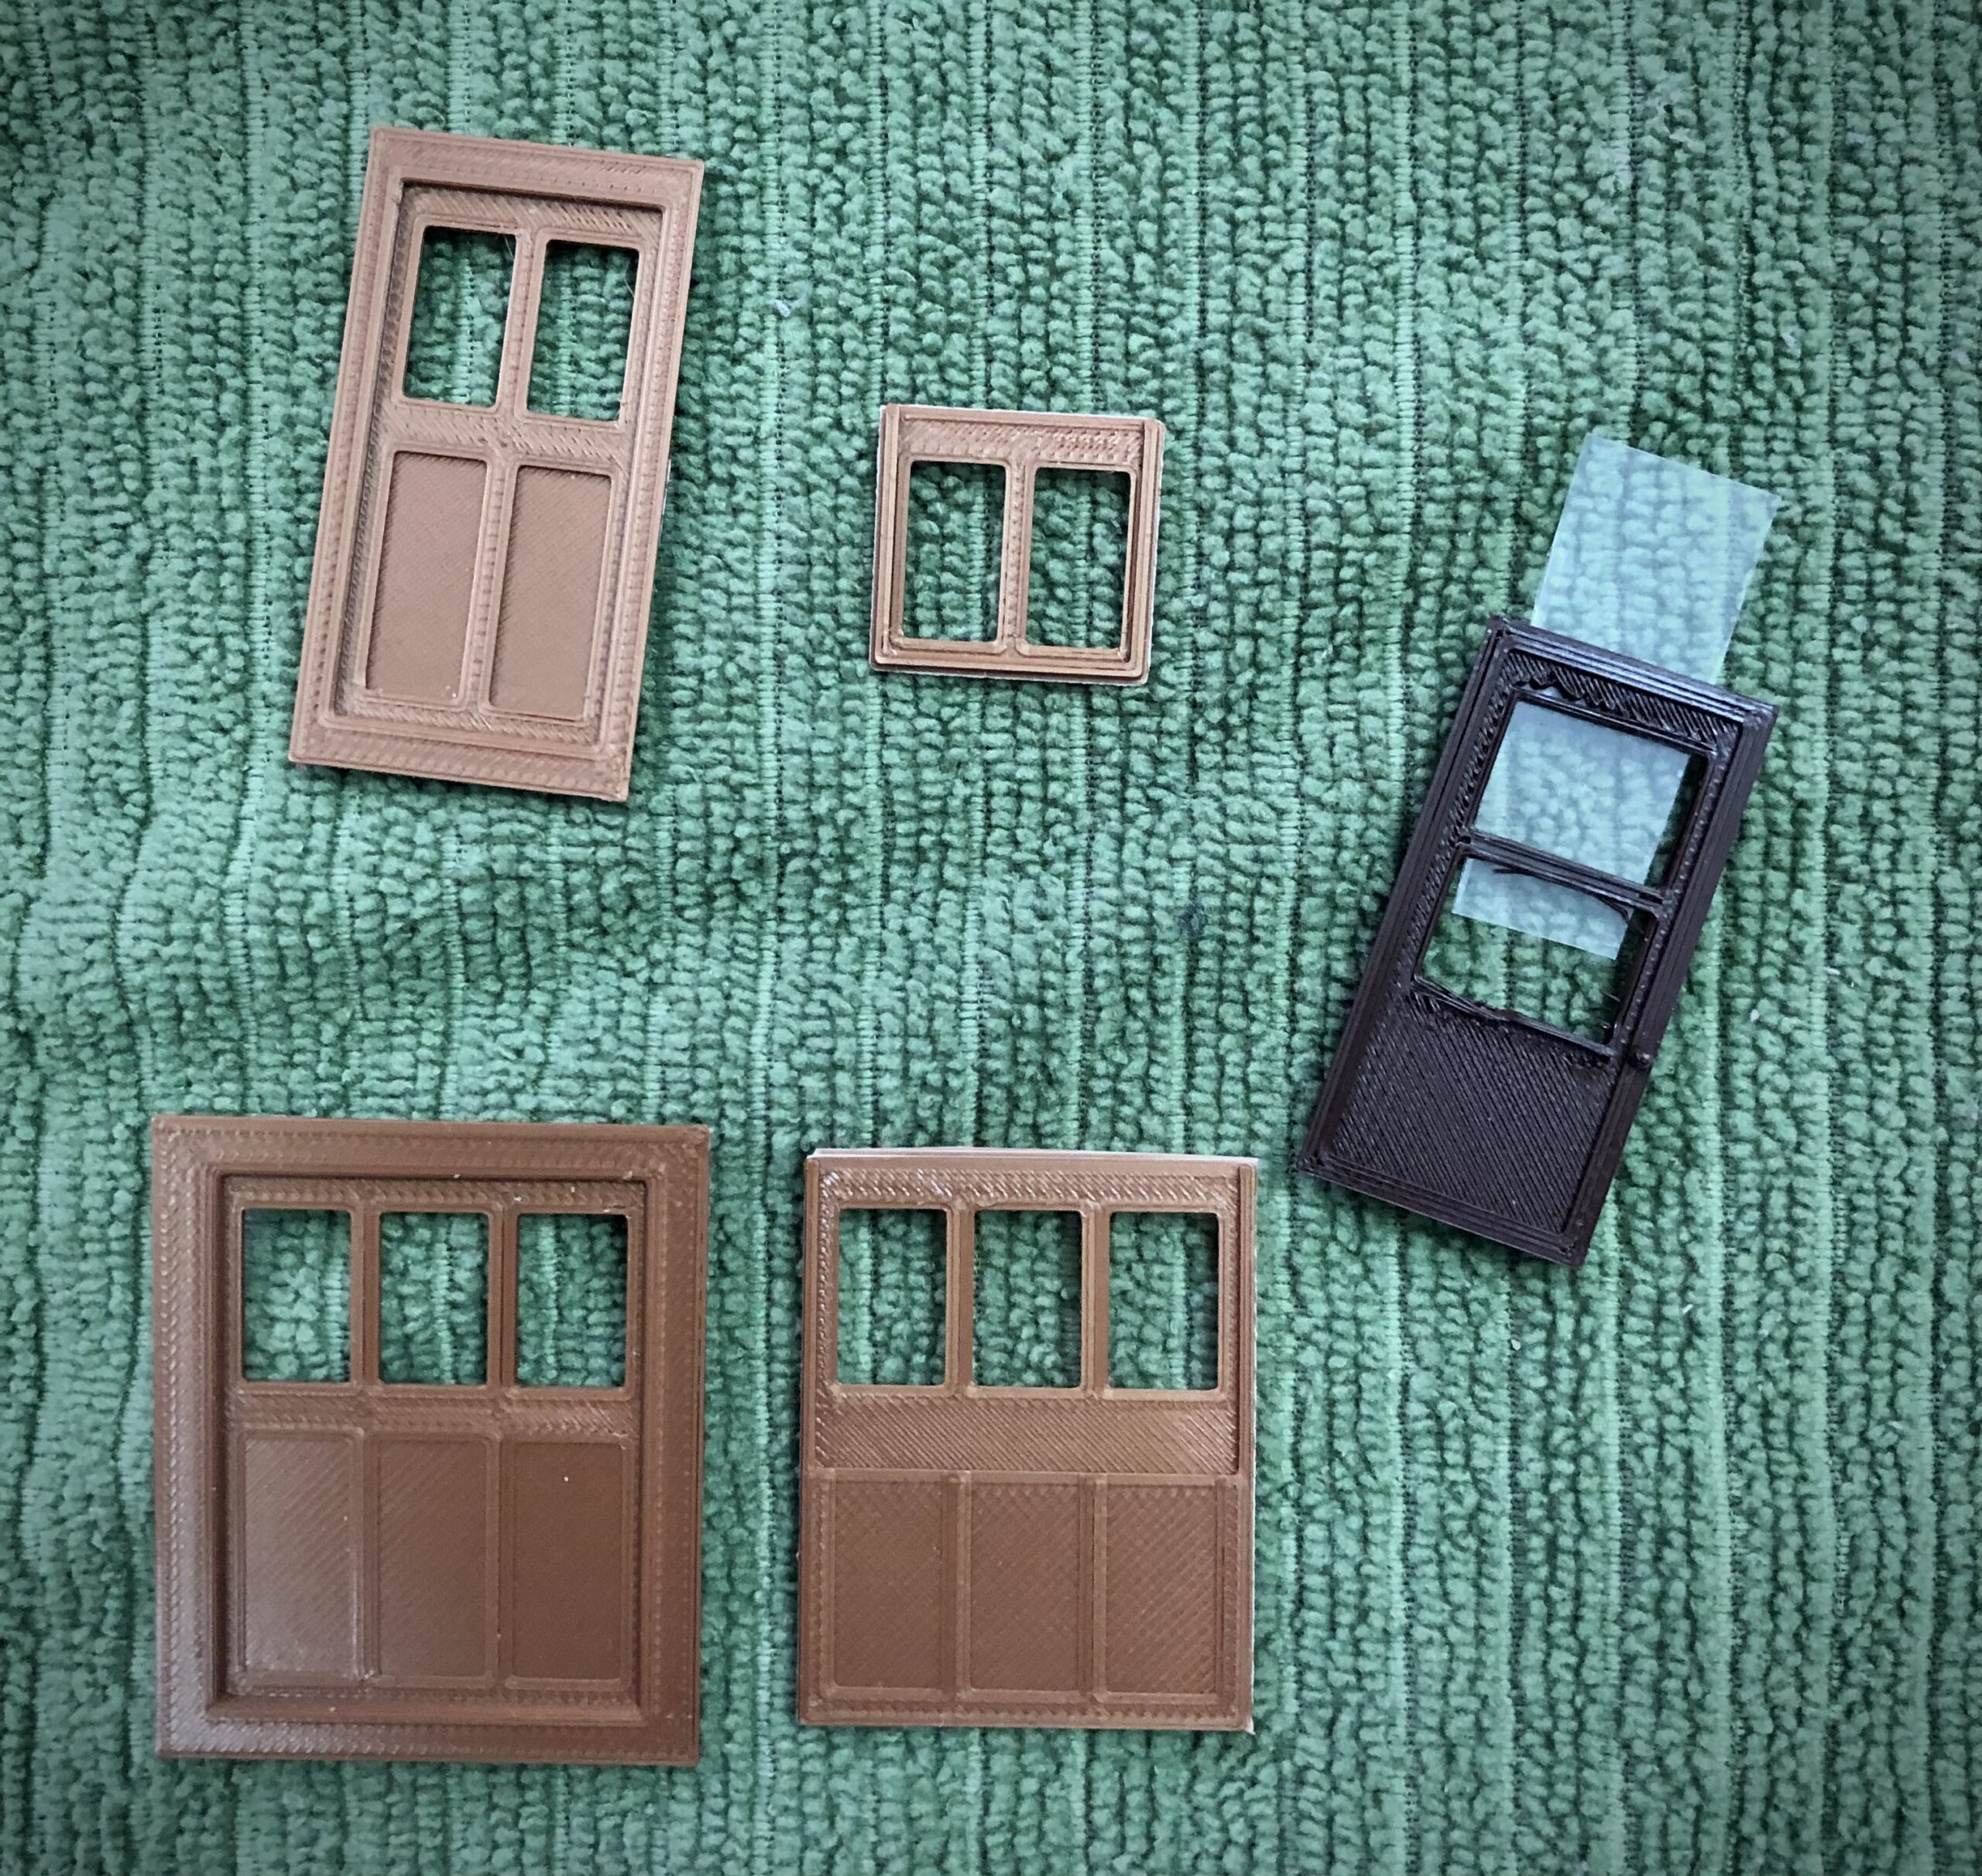
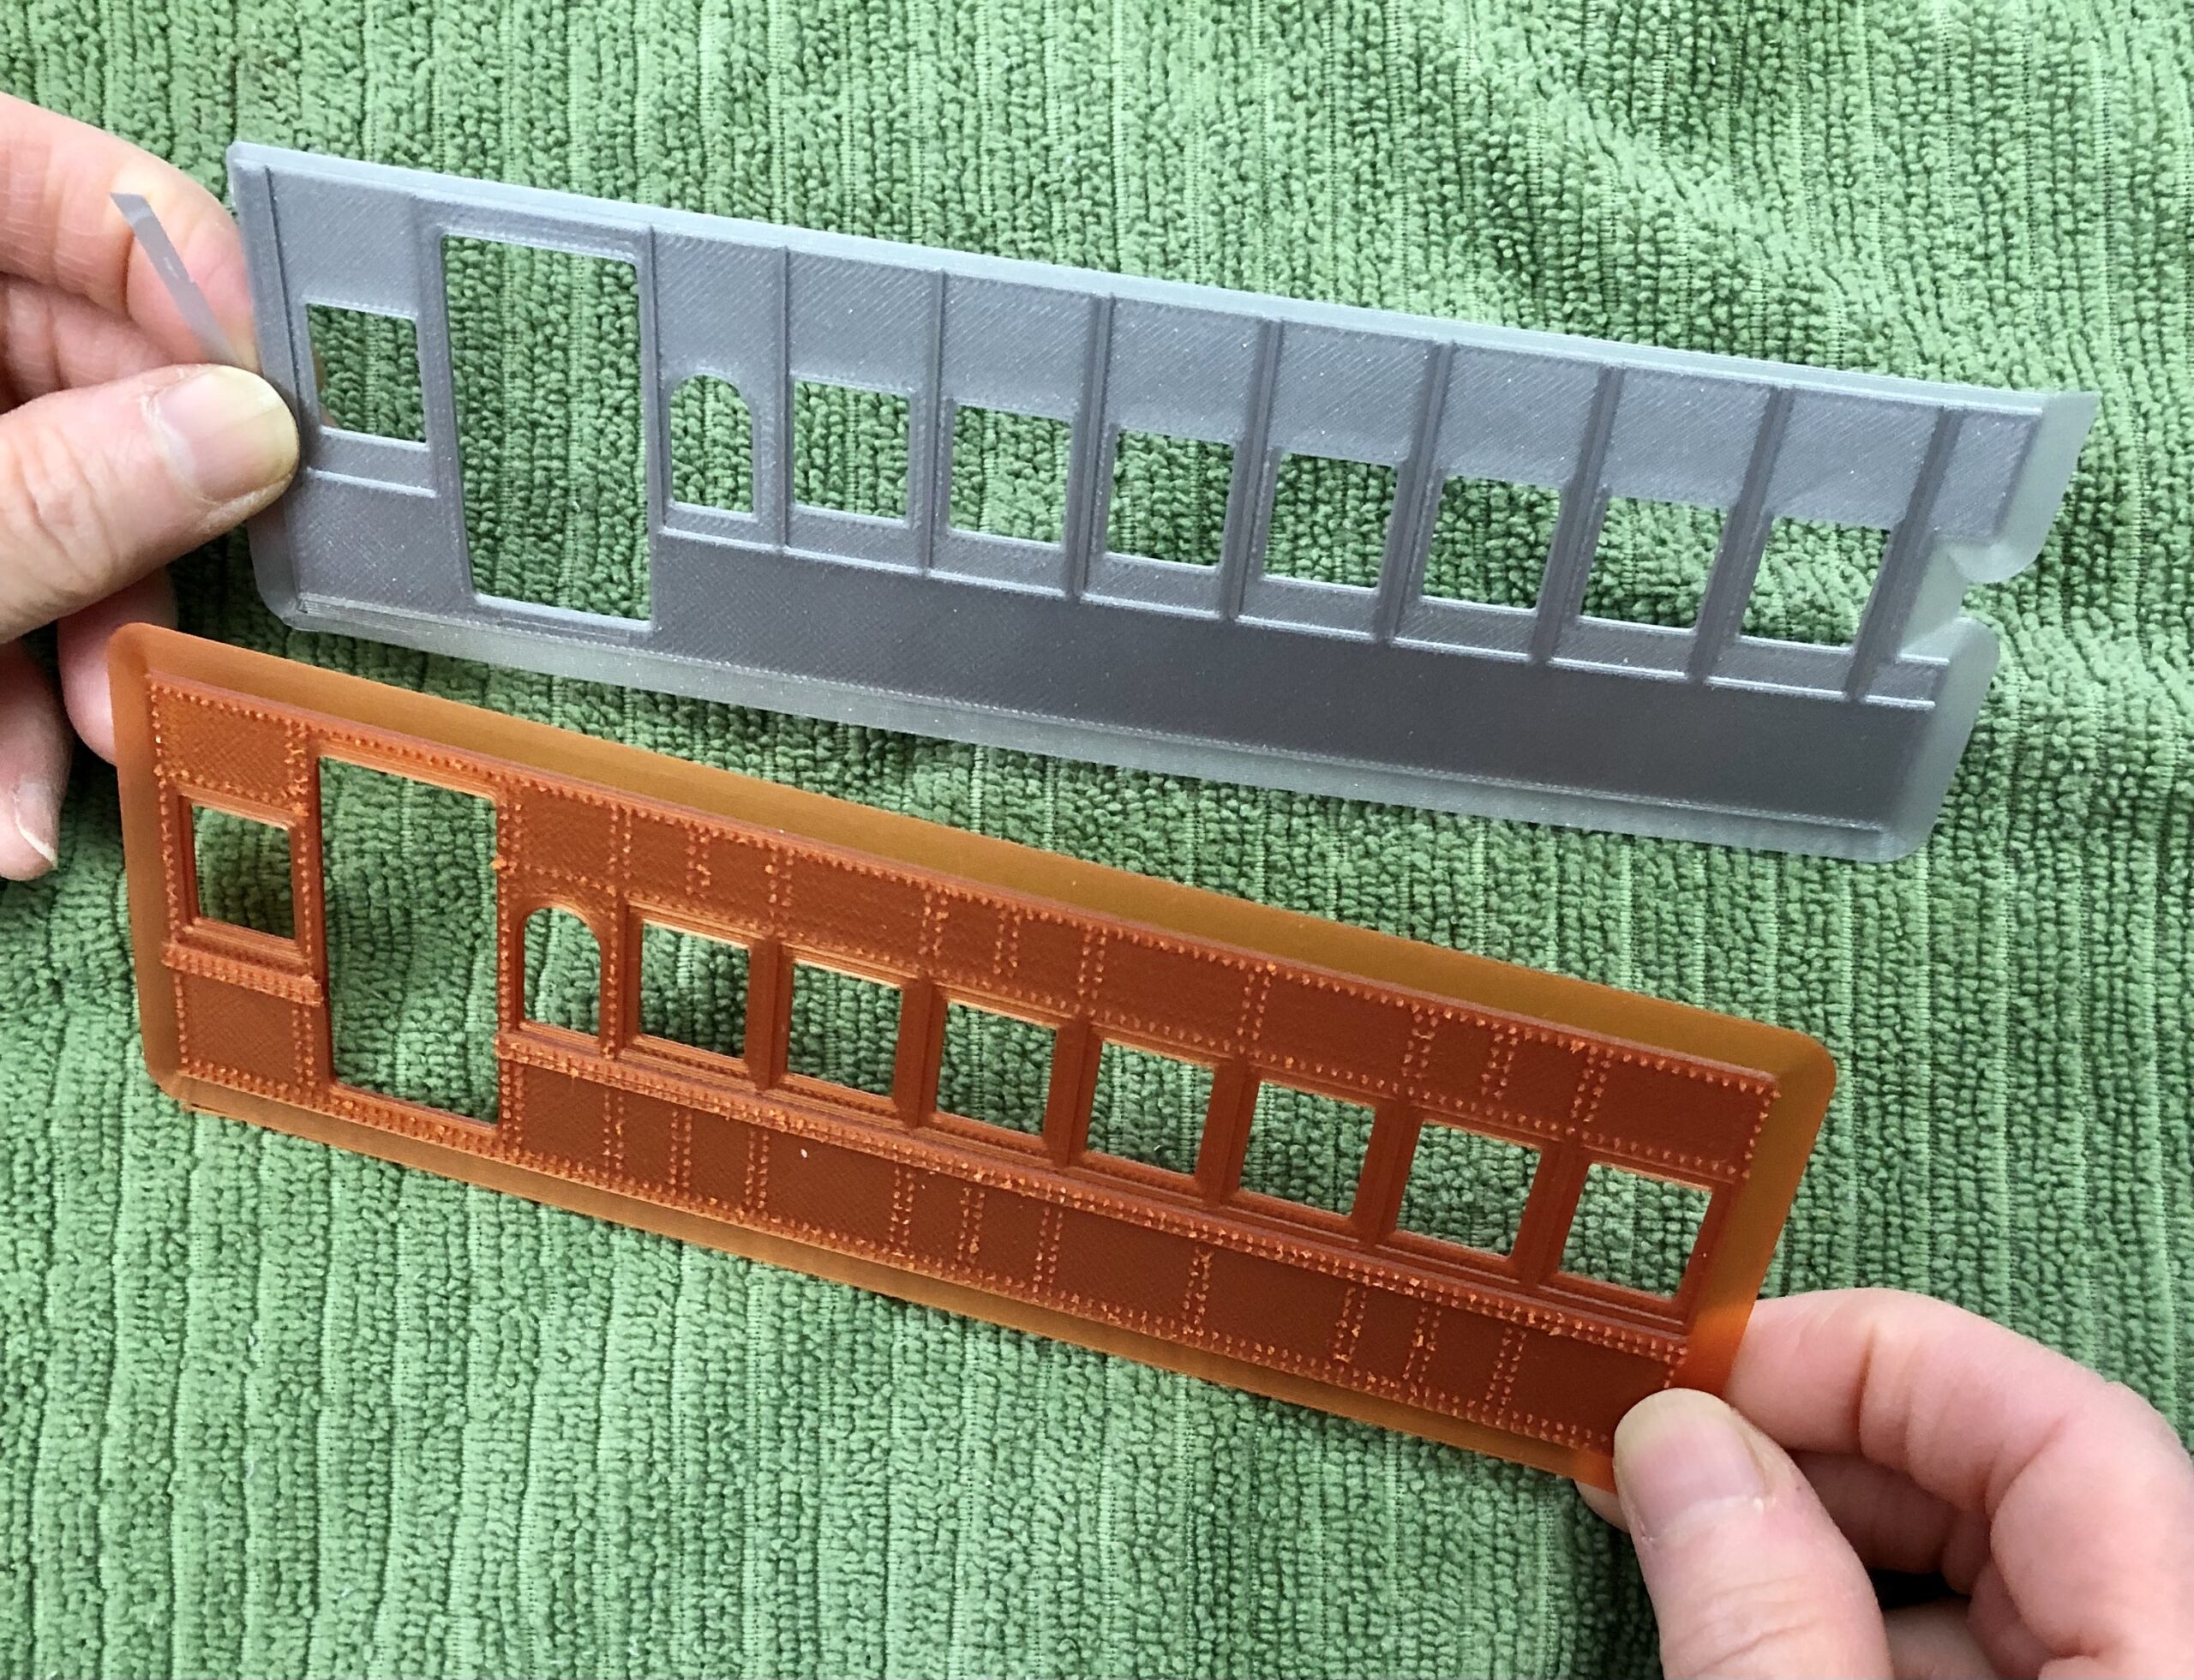
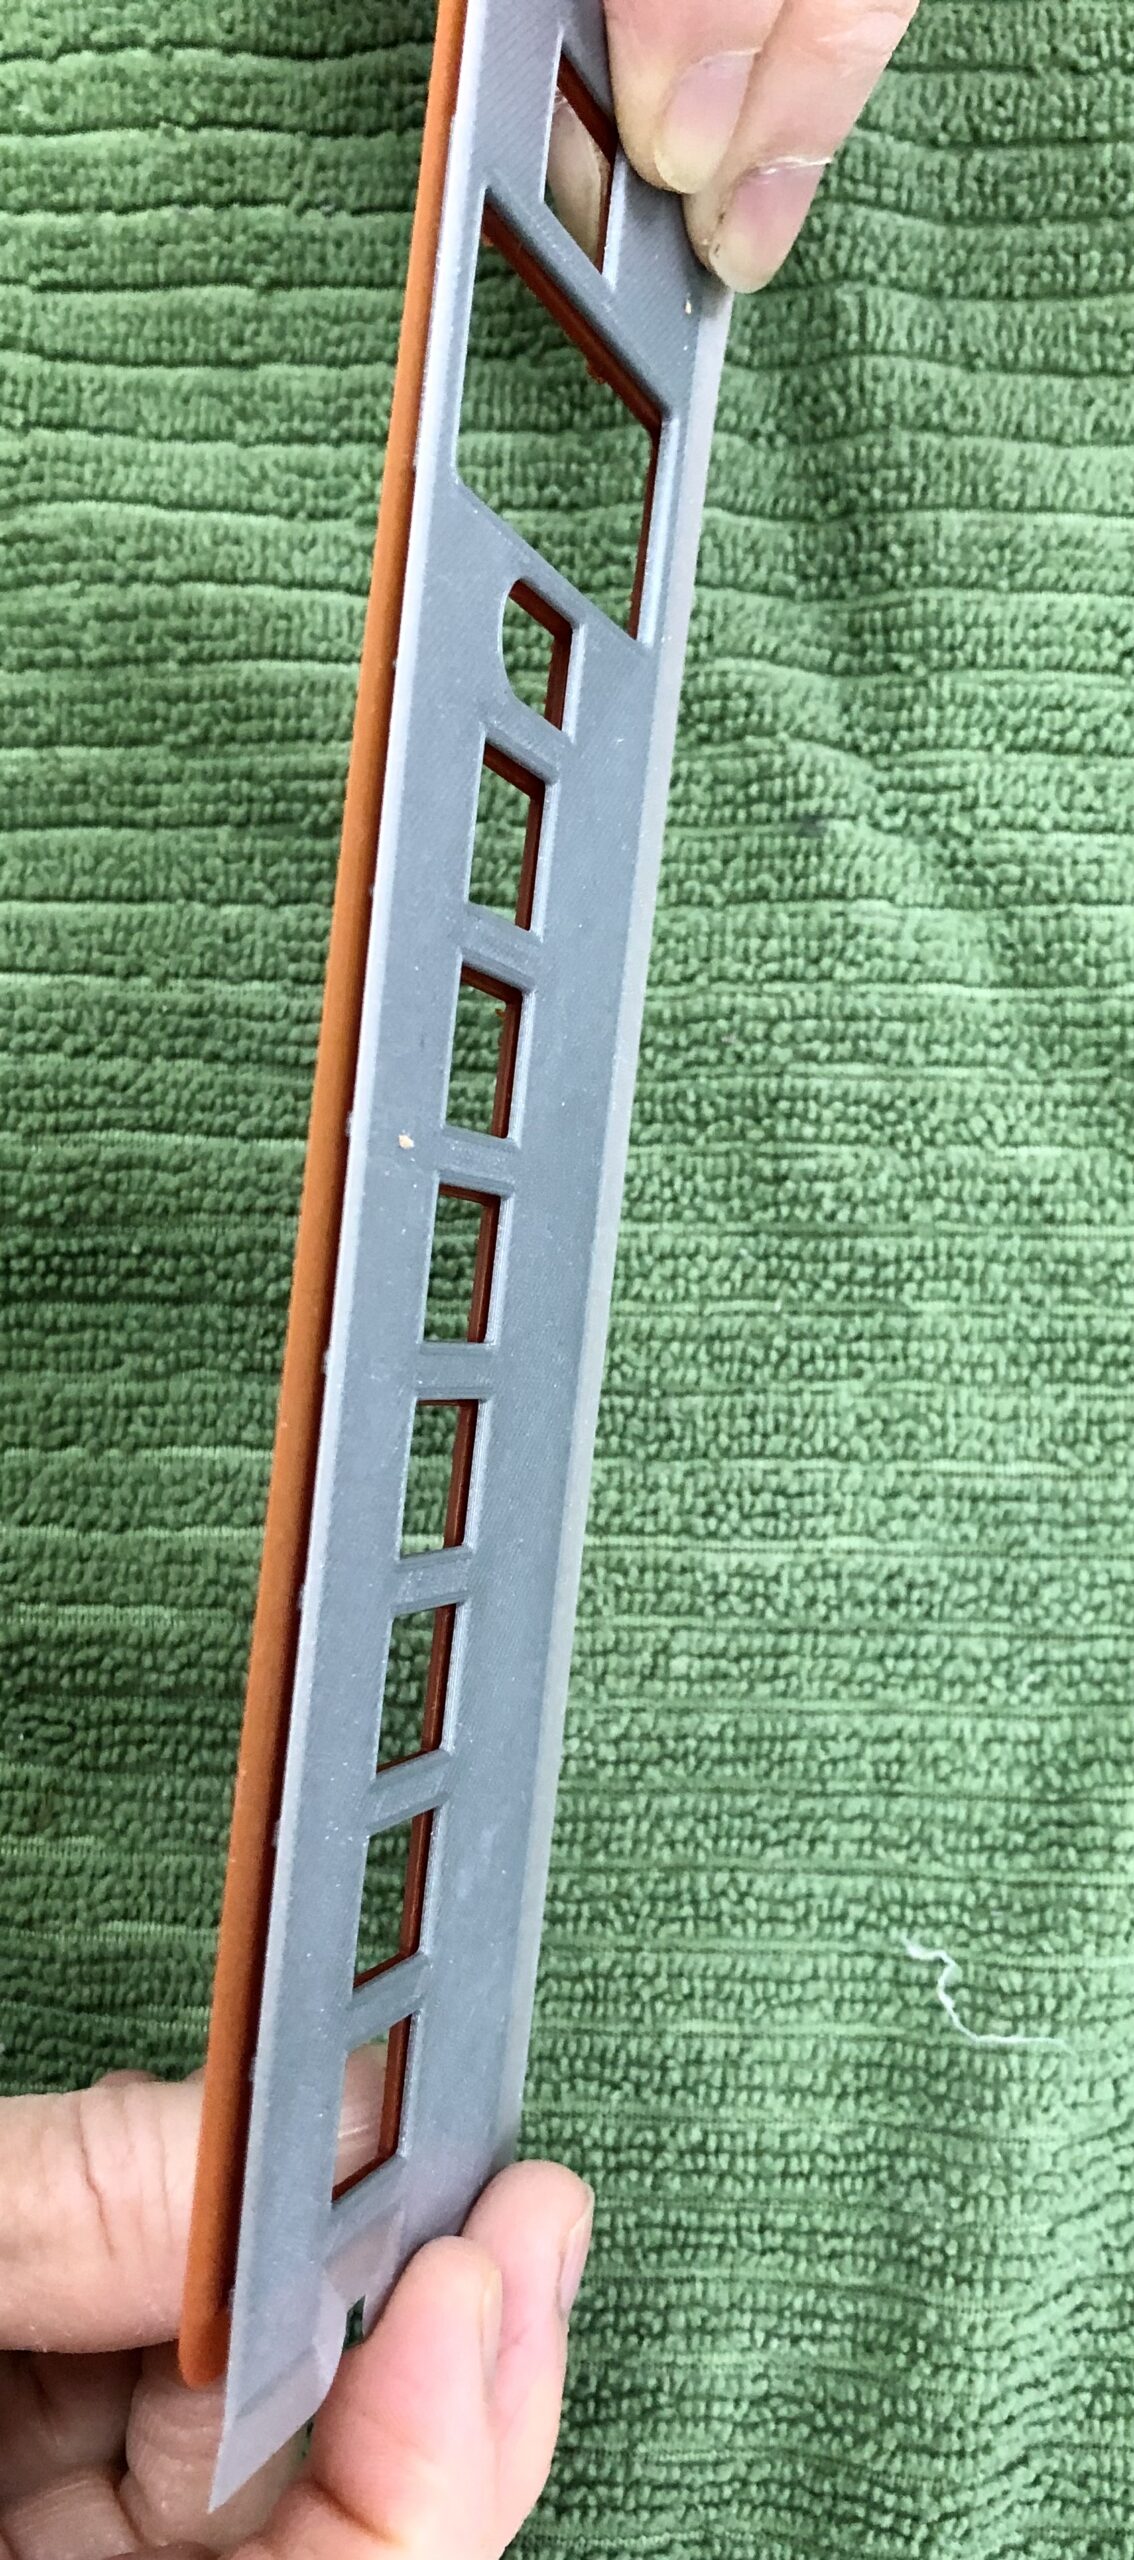
2 symmetric sides consisting of the 2 outer & 2 inner panels
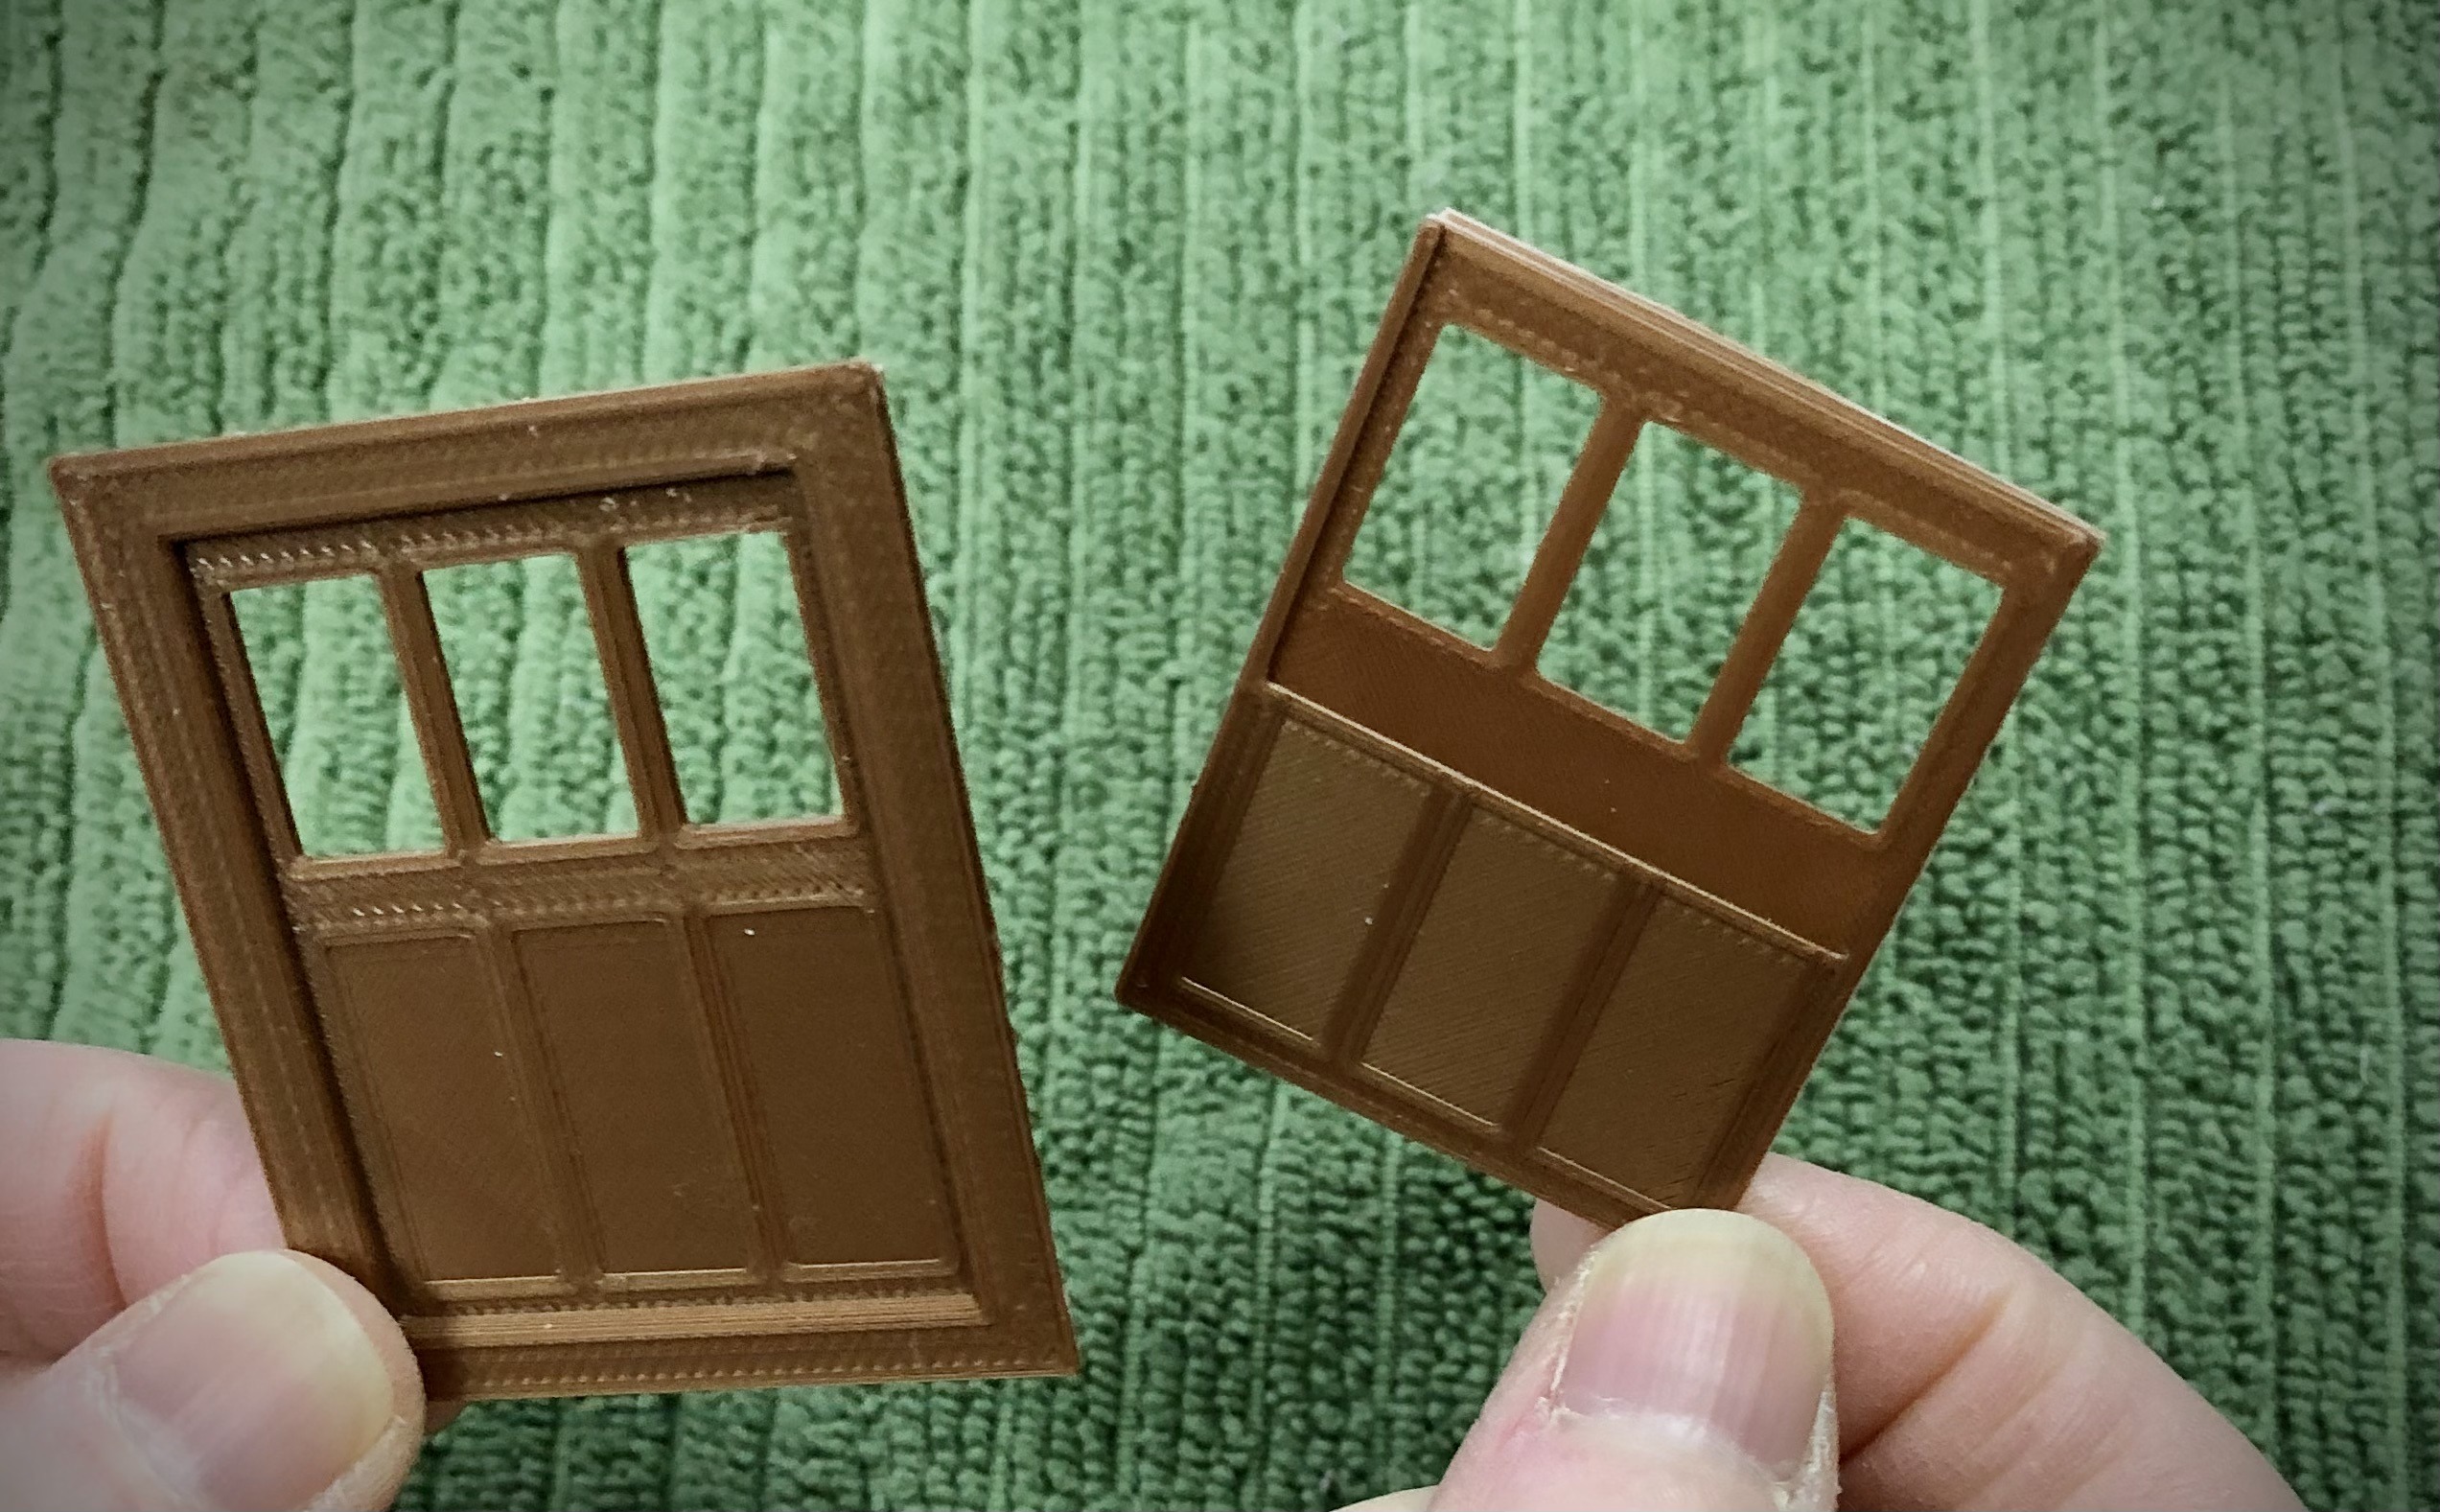
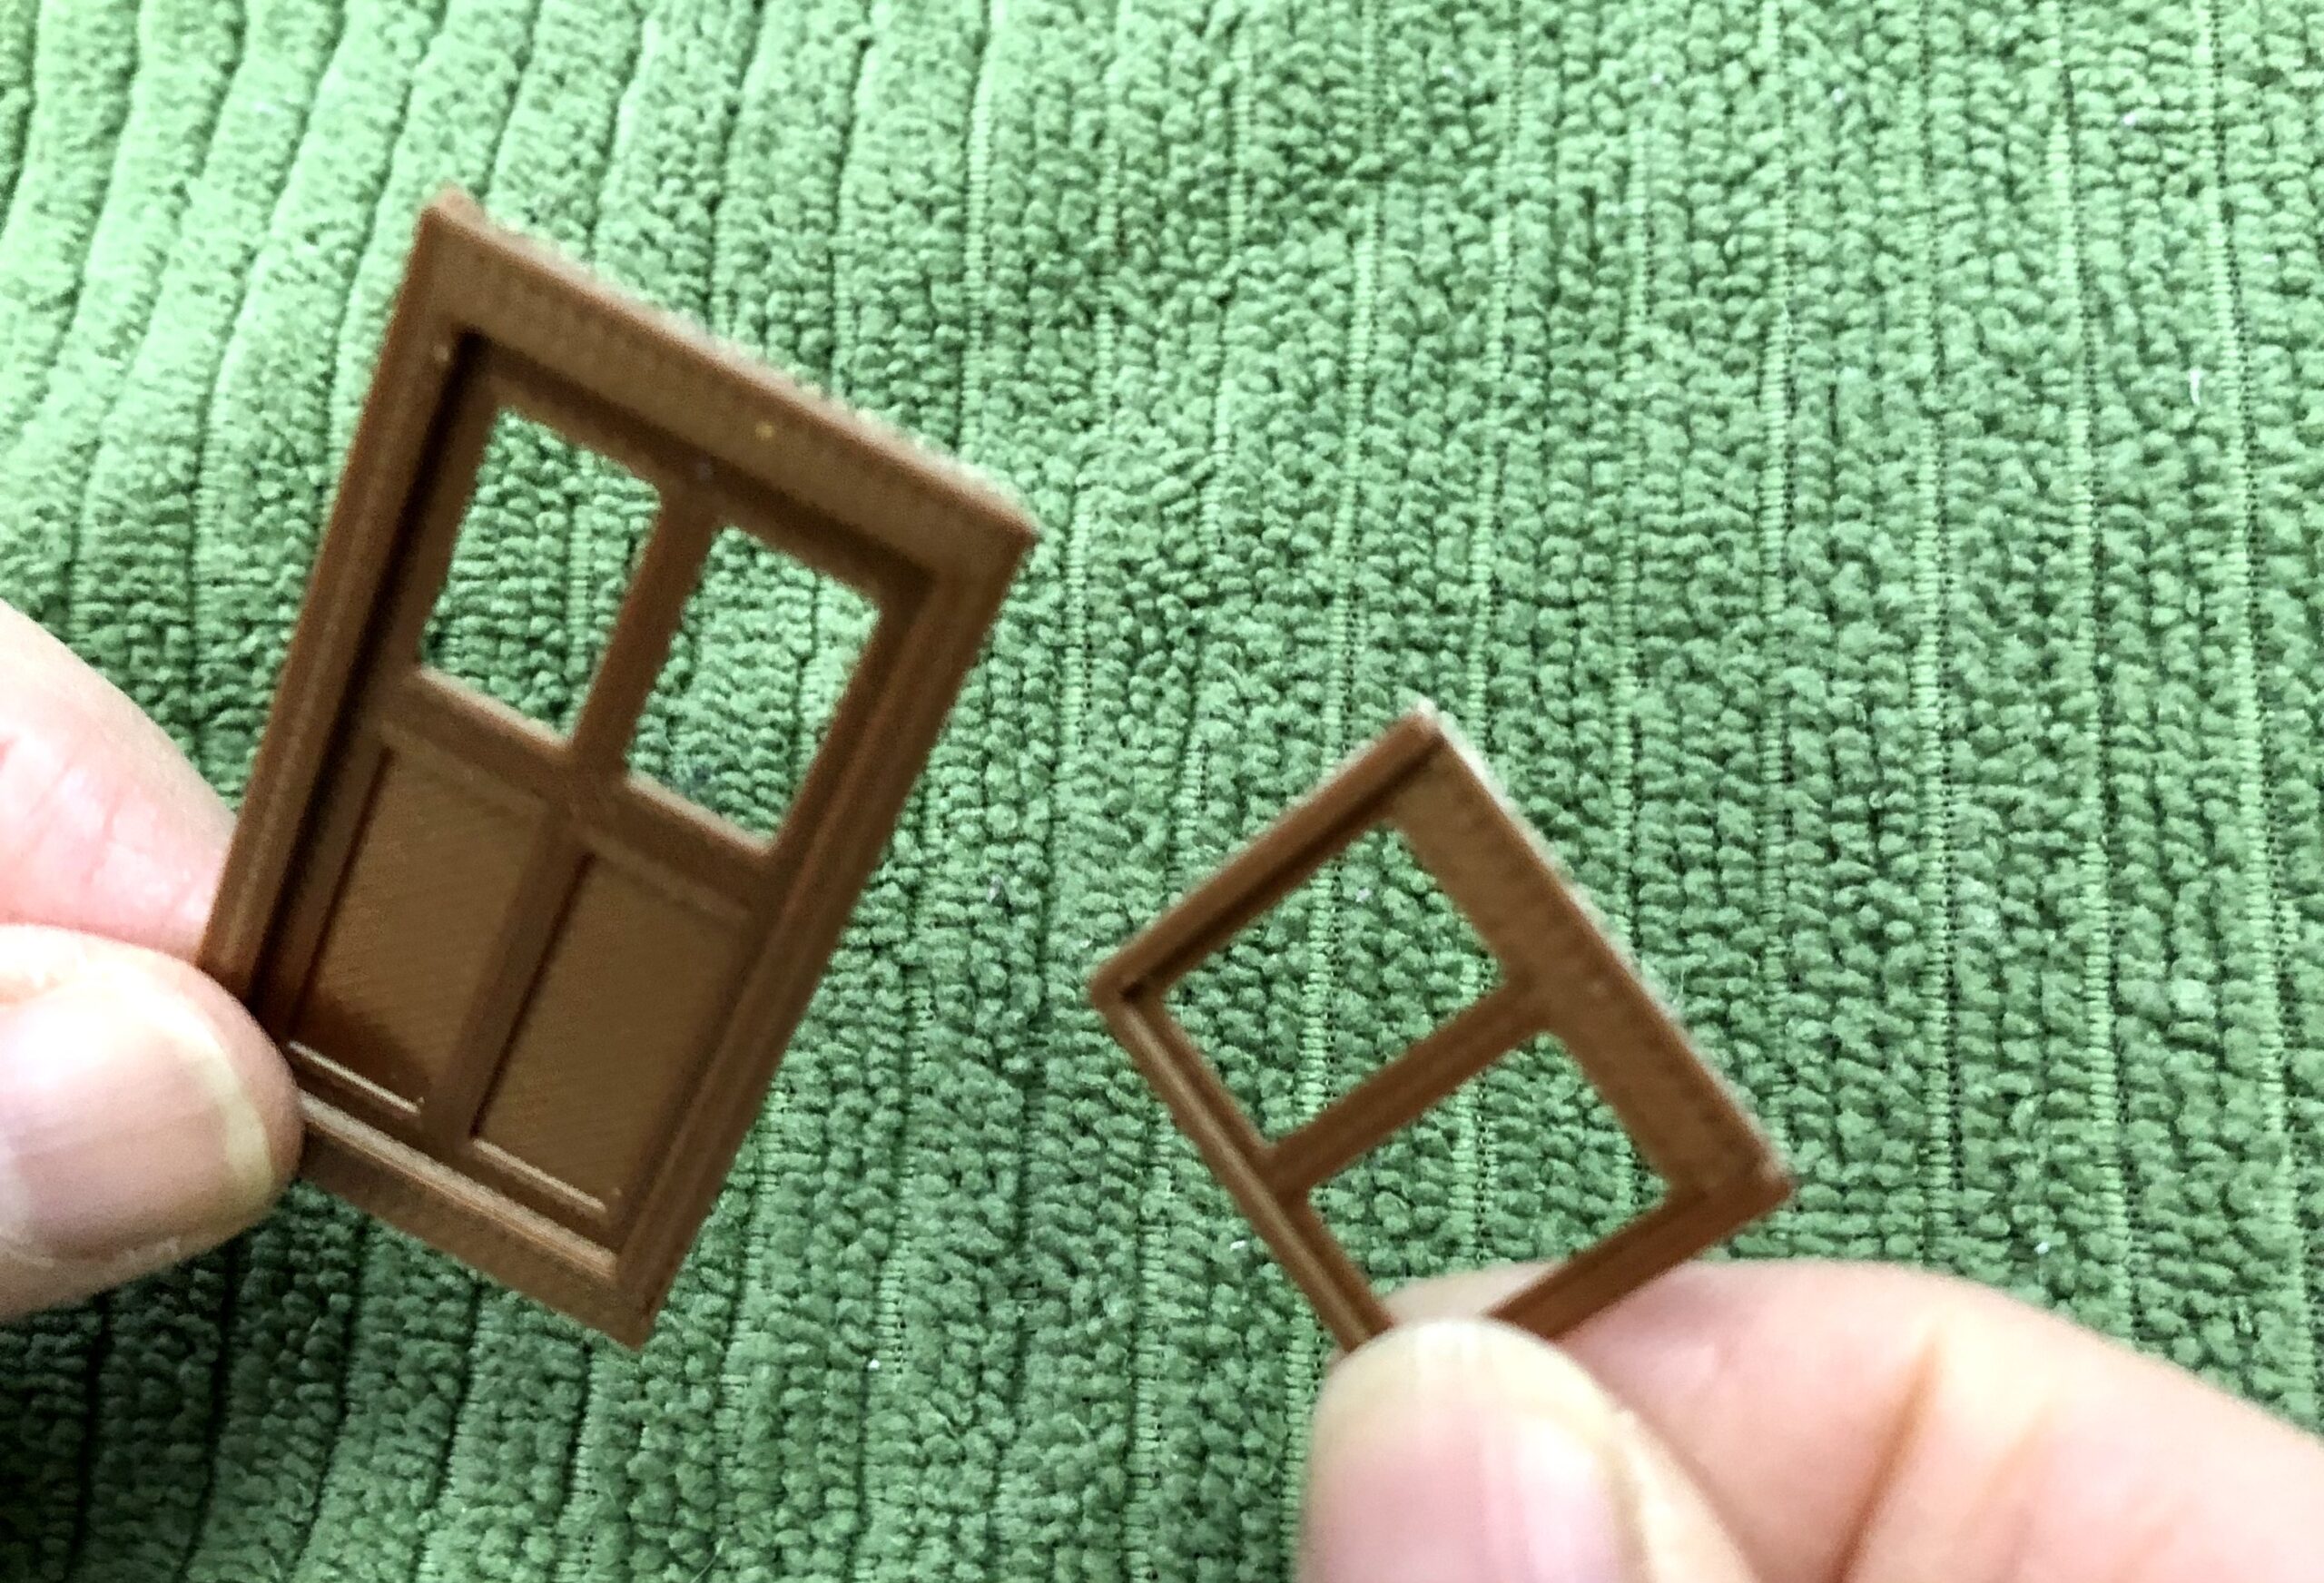
2 sets of 3 Doors
1 Back End Door
You can download and print the original drawings from our documentation collection here(Click on the Photo):
A short video of the 75′ Doodlebug (comparable to this 57′ CGW just shorter:-) to assist with the initial assembly is found here:
The parts in this kit are 3D Printed using PLA and ABS in various colors depending on our supply. The roof and the floors are wood and the passenger car end may be die cast or 3D printed based on our supply. Printed parts are sold as is straight off the Prusa Printer and will require the modeler to carefully remove some print build. PLA is not dishwasher safe and may deform in a hot automobile in the summer time as it has a relatively low glass-transition temperature between 50 and 80 °C and a melting temperature between 170 and 180 °C.
Here are some fun pictures of other Doodlebug Kits (Chicago Northwestern 75′ vs 56′!)
